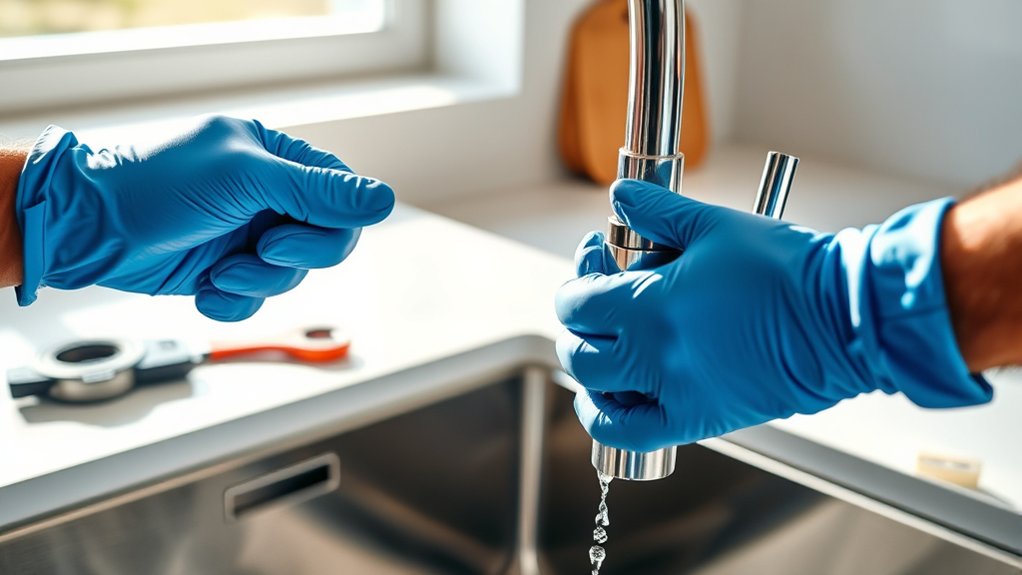
How to Change a Kitchen Faucet in 5 Steps
Replacing a kitchen faucet can feel like a hassle, especially when you’re dealing with leaks, outdated fixtures, or confusing plumbing connections. You’re not alone—many people struggle with knowing where to start.
This guide breaks down how to change a kitchen faucet in five simple steps.
To change a kitchen faucet in five steps, first confirm the new model fits your sink’s holes and countertop thickness. Then gather a basin wrench, adjustable wrench, bucket, and towel.
Shut off hot and cold water, disconnect the supply lines, and remove the mounting nuts and old faucet.
Clean the sink, install the gasket and new faucet, then connect hoses and supply lines.
Slowly restore water, check for leaks, and make final adjustments.
More helpful installation tips follow.
Key Takeaways
- Verify the new faucet matches your sink’s holes, spacing, countertop thickness, and required fittings.
- Shut off hot and cold water, release pressure, and disconnect supply lines over a bucket.
- Remove the old faucet by loosening mounting nuts, washers, and brackets from underneath.
- Install the new faucet with its gasket, mounting hardware, supply lines, sprayer hose, and weight.
- Slowly reopen the valves, check every connection for leaks, test operation, and correct any seepage.
Check Sink Compatibility and Gather Your Tools
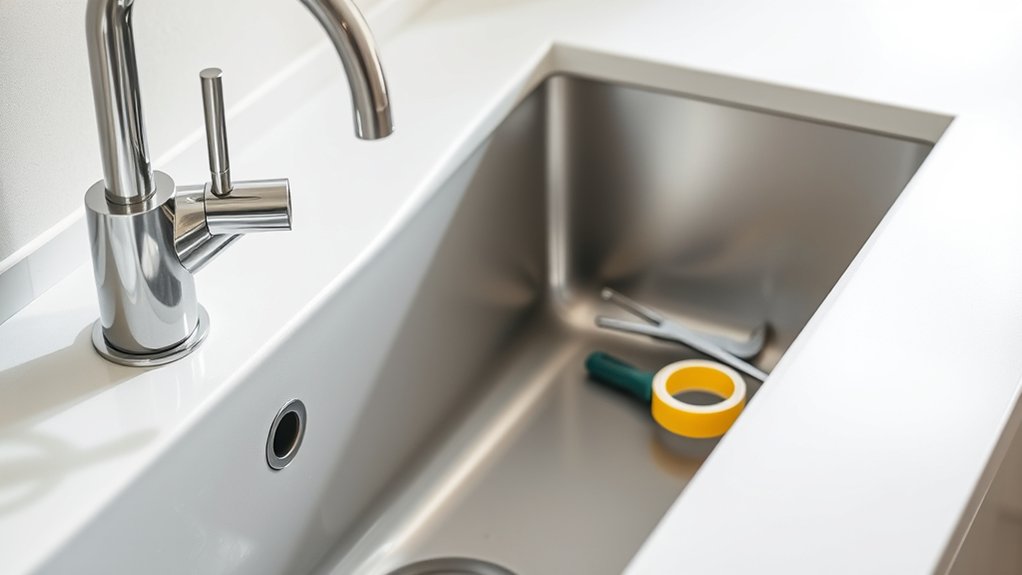
Before you remove the old faucet, check that the replacement matches your sink’s mounting-hole configuration and countertop thickness. Count the openings and measure their spacing, then confirm whether you need a single-hole, centerset, or widespread model.
Review the manufacturer’s specifications for maximum deck thickness, especially if your counter includes stone, tile, or laminate.
Consider your sink material before selecting tools or hardware. Stainless steel, cast iron, and composite surfaces may require different cleaning methods, washers, or escutcheons.
Verify that the faucet style suits your kitchen and installation space. A pull-down sprayer needs adequate clearance, while a wall-mounted or bridge faucet may require different fittings.
Gather an adjustable wrench, basin wrench, screwdrivers, pliers, a tape measure, flashlight, bucket, towels, and penetrating oil. Keep the installation instructions nearby, and organize small parts in a container.
Compare every included washer, nut, and connector with your sink before you begin. Replace corroded hardware as needed.
Shut Off Water and Disconnect the Supply Lines
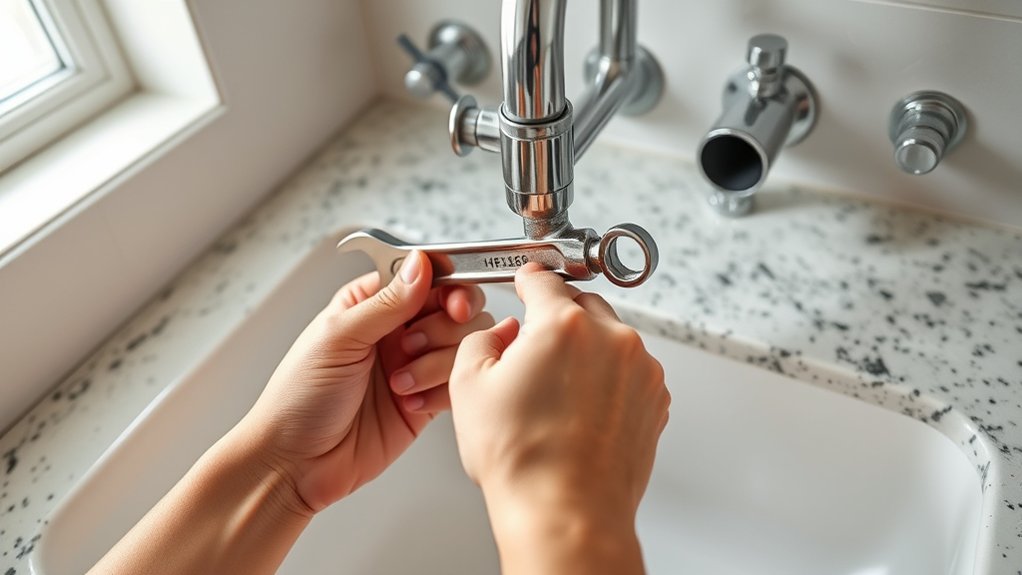
Turn off the hot- and cold-water shutoff valves beneath the sink by turning them clockwise until they stop. Open the faucet handles to release trapped water pressure, then let the remaining water drain into the basin. If water continues flowing, close the home’s main supply valve and confirm that the faucet stops.
Shut off both supply valves, open the faucet to release pressure, and close the main valve if water continues flowing.
Place a bucket or shallow pan beneath each connection to catch residual water. Wrap an adjustable wrench around the nut connecting the hot supply line to the faucet, then turn it counterclockwise. Disconnect the cold line the same way.
Hold the valve body steady with a second wrench so you don’t twist or damage the valve or supply tubing. Wipe up spills promptly, especially around cabinets and flooring.
Check the removed lines for corrosion, cracks, or worn seals, and replace damaged parts. Keep track of the Faucet materials, since different metals may require compatible connectors.
Work slowly; even modest Water pressure can spray when a connection loosens unexpectedly.
Remove the Mounting Nut and Old Faucet
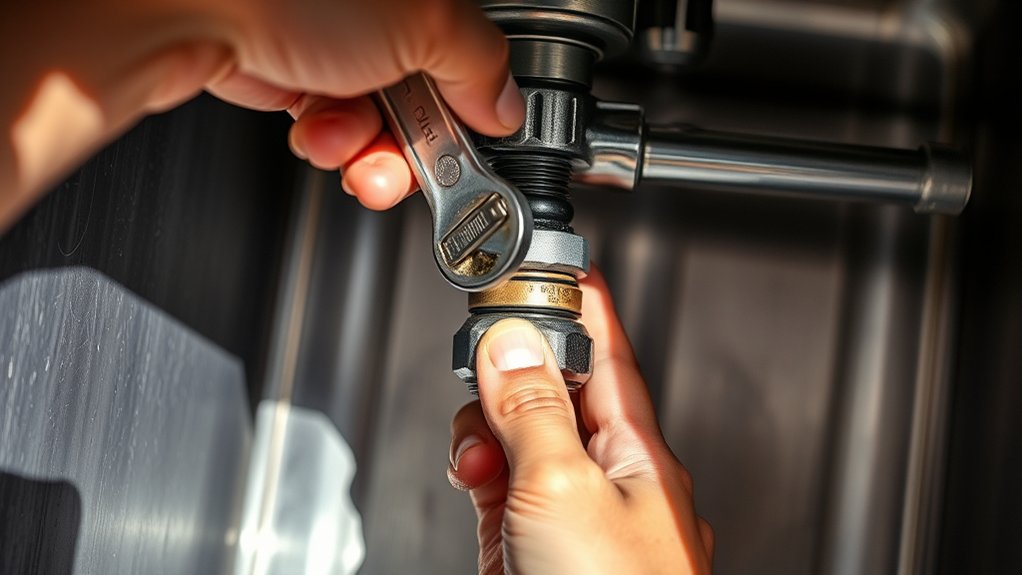
Use a basin wrench to loosen the mounting nut or nuts beneath the sink, turning counterclockwise while supporting the faucet above. If corrosion or tight threads resist, apply penetrating oil and wait several minutes.
Protect your eyes from falling debris, and keep a bucket or towel beneath the connections to catch trapped water.
Remove the nut, washers, and any brackets in the order they come off. Set the mounting hardware aside only if you’ll reuse it; otherwise, discard it and clean mineral buildup from the sink’s underside.
Ask someone to hold the faucet steady from above while you work below, especially if the fixture shifts unexpectedly.
Once the hardware is free, pull the old faucet upward through the sink openings. Guide attached hoses carefully so they don’t snag.
Check the sink surface for grime, rust, or old sealant, then wipe it clean. Inspect the removed faucet’s Faucet finish for damage before disposing of it.
Install and Connect the New Kitchen Faucet
Set the new faucet’s gasket or mounting plate over the sink openings, then feed the supply lines and sprayer hose through the correct holes from above. From underneath, slide on the washer and mounting bracket, then hand-tighten the mounting nuts.
Keep the faucet centered and aligned as you tighten them with a basin wrench. Don’t overtighten, or you could damage the sink or faucet material.
Connect each supply line to the matching shutoff valve: hot to hot and cold to cold. Thread the nuts by hand first, then snug them with an adjustable wrench.
Attach the sprayer hose to the faucet’s hose port, and secure any included weight according to the manufacturer’s instructions. Confirm that every connection uses the supplied gasket or washer.
| Connection | Match | Tool |
|---|---|---|
| Hot line | Hot valve | Wrench |
| Cold line | Cold valve | Wrench |
| Sprayer hose | Faucet port | Hand-tight |
| Mounting nuts | Sink bracket | Basin wrench |
Check your manual for required fittings and compatible water pressure.
Check for Leaks and Secure the Faucet
Slowly open the shutoff valves and watch each connection for leaks. Use a dry paper towel during leak detection to reveal small drips around the supply lines, valve connections, and faucet base.
If you spot moisture, close the valves, relieve pressure by opening the faucet, and tighten the connection slightly with a wrench. Don’t overtighten, because you could damage the threads or washers.
Complete a careful faucet inspection beneath the sink and above the counter. Run both hot and cold water, then switch the sprayer or side spray on and off.
Check every joint while water flows, and look for seepage around the faucet body and drain area. Wipe everything dry and recheck after several minutes.
If the faucet shifts, tighten its mounting hardware from below while holding the faucet straight. Confirm that the handles operate smoothly, the spout points correctly, and hoses don’t kink.
Restore cabinet items only after all connections remain dry.
Frequently Asked Questions
Can I Replace a Kitchen Faucet Without Hiring a Plumber?
Yes, you can replace a kitchen faucet without hiring a plumber if you’re comfortable with basic DIY plumbing. Shut off the water supply, disconnect the old lines, remove the mounting hardware, and install the new faucet according to its instructions.
Check every connection for leaks before using the sink. You’ll need an adjustable wrench, basin wrench, plumber’s tape, and a towel. Regular faucet maintenance can help prevent future problems and extend its lifespan.
How Long Does Replacing a Kitchen Faucet Typically Take?
You’ll typically finish faucet installation in one to two hours, assuming the existing connections cooperate, because plumbing apparently enjoys adding drama to a simple upgrade. You’ll spend about 30 minutes removing the old faucet, another 30 installing the replacement, and extra time checking for leaks.
With basic plumbing tools, you can often complete the job yourself. Corroded fittings, cramped cabinets, or unexpected leaks may stretch the project to several hours, though.
What Kitchen Faucet Styles Are Easiest to Clean?
Single-handle, pull-down kitchen faucets are usually easiest to clean because they have fewer crevices and let you rinse the sink directly. Choose a smooth Faucet finish, such as brushed stainless steel or chrome, which hides water spots and wipes clean quickly.
Avoid ornate designs, textured surfaces, and separate handle bases that collect grime. For simple Cleaning methods, use mild dish soap, warm water, and a soft microfiber cloth; avoid abrasive pads and harsh chemicals.
How Often Should a Kitchen Faucet Be Replaced?
You should usually replace your kitchen faucet every 15–20 years, but warning signs may appear sooner. Its lifespan depends on water quality, materials, usage, and maintenance.
Don’t wait for a sudden leak to reveal hidden damage. Replace the faucet when repairs become frequent, the finish deteriorates, or corrosion affects performance.
For many homes, replacing it every 10–15 years makes sense, especially after persistent dripping, loose handles, poor water flow, or outdated features.
Can I Install a Water Filter Faucet Alongside My Kitchen Faucet?
Yes, you can install a water filter faucet alongside your kitchen faucet if your sink has an available mounting hole. If it doesn’t, you can drill one or choose a countertop model.
Check faucet compatibility, including sink thickness, hole size, and space beneath the cabinet. Your water filtration system also needs a nearby cold-water connection and room for its filter housing.
Shut off the water, follow the instructions, and test every connection for leaks.
Conclusion
With your new faucet in place, turn on the water slowly and check every connection for drips. Tighten fittings gently if needed, but don’t overdo it, as you could damage the seals.
Make sure the faucet sits firmly and swings smoothly before cleaning up your tools. By following these five steps for how to change a kitchen faucet, you’ve given your sink a fresh start.
A careful final inspection is the icing on the cake, helping you enjoy reliable water flow with confidence for years to come.