How to Pack Kitchen Items Safely
Packing kitchen items can be stressful, especially when you’re worried about fragile dishes, sharp tools, and bulky appliances getting damaged. You’re not alone; many people struggle to keep everything safe and organized during a move. These smart packing picks can make packing kitchen items safely much easier.
Start by gathering eco-friendly packing supplies like sturdy boxes, biodegradable bubble wrap, and dividers. Clean and dry all kitchenware completely to avoid mold and odors.
Wrap fragile items individually with bubble wrap or towels. Pack plates vertically, and protect sharp tools with covers. Use labeled boxes to keep everything organized, and fill gaps to prevent shifting.
Secure large appliances with blankets and tape. Handling items carefully helps them arrive safely, and there’s more to learn about smart packing techniques ahead.
Key Takeaways
- Wrap fragile kitchenware individually with bubble wrap or towels to prevent breakage during transit.
- Clean and dry all kitchen items thoroughly to avoid mold and odors before packing.
- Use sturdy boxes lined with cushioning materials and fill gaps with crumpled paper or bubble wrap.
- Label boxes clearly with contents and handling instructions, especially for fragile or sharp items.
- Pack heavier items at the bottom and lighter ones on top to maintain balance and prevent damage.
Start by Gathering the Right Packing Supplies
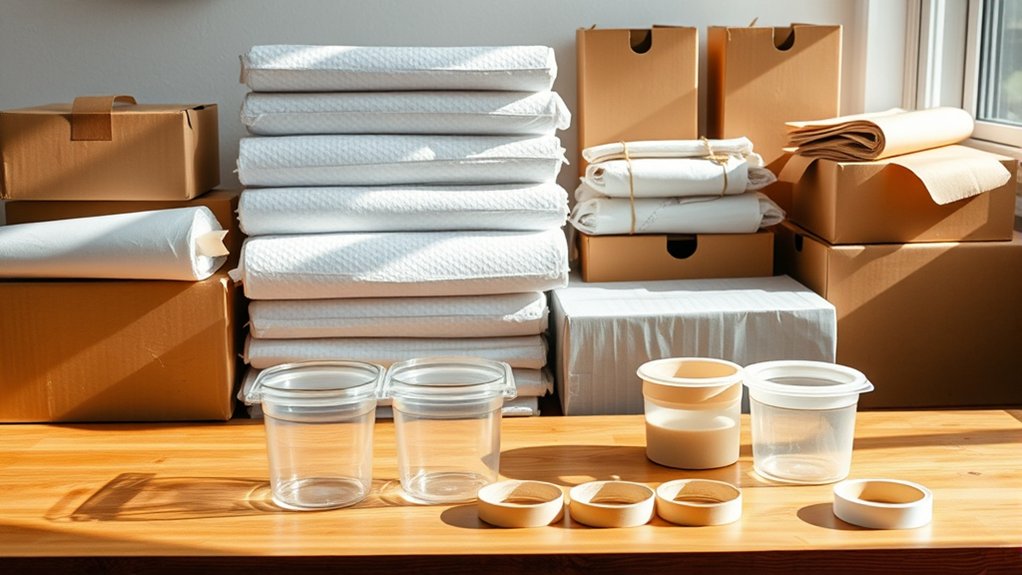
A few key packing supplies can make all the difference when preparing your kitchen items for a move. Start by choosing eco friendly packing materials like recycled cardboard boxes, biodegradable bubble wrap, and paper padding. These options protect your dishes and reduce environmental impact.
Next, gather sturdy boxes in various sizes, packing tape, and markers for labeling. Using dividers or cardboard inserts helps prevent fragile items from shifting.
Gather sturdy boxes, packing tape, and labels; use dividers to keep fragile items secure and organized.
Organizing kitchen supplies efficiently means grouping similar items together—pots with pots, utensils with utensils—so unpacking becomes straightforward. You can also line boxes with towels or linens for extra cushioning.
Don’t forget to keep frequently used items in smaller, easily accessible boxes. By gathering the right supplies and organizing your kitchen tools thoughtfully, you’ll save time, avoid damage, and make your move smoother while staying environmentally responsible.
Clean and Dry Kitchenware Before Packing
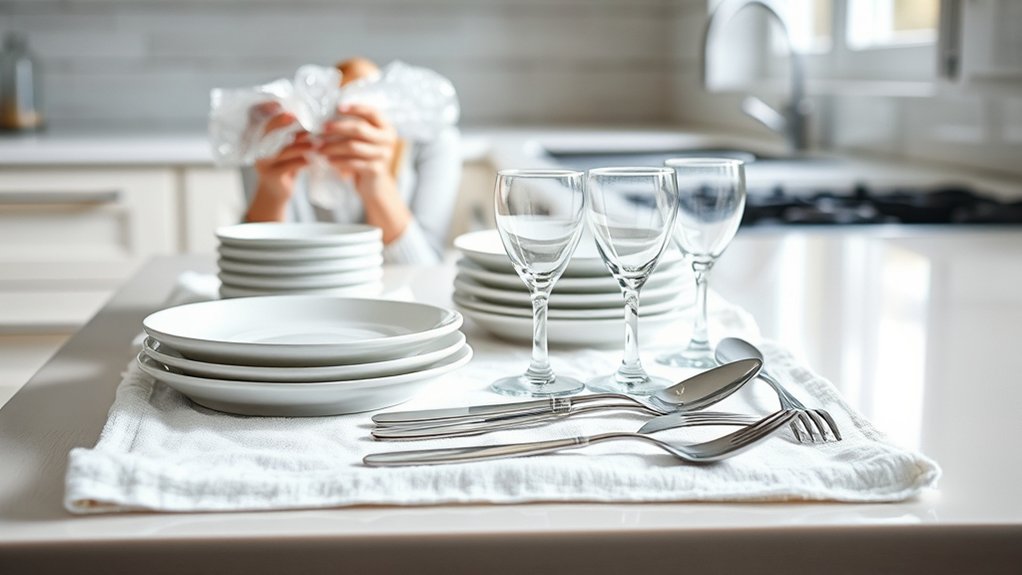
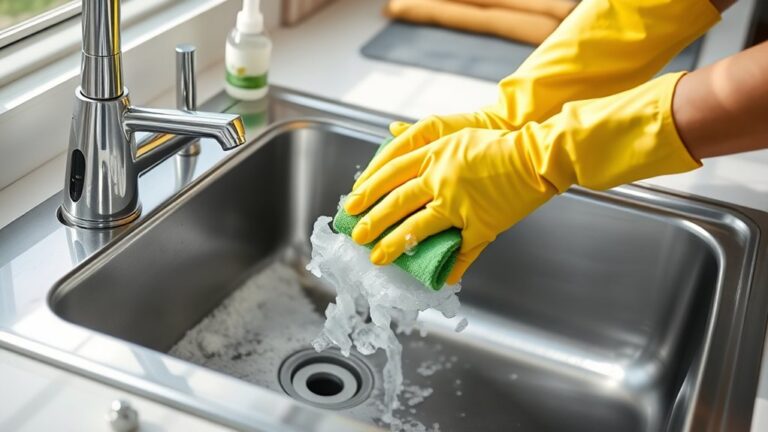
Before you start packing, make certain your kitchenware is completely clean and dry to prevent mold, odors, and damage during the move. Gather your cleaning essentials—dish soap, sponges, and microfiber cloths—to give every item a thorough wash. Pay close attention to hidden spots where food residue can linger, as these can cause unpleasant smells or attract pests.
Once cleaned, dry all kitchenware completely using a towel or by air drying. Moisture trapped inside boxes can ruin your items and create a breeding ground for mold. This step is vital for proper kitchen maintenance, especially when items will be packed away for days or weeks.
Taking the time to clean and dry your kitchenware now saves you from headaches later. It guarantees your belongings stay fresh and ready to use in your new home, streamlining your unpacking process and protecting your investment.
Wrap Fragile Glassware and Dishes Carefully
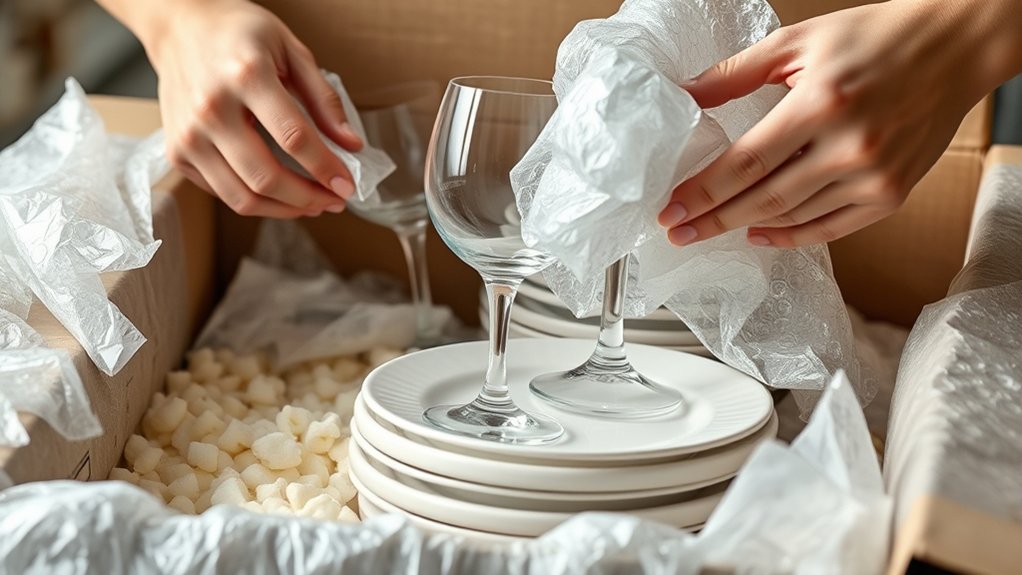
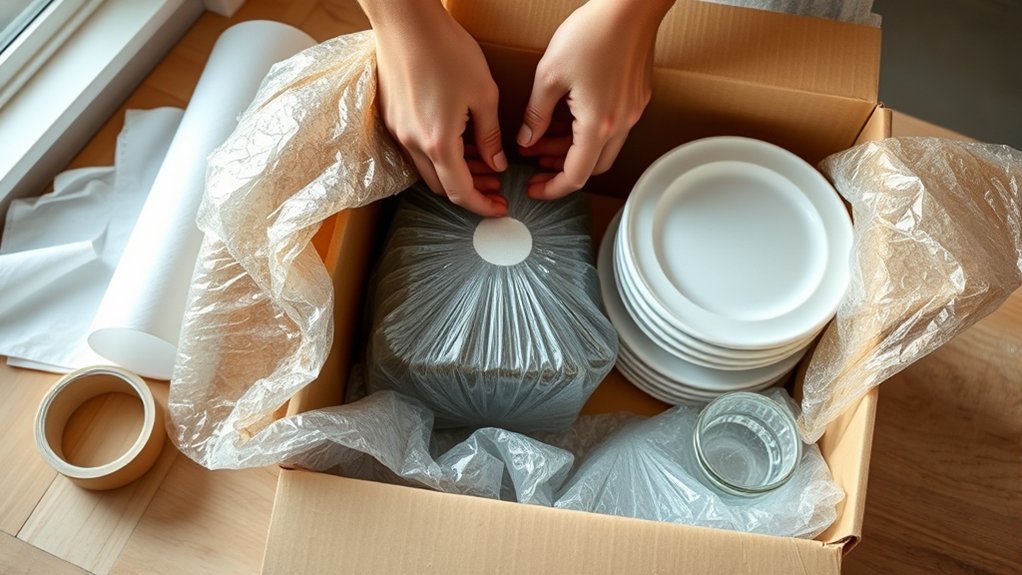
Now that your kitchenware is clean and dry, you can focus on protecting fragile glassware and dishes during packing. Start by wrapping each item individually with bubble wrap, packing paper, or even soft kitchen towels. This extra layer shields your glassware and dishes from bumps and keeps your dishwasher maintenance routine efficient by preventing chips or cracks.
Use sturdy boxes and line them with cushioning materials for added protection. Organizing your kitchen items in labeled boxes also helps with kitchen organization when unpacking.
| Item Type | Wrapping Material |
|---|---|
| Glassware | Bubble wrap or soft towels |
| Dishes | Packing paper or towels |
| Utensils & Tools | Small cloths or paper |
Make sure to fill empty spaces in the boxes with crumpled paper or foam peanuts to avoid shifting during transit. Wrapping fragile items carefully guarantees they arrive intact and keeps your kitchen organized.
Pack Plates and Bowls Vertically to Prevent Breakage
To keep your plates and bowls safe, pack them vertically rather than stacking them flat. This helps reduce pressure and prevent cracks, especially when you add cushioning between each piece. Then, secure the box so nothing shifts during the move.
Vertical Packing Benefits
Although stacking plates and bowls horizontally may seem natural, packing them vertically considerably reduces the risk of breakage during a move. Vertical stacking distributes weight more evenly and minimizes pressure on individual items, preventing cracks and chips.
When you pack vertically, you also create better shelf organization inside your boxes, making it easier to access specific dishes without disturbing the entire stack. This method mimics how plates are stored in cabinets, providing stability and reducing shifting during transit.
Proper Cushioning Techniques
When you pack plates and bowls vertically, adding proper cushioning becomes essential to prevent breakage. Use soft cushioning materials like bubble wrap, foam sheets, or packing paper between each item to absorb shocks.
Focus on packing techniques that keep items snug without forcing them into the box. Layer cushioning materials at the bottom and top of the box for extra protection.
| Item Type | Cushioning Material | Packing Technique |
|---|---|---|
| Plates | Bubble wrap | Wrap individually, vertical |
| Bowls | Foam sheets | Nest inside each other |
| Fragile Glass | Packing paper | Fill gaps, avoid movement |
Secure Box Placement
Because plates and bowls are most vulnerable along their edges, you should always pack them vertically to minimize the risk of breakage. When placing these items in boxes, reinforce the box bottom with extra tape to handle the weight and prevent it from giving out.
Use proper stacking strategies by arranging plates and bowls snugly side by side, with padding like bubble wrap or dish towels between each piece. This vertical placement reduces pressure on fragile edges and distributes weight evenly. Avoid stacking plates flat, which increases the chance of cracks.
Finally, label these boxes clearly as fragile and place them on top of heavier boxes during transport. By combining vertical packing with box reinforcement and smart stacking strategies, you’ll keep your kitchen items safe and intact during your move.
Protect Sharp Items With Covers Before Packing
To keep yourself safe and prevent damage to your belongings, always cover sharp items before packing them. Knife safety is vital when handling sharp kitchen tools. Wrap blades in protective sheaths, blade guards, or even thick cardboard secured with tape to prevent accidental cuts.
If you don’t have specialized covers, use folded dish towels or bubble wrap to shield the edges, ensuring they won’t pierce through packing materials.
Sharp knife handling means never leaving blades exposed in boxes where they can injure you or others during the move. Always point the blade away from your hands and others, and place knives blade-down in boxes lined with stiff cardboard or other rigid materials for extra security.
Label boxes containing sharp items clearly so movers know to handle them with care. Taking these precautions not only protects you but also keeps your knives and other sharp kitchen tools in top condition throughout your move.
Use Towels and Padding to Cushion Kitchen Items
After securing your sharp items, focus on protecting your other kitchenware by using towels and padding. Wrap fragile items like glass bowls, ceramic dishes, and pots in clean kitchen towels or bubble wrap to prevent chips and cracks during the move.
This extra layer of cushioning maintains cooking safety by reducing the risk of breakage that could cause injury later. You can also use towels to separate stacked utensils or plates, ensuring they don’t scratch or damage one another.
When packing, place padded items snugly in boxes to minimize shifting. This method supports utensil organization by keeping similar items together and protected, making unpacking easier and safer.
Avoid overpacking boxes to prevent crushing delicate items. Prioritizing padding and proper wrapping not only safeguards your kitchenware but also upholds cooking safety standards throughout the move, so you can quickly get back to cooking without worry.
Pack Small Tools and Accessories in Containers
When you pack small tools and accessories in containers, you keep everything organized and easy to find. Start by gathering all your small tools—like measuring spoons, can openers, and peelers—and group similar items together.
Use sturdy containers that fit comfortably in your boxes to prevent shifting during the move. Clear plastic bins or compartmentalized organizers work great for container organization because they let you see contents at a glance.
Wrap delicate items individually with bubble wrap or cloth to avoid damage. Don’t overload containers; leaving some space helps protect your tools and makes unpacking simpler.
Label Packing Boxes Clearly With Contents and Instructions
Keeping your small tools organized in containers is a great start, but you’ll want to make sure each box is clearly labeled with its contents and any special handling instructions. Labeling clarity helps you avoid confusion and speeds up unpacking.
Use bold, legible markers or printed labels so instruction visibility is immediate. This way, you’ll know exactly what’s inside and how to handle it without opening every box.
Here’s a quick guide to labeling your kitchen boxes effectively:
| Box Contents | Handling Instructions | Labeling Tip |
|---|---|---|
| Glassware | Fragile – Handle Gently | Use red marker |
| Sharp Utensils | Wrap and Mark Clearly | Add a “Sharp” sticker |
| Small Appliances | Keep Upright | Use waterproof label |
Safely Pack and Move Large Kitchen Appliances
Before moving large kitchen appliances, disconnect and clean them thoroughly to prevent damage and odors. Then wrap and cushion each one securely to protect it during transport. With a little preparation, your appliances will arrive safely and be ready to use.
Disconnect And Clean Appliances
Since large kitchen appliances require careful handling, you’ll want to disconnect and clean them thoroughly before moving. Start by unplugging each appliance to guarantee power cord safety—never yank the cord; instead, grasp the plug firmly.
Proper appliance maintenance means turning off water and gas connections where applicable and draining any remaining liquids to prevent leaks. Clean appliances inside and out, removing food residue and debris that might attract pests or cause damage during transit.
Wipe down surfaces with appropriate cleaners and dry them completely to avoid mold. Taking these steps not only protects your appliances but also makes the moving process smoother.
Secure And Cushion Properly
After disconnecting and thoroughly cleaning your appliances, the next step is to secure and cushion them properly for the move. Start by wrapping each appliance in moving blankets or bubble wrap to protect surfaces from dents and scratches. Use packing tape to keep the cushioning in place without damaging your appliances.
Pay special attention to fragile parts like knobs or glass panels. Proper cushioning guarantees your appliances withstand bumps during transit, just like you’d carefully handle delicate items following specific cooking techniques.
Organize your kitchen items logically, placing heavier appliances at the bottom and lighter ones on top to maintain balance. This kitchen organization approach reduces the risk of shifting and damage.
Taking these precautions will give you peace of mind knowing your large kitchen appliances arrive safely at their new home.
Fill Empty Spaces to Stop Items From Shifting
When you pack kitchen items, filling empty spaces is essential to prevent them from shifting during transit. After placing fragile items and cushioning materials in your box, look for any gaps around them.
Filling gaps with crumpled paper, bubble wrap, or towels helps stabilize the contents, stopping movement that could cause damage. You want everything snug but not overly tight—this balance protects your items without risking breakage from pressure.
Avoid leaving air pockets that let items slide or collide. Smaller items can fill cracks between larger ones, while soft materials act as buffers. Consistently filling gaps reduces the risk of chips, cracks, or dents.
Before sealing the box, give it a gentle shake to check for any movement; if you feel shifting, add more filler. By focusing on filling empty spaces, you ensure your kitchen items arrive safely and intact, making unpacking stress-free and your kitchen ready to use sooner.
Frequently Asked Questions
How Long Can Packed Food Utensils Stay Unused Without Damage?
You can keep packed food utensils unused for several months without damage, as long as you focus on proper food preservation and storage duration. Make sure utensils are clean and dry before packing to prevent rust or mold.
Sealing them in airtight containers or using moisture absorbers helps maintain their condition. If stored in a cool, dry place, they usually stay safe for up to six months or longer, depending on material quality.
Can I Pack Kitchen Items in Plastic Bags Instead of Boxes?
You can’t just toss your kitchen treasures into plastic bags like leaves in the wind. While plastic bags are handy for small items or keeping things dry, they don’t offer the sturdy protection fragile dishes need.
Packing fragile items demands cushioning and structure. Boxes with padding keep your plates safe from the chaos of a move.
What’s the Best Way to Pack Wooden Cutting Boards?
To pack wooden boards safely, wrap each board individually in a soft cloth or bubble wrap to prevent scratches and cracks. Stack them vertically to avoid warping, and place them between sturdy layers of packing paper or cardboard for extra protection. Use packing tape to secure the wrapping.
These packing tips help keep your wooden boards in great shape during the move, so you won’t have to worry about damage when unpacking.
Should I Disassemble Kitchen Gadgets Before Packing?
Yes, you should disassemble kitchen gadgets before packing. Disassembly benefits include reducing the risk of damage by preventing parts from shifting or breaking during transit.
It also makes packing easier and more organized. When you take gadgets apart, you guarantee gadget safety by protecting delicate components and avoiding scratches or dents.
Just keep all screws and small pieces in labeled bags so you can easily reassemble everything later.
How to Handle Packing Items With Sentimental Value?
When packing items with sentimental value, focus on preserving them by treating them with extra care. Wrap each fragile item in soft materials like bubble wrap or cloth to protect it from damage. Use sturdy boxes and fill gaps with cushioning to prevent movement. Label the boxes clearly so you know to unpack them gently. Taking these steps helps keep your cherished belongings safe and intact during your move.
Conclusion
Packing your kitchen carefully can save you lots of hassle. By gathering the right supplies, wrapping delicate glassware, and filling empty spaces, you’ll keep everything safe and sound. Don’t forget to label boxes clearly and protect sharp tools.
Taking these simple steps makes packing kitchen items safely easier and less stressful, helping your belongings arrive in good condition. You’ve got this!