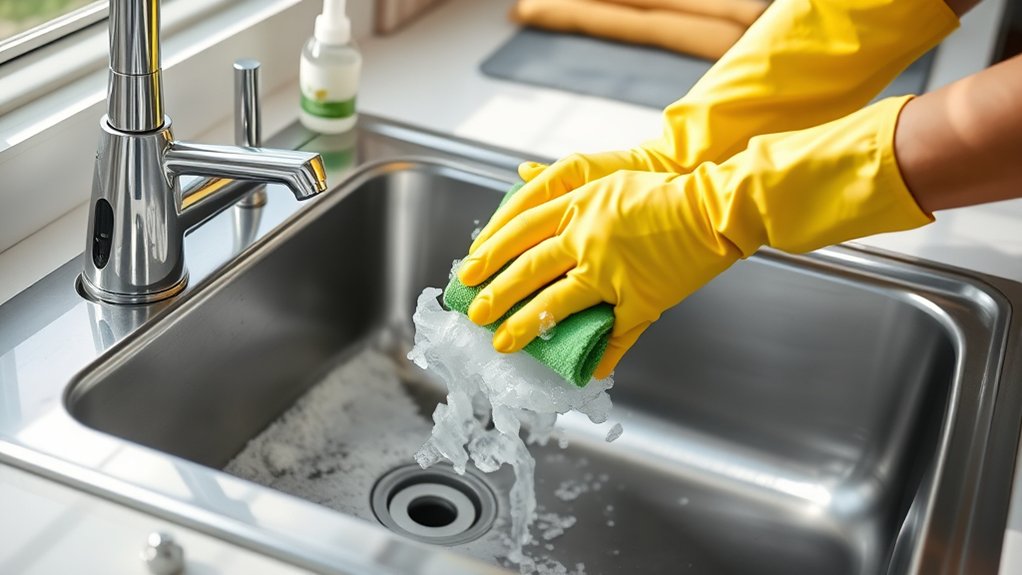
How to Clean a Kitchen Sink in 7 Easy Steps
A grimy kitchen sink can make the whole room feel less clean, even after you’ve tidied up. You’re not alone—many people struggle with lingering odors, hard water spots, and stubborn stains. The right cleaning products can make the job faster and easier, helping you get a fresh, streak-free finish.
Start by clearing out dishes and debris, then rinse the sink to loosen grime. Scrub the basin with baking soda, and tackle stubborn stains or hard water spots with vinegar. Don’t forget the drain and garbage disposal—flush them clean and freshen with citrus peels.
Disinfect the surface to kill bacteria, then polish for a streak-free shine. Stick around, and you’ll uncover the details that make each step foolproof.
Key Takeaways
- Clear dishes and debris, then rinse the sink thoroughly to remove loose grime before deep cleaning.
- Scrub with baking soda to lift stains, focusing on the drain cover, faucet base, and basin edges.
- Treat hard water spots and stains using baking soda paste, vinegar soaks, or stainless steel cleaner.
- Disinfect the sink and drain, letting the solution sit 5-10 minutes before rinsing away bacteria and buildup.
- Polish with a microfiber cloth in circular motions, following the grain for a streak-free, shiny finish.
Clear Out Dishes and Debris First

Before you scrub a single surface, clear every dish, utensil, and food scrap out of the sink. Load dirty dishes into the dishwasher or stack them to the side so you have full access to every corner, drain, and faucet base.
Check the drain for leftover food particles, coffee grounds, or grease that can build up and create odors over time. Rinse away any visible debris with hot water before applying soap or cleaner.
This step matters for food safety because a sink cluttered with food residue becomes a breeding ground for bacteria, especially around the drain and garbage disposal. Leaving debris in place also means you’re just pushing grime around instead of actually cleaning it.
Make clearing the sink part of your daily cleaning schedule, not an occasional task. A few seconds of effort after each meal keeps buildup from turning into a bigger job later and sets you up for a faster, more effective deep clean.
Rinse Your Kitchen Sink to Remove Loose Grime

Once you’ve cleared the sink of dishes and debris, grab your sprayer or a cup of hot water and rinse every surface, from the basin walls to the faucet base. Hot water loosens food particles, grease, and soap scum before you scrub, making the next steps faster and easier.
Your rinsing techniques should match your sink materials. Stainless steel handles strong water pressure well, while softer materials like porcelain or composite need gentler streams to avoid scratches or dulling the finish.
| Sink Material | Best Rinsing Technique | Why It Matters |
|---|---|---|
| Stainless Steel | Firm spray, full coverage | Resists pressure, won’t scratch |
| Porcelain | Gentle, steady stream | Prevents chips and dulling |
| Composite | Warm water, moderate flow | Protects coating from wear |
Take your time here. A thorough rinse means less scrubbing later, and your sink will thank you with a brighter, fresher shine.
Scrub the Sink Basin With Baking Soda

After rinsing, sprinkle baking soda generously across the damp basin, letting it coat every surface you plan to scrub. Baking soda is an ideal cleaner because it’s mildly abrasive enough to lift grime and stains without scratching stainless steel, porcelain, or composite surfaces.
Baking soda’s gentle abrasiveness lifts grime and stains without scratching stainless steel, porcelain, or composite surfaces.
Grab your cleaning tools and focus on areas with buildup around the drain, faucet base, and basin edges.
Use a damp sponge or soft-bristle brush to work the baking soda in circular motions, applying light pressure to tougher spots. You’ll notice a paste-like texture forming as it mixes with water, which helps it cling to vertical surfaces and corners.
Pay attention to these commonly neglected spots:
- The drain cover and surrounding ring
- Faucet handles and their base
- Corners where the basin meets the countertop
Keep scrubbing until you’ve covered the entire basin, then move on to rinsing away the residue.
Remove Stains and Hard Water Spots
Stubborn stains and hard water spots need a little more muscle than a basic scrub. Try a baking soda paste, a vinegar soak, or a stainless steel cleaner for extra shine. Choose the method that works best for your sink’s material and the severity of the buildup.
Use Baking Soda Paste
If your sink’s dealing with mineral deposits or dull stains that regular soap can’t touch, baking soda paste will work wonders. This simple cleaning tip relies on baking soda’s gentle abrasive power to lift grime without scratching most sink surfaces.
Mix baking soda with a small amount of water until you’ve got a thick, spreadable consistency. Apply it directly to stained areas and let it sit for several minutes before scrubbing.
- Use a soft sponge or cloth to work the paste into stubborn spots
- Focus extra attention on areas around the faucet and drain
- Rinse thoroughly with warm water once you’re done scrubbing
For tougher stains, let the paste sit longer before rinsing. You’ll notice a brighter, cleaner sink almost immediately.
Try Vinegar Soak Method
When hard water spots and stubborn stains refuse to budge, a vinegar soak can dissolve them without harsh chemicals. Vinegar benefits include its natural acidity, which breaks down mineral deposits and lifts grime effortlessly.
You’ll want to soak paper towels in white vinegar and lay them directly over the affected areas, letting them sit for 15-20 minutes. For tougher spots, try these soaking techniques to maximize results:
| Stain Type | Soaking Time | Vinegar Ratio |
|---|---|---|
| Hard water spots | 15 minutes | Full strength |
| Light rust stains | 20 minutes | Full strength |
| Soap scum buildup | 10 minutes | 1:1 with water |
| Mineral deposits | 25 minutes | Full strength |
Once you’re done soaking, scrub gently and rinse thoroughly for a spotless finish.
Polish With Stainless Steel Cleaner
After the vinegar soak lifts mineral buildup, a stainless steel cleaner restores that final layer of shine and protects your sink from future spotting. Apply a small amount to a soft microfiber cloth rather than spraying directly onto the sink, since direct application can leave streaks.
Work in the direction of the metal’s grain to avoid stainless steel scratches and achieve an even, professional finish.
- Choose a cleaner formulated specifically for stainless steel, not an all-purpose spray
- Buff in circular motions first, then finish by wiping along the grain lines
- Use a dry cloth afterward to remove excess product and boost shine
These polishing techniques protect your sink’s surface while giving it a streak-free, reflective finish that lasts. Regular polishing keeps water spots from etching permanently into the metal.
Clean the Drain and Garbage Disposal
Why does your sink smell even after you’ve wiped down every surface? The culprit usually hides in your drain or garbage disposal, where food particles and grease build up unnoticed.
Proper drain maintenance starts with flushing the drain weekly using hot water to dissolve grease before it hardens. For a deeper clean, pour half a cup of baking soda down the drain, follow with a cup of white vinegar, and let the mixture fizz for ten minutes before rinsing with hot water.
Flush weekly with hot water, then let baking soda and vinegar fizz away hidden grease for a truly fresh drain.
Garbage disposal cleaning requires its own routine. Turn off the power first, then scrub the rubber splash guard with soapy water to remove trapped grime.
Grind a few ice cubes mixed with coarse salt to scrape away residue clinging to the blades. Finish by running citrus peels, like lemon or orange, through the disposal to cut grease and leave a fresh scent lingering in your sink area.
Disinfect Your Sink to Kill Bacteria
Once your sink is clean and free of debris, it’s time to kill any bacteria lurking on the surface. Choose a disinfectant that’s safe for your sink’s material, such as diluted bleach, white vinegar, or hydrogen peroxide. Apply it generously across the basin, let it sit for at least five minutes, and then rinse thoroughly.
Choose the Right Disinfectant
What disinfectant actually kills the germs lurking in your sink? Choosing disinfectant isn’t about grabbing the strongest-smelling spray—it’s about picking something proven to kill bacteria without damaging your sink’s surface.
Check labels for EPA-registered disinfectants if you want guaranteed germ-killing power, especially after handling raw meat or produce.
If you prefer natural alternatives, you’ve got solid options too:
- White vinegar: Cuts through grime and kills many common bacteria
- Hydrogen peroxide: A powerful oxidizer that disinfects without harsh fumes
- Baking soda paste: Scrubs away buildup while neutralizing odors
Stainless steel handles bleach solutions well, but porcelain and composite sinks can stain or etch.
Match your disinfectant to your sink’s material, and you’ll keep both germs and damage at bay.
Apply and Let Sit
After choosing your disinfectant, don’t just spray and wipe—give it time to actually work. Apply and let sit for the duration listed on the product label, usually five to ten minutes.
This dwell time lets the solution break down bacteria, grime, and buildup clinging to your sink’s surface. Skipping this step means you’re just moving germs around, not killing them.
While you wait, focus on stain removal by letting the disinfectant penetrate tough spots like coffee rings, rust marks, or soap scum. For stubborn stains, apply a bit more product directly and let it soak longer before scrubbing.
Avoid rinsing too early, as cutting the contact time short reduces effectiveness. Set a timer if you tend to forget, then move on to rinsing and drying.
Polish Your Sink for a Streak-Free Shine
Since a damp sink always dries with spots, buffing it while it’s still slightly wet gives you the best shine. Grab a microfiber cloth and work in small circular motions across the entire basin, including the faucet and drain area.
This technique lifts away mineral deposits and leaves a true mirror finish instead of a cloudy film.
For stainless steel sinks, always follow the grain direction as you buff. This prevents fine scratches and improves that reflective shine you’re after.
A few drops of mineral oil or a dedicated stainless steel polish can take the results even further.
Try these tips for best results:
- Use a dry microfiber cloth for the final pass to eliminate moisture
- Buff in the direction of the metal grain to avoid dulling the surface
- Add a drop of baby oil for extra luster on steel basins
Your sink will sparkle like new, free of streaks and water spots.
Frequently Asked Questions
How Often Should I Deep Clean My Kitchen Sink Each Week?
You should deep clean your kitchen sink at least once a week to keep it fresh and germ-free. Start by scrubbing every surface with a quality cleaning soap to lift grease and food residue.
Once you’ve rinsed it well, don’t skip the disinfection process. It’s essential for killing bacteria that build up from daily use.
Sticking to this weekly routine keeps your sink sparkling and your kitchen genuinely hygienic.
Can I Use the Same Method for Stainless Steel and Porcelain Sinks?
No, you’ll want to adjust your approach for each material. For stainless steel cleaning, scrub with the grain using baking soda or a vinegar rinse to avoid scratches and streaks.
Porcelain maintenance requires gentler care. Use non-abrasive cleaners since harsh scrubbing can dull or chip the glossy finish.
You can disinfect both with diluted bleach occasionally, but always rinse thoroughly and dry with a soft cloth to keep either surface looking its best.
What Household Items Should Never Be Mixed When Cleaning Sinks?
Never mix bleach and ammonia—this theory holds true every time, and it’s worth investigating why. When combined, they trigger dangerous chemical reactions that release toxic fumes capable of harming your lungs.
You should also avoid mixing bleach with vinegar, as this creates chlorine gas. Always check labels before combining cleaners, and never assume two products are safe together just because they work well individually on your sink.
Is It Safe to Clean a Sink With a Garbage Disposal Running?
No, you shouldn’t clean a sink while the garbage disposal’s running. For disposal safety, always switch it off and unplug or cut power before scrubbing around it.
Cleaning precautions matter here—reaching into a running disposal risks serious injury from blades or moving parts. Instead, turn it off, let it fully stop, then clean the splash guard and drain area with a brush.
You’ll stay safe and still get a spotless sink.
How Do I Prevent My Sink From Developing Odors Between Cleanings?
To keep odors at bay, you’ll want to focus on odor elimination through simple preventative measures. Run cold water with your disposal after every use, and toss in citrus peels to freshen things up naturally.
Don’t let food scraps linger in the sink overnight—rinse them away promptly. Once a week, flush the drain with baking soda and vinegar, followed by hot water. These small habits keep your sink smelling clean between deeper scrubbings.
Conclusion
And there you have it—your kitchen sink is sparkling clean! With just these seven simple steps, you’ve gone from grimy to gleaming in no time. Don’t let dirty dishes or stubborn stains pile up again; a quick scrub now and then keeps the dreaded deep clean at bay.
Remember, a little elbow grease goes a long way, so roll up your sleeves and keep your kitchen sink shining like new every single day!