How to Decorate Kitchen Counters
A cluttered kitchen counter can make cooking and daily routines feel more stressful than they need to be. If you’re struggling to keep essentials organized while maintaining a stylish space, you’re not alone. These kitchen counter decorating ideas can help you create a polished, practical setup without sacrificing valuable workspace.
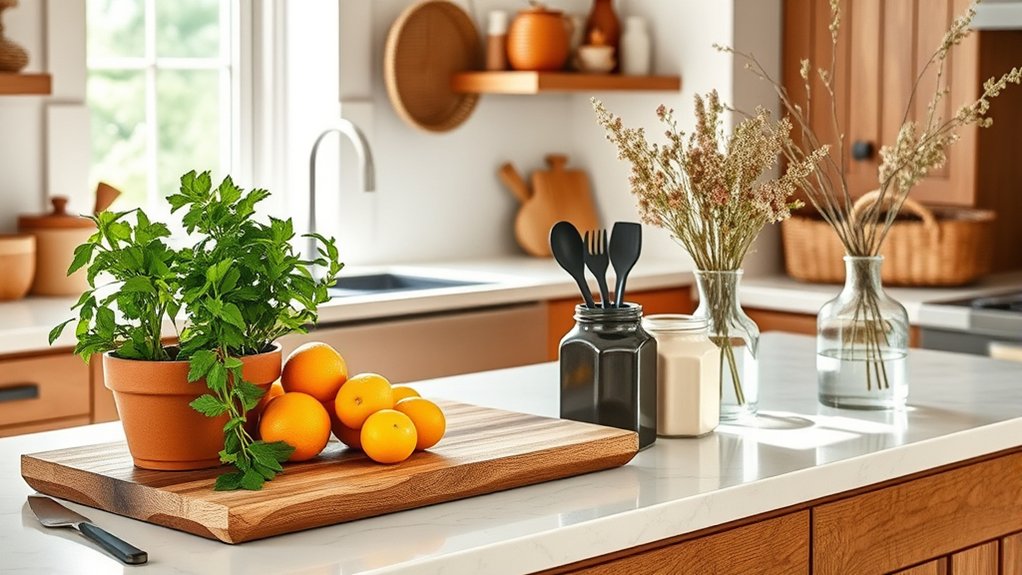
Decorate kitchen counters by clearing clutter and keeping only everyday essentials within reach. Group coffee supplies, oils, or sink items on attractive trays, and assign areas for prep, serving, or brewing. Choose accessories that complement your countertop’s colors and materials, such as coordinated canisters, display boards, or small plants. Arrange appliances neatly and store occasional tools away.
Leave enough open workspace for cooking, clean spills promptly, and refresh seasonal accents occasionally. The following tips can help you refine every detail.
Key Takeaways
- Declutter counters first, keeping only frequently used appliances and essentials while storing, donating, or discarding everything else.
- Create functional zones for food preparation, serving, coffee, and sink tasks using trays, labeled containers, and organized accessories.
- Coordinate decor with your kitchen’s style, countertop materials, colors, and finishes for a cohesive appearance.
- Add layered boards, canisters, greenery, candles, or small decorative objects while maintaining varied heights and clear visual space.
- Clean counters regularly, promptly wipe spills, and refresh seasonal decor to preserve a welcoming, hygienic, and uncluttered kitchen.
Clear Your Counters Before Decorating

Before decorating, clear your kitchen counters of unused appliances, dishes, mail, and other clutter. A clean starting point helps you see the available space and prevents decorations from competing with everyday mess.
Clear your counters first so your decorations have room to shine and your kitchen feels calm, clean, and functional.
Remove everything, then sort each item into four groups: keep, relocate, donate, or discard. Return only essentials you use regularly, and store occasional tools inside cabinets, drawers, or a pantry.
Recycle papers, wash stray dishes, and wipe the entire surface to remove crumbs, grease, and dust. Don’t shove counter clutter into nearby corners, where it can quickly return.
Instead, use trays, bins, or drawer organizers to support surface organization without crowding the work area. Check cords, small appliances, and containers for damage or expired contents before putting anything back.
As you clear the counters, leave enough open space for food preparation and easy cleaning. Your decorations will look more intentional when they sit on a tidy, uncluttered foundation.
Keep this reset simple so you can maintain it daily.
Give Each Counter Area a Purpose
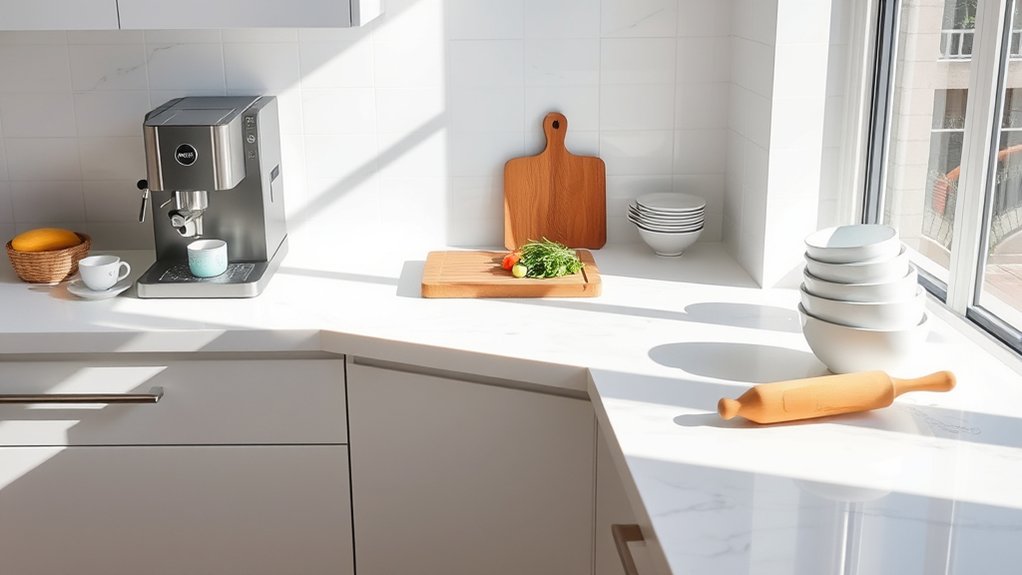
Give each counter area a clear purpose to keep your kitchen organized and efficient. For example, create a prep zone for chopping, a serving station for plating, and a coffee corner for your morning routine. This setup makes daily tasks easier while keeping your counters stylish and functional.
Assign a Prep Zone
Assign each section of your counter a specific prep task, such as chopping vegetables, mixing ingredients, or setting out ingredients. Designate the area nearest your cutting board for meal prep, and keep your knife, peeler, and measuring tools within reach.
Use a separate corner as a snack station, where you can place fruit, containers, and grab-and-go options. Store frequently used ingredients in attractive jars or labeled bins nearby, but leave enough open space to work comfortably.
A small tray can corral oils, spices, and utensils without making the counter look cluttered. Choose durable, easy-to-clean surfaces for active zones, and wipe them after each use.
When every section has a job, you’ll work faster, reduce mess, and keep your kitchen counters looking intentional.
Create a Serving Station
Turn one section of your counter into a serving station where you can plate meals, fill glasses, and set out finished dishes. Keep this area clear from prep tools so you can transfer food smoothly from the stove or oven.
Place attractive platters, serving bowls, and utensils nearby. Use a tray to group smaller items and simplify cleanup.
Leave enough open space for meal presentation, especially when you’re serving several dishes at once. Add a washable runner or heat-resistant mat to protect the surface while giving the station a polished look.
For a party setup, arrange plates, napkins, and condiments where guests can reach them without crowding the cooking zone.
Choose containers that match your kitchen’s style, but remove extras that compete with the food or restrict movement.
Designate a Coffee Corner
- Place mugs on a compact shelf or riser.
- Store coffee, tea, and filters in matching canisters.
- Add a small plant or framed print for warmth.
Choose containers that complement your kitchen’s colors and materials. Leave enough room to prepare drinks comfortably.
Hide extra supplies in a nearby drawer or cabinet. With a designated corner, you’ll start each morning with less searching and more calm, turning an everyday routine into a soothing ritual.
Choose a Style That Fits Your Kitchen
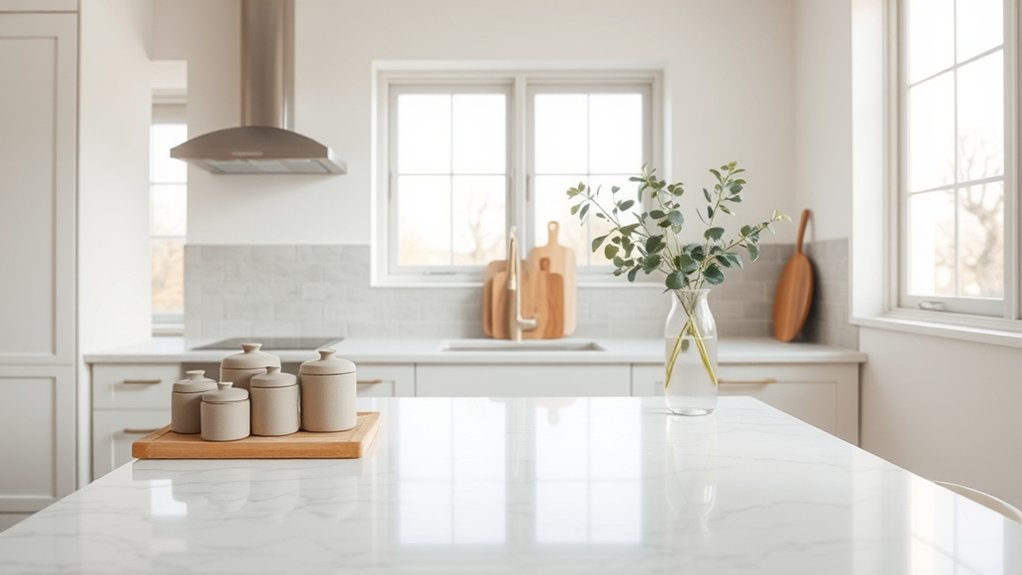
Choose a style that complements your kitchen’s existing colors, materials, and overall mood. If your space feels modern, choose streamlined containers, geometric shapes, and minimal accents.
Choose kitchen accessories that complement your existing style through streamlined forms, coordinated colors, and thoughtfully selected accents.
For a farmhouse kitchen, select pieces with simple forms, warm finishes, and familiar textures. A traditional room pairs well with classic silhouettes and polished details, while an eclectic kitchen can handle bold patterns and unexpected combinations.
Study your countertop materials before choosing accessories. Wood, stone, laminate, and concrete each create a different visual foundation, so select items that reinforce rather than compete with that character.
Use color coordination to connect your counter with nearby cabinets, backsplash tiles, appliances, or hardware. You don’t need an exact match; repeat one or two tones for a unified appearance.
Keep your choices practical, too. Select durable finishes, appropriately sized pieces, and accessories you’ll use regularly.
When every item suits your kitchen’s style and function, your counters will look intentional instead of crowded. Reassess seasonal accents sparingly to maintain balance and consistency.
Add Greenery Without Losing Workspace
Bring life to your kitchen with greenery that fits neatly into unused corners rather than taking over valuable prep space. Choose compact Indoor plants, such as herbs, succulents, or pothos, and place them where they won’t interrupt cooking.
A sunny windowsill, the space beside your sink, or a corner near the refrigerator can provide natural color without crowding your counters.
Use decorative planters to complement your kitchen’s style, but prioritize lightweight, watertight designs that protect surfaces.
Keep taller plants behind shorter items, and trim trailing vines so they don’t spill into your workspace. Rotate pots occasionally to give each plant even light and balanced growth.
Create a calm, welcoming feeling with three simple choices:
- Add herbs for fresh fragrance and convenient seasoning.
- Choose greenery that reflects your personality.
- Remove struggling plants before they create clutter.
Leave the busiest prep areas clear, and your greenery will feel intentional, revitalizing, and easy to maintain every day.
Display Boards and Trays With Purpose
Give your counters purpose with functional trays that keep everyday essentials neatly corralled. Layer decorative boards behind them to add height and visual interest. Group frequently used items together so your workspace stays organized, accessible, and easy to use.
Choose Functional Trays
A functional tray turns a kitchen counter display into an organized, purposeful arrangement. Choose a size that gathers everyday essentials without swallowing your workspace.
A shallow tray suits oils and spices, while a sturdy handled option makes coffee supplies easy to move. Let its material support your kitchen’s mood: wood adds warmth, metal feels crisp, and ceramic brings gentle color.
Use your tray to create a small moment of comfort:
- Coffee corner: Group mugs, beans, and a scoop for relaxed mornings.
- Fresh produce: Hold decorative fruit where you’ll see and enjoy it.
- Cooking essentials: Keep salt, pepper, and olive oil within reach.
Vintage trays can add character, but check that their surfaces clean easily and won’t wobble. Choose pieces that make routines smoother, contain visual clutter, and give each counter item a clear, useful home.
Layer Decorative Boards
Once your functional tray has gathered daily essentials, layer in a decorative board to add height, texture, and personality. Stand a wooden cutting board behind the tray, leaning it securely against the backsplash.
Its warm grain creates a simple backdrop without taking valuable counter space. For decorative board ideas, try a marble pastry board, woven charger, or narrow slate board that complements your kitchen’s finishes.
Vary shapes and materials to keep the arrangement interesting, but choose pieces that look intentional together. Use layered board techniques by placing the largest board in back, a smaller board slightly forward, and the tray in front.
Leave enough of each piece visible to appreciate its character. Choose boards with smooth, cleanable surfaces, and avoid leaning them near heat or where they could slide.
Rotate boards seasonally for a fresh look.
Group Everyday Essentials
Group everyday essentials on a tray or display board so they’re easy to reach without looking scattered. Choose a piece that fits your counter’s scale and complements your kitchen’s colors.
Use it to gather items you reach for daily, such as:
- A coffee setup with mugs, beans, and a spoon makes mornings feel welcoming.
- Olive oil, salt, and pepper turn meal prep into a polished, practical station.
- Hand soap, lotion, and a small towel create a tidy, inviting sink area.
Leave breathing room around each group, and remove anything you don’t use regularly. For effective counter organization, select trays with raised edges to contain spills and handles for easy lifting.
These simple storage solutions keep essentials visible while protecting your counters from clutter. You’ll gain function, warmth, and a calmer kitchen.
Style Canisters for Everyday Ingredients
Choose matching canisters for everyday staples such as flour, sugar, coffee, and pasta to keep your counters organized and visually cohesive. Select glass, ceramic, stainless steel, or wood-lidded designs to suit your kitchen’s personality.
Choose coordinated canisters for flour, sugar, coffee, and pasta to create an organized, cohesive, and stylish kitchen display.
Glass lets you see contents quickly, while opaque containers create a calmer, more uniform look. Opt for airtight lids to preserve freshness and prevent spills, especially for coffee, flour, and sugar.
Keep sizes practical: use larger vessels for frequently used staples and smaller ones for less common ingredients. Label each container with clear, consistent tags, and include expiration dates when helpful.
For polished ingredient organization, align canisters by height or arrange them in a gentle size progression. Leave enough space to remove each lid comfortably, and wipe containers regularly to keep them looking fresh.
Investigate different canister styles, but limit finishes and colors so your display feels intentional rather than busy. A small tray can define the collection and catch stray crumbs without overwhelming your counter.
Arrange Small Appliances Neatly
Group similar appliances, like your toaster and coffee maker, together for a tidy look. Give each group its own counter zone based on how often you use it. This keeps your counters organized and makes daily tasks easier.
Group Similar Appliances
Keep similar appliances together to create a tidy, functional counter. Group coffee-making tools, cooking gadgets, and baking equipment so you can find what you need without disrupting your routine.
This simple appliance organization makes your kitchen feel calmer and more intentional. Arrange items by appearance, too: matching finishes or similar shapes can create pleasing counter symmetry without making the space look overly staged.
Keep frequently used appliances at the front of each group, while storing occasional-use items behind them or in a nearby cabinet.
- Coffee corner: Place your machine, grinder, and frother together for smoother mornings.
- Cooking cluster: Keep the toaster, air fryer, and slow cooker visually connected.
- Baking group: Pair the mixer, scale, and flour canister for easy preparation.
You’ll enjoy a counter that feels orderly, welcoming, and effortless to maintain each day.
Create Clear Counter Zones
When you create clear counter zones, you’ll give each small appliance a designated place and make daily tasks easier. Start with a quick inventory, then group appliances by how often you use them.
Keep the coffee maker near mugs, the toaster beside bread storage, and the blender close to prep tools. This practical counter organization keeps routines smooth without crowding your workspace.
| Zone definition | Appliance placement |
|---|---|
| Morning drinks | Coffee maker and kettle |
| Quick meals | Toaster and microwave |
Leave a clear strip between zones for chopping, serving, or unloading groceries. Use a tray to contain frequently used items and hide cords behind appliances or clips.
Store occasional-use machines in a cabinet to preserve open space. Your zones should match your habits, so adjust them after a week of daily use.
Group Counter Decor on Trays
A tray gives your counter decor a clear, organized home while making it easy to move when you need extra workspace. Choose a tray that suits your kitchen’s style and fits the items you use daily.
Wood adds warmth, metal feels polished, and ceramic creates a softer accent. Keep the arrangement intentional by combining different heights, textures, and shapes without overcrowding the surface.
Try this simple tray grouping:
- Place a small plant or vase at the back for height and freshness.
- Add a candle, salt cellar, or small canister for useful charm.
- Finish with one decorative object that reflects your personality.
Leave a little breathing room between pieces so each item looks purposeful. A tray also makes decor organization easier because you can lift everything at once for cleaning or meal preparation.
Keep the arrangement near a natural activity zone, such as beside your coffee maker or cooktop, so beauty and convenience work together. Refresh one piece occasionally to keep the display feeling lively.
Adapt Counter Decor for Small Kitchens
In a small kitchen, choose counter decor that earns its space without making the room feel crowded. Match your countertop color to pieces that visually blend in, such as a slim ceramic utensil holder, pale cutting board, or compact planter.
Choose vertical shapes to draw the eye upward rather than outward, and select items that serve a purpose while adding personality. A narrow vase can hold fresh herbs, while a lidded canister offers attractive storage for frequently used ingredients.
Use reflective finishes, like glass or polished metal, to bounce light around the room and make surfaces feel more open. For warmth, add one or two decorative accents in a consistent hue instead of mixing many competing colors.
Consider your counter’s edges, corners, and backsplash when choosing scale. Low-profile pieces work well beneath cabinets, while a single taller item can create balance.
Rotate seasonal details occasionally to refresh your kitchen without adding permanent visual weight.
Keep Counters Clutter-Free
Keep only the items you use regularly on your counters, and store everything else in cabinets, drawers, or a nearby pantry. A clear surface makes your kitchen feel calmer, larger, and easier to enjoy. Choose attractive essentials, such as a coffee maker, utensil crock, or fruit bowl, then give each one a designated home.
Use these simple habits to protect that peaceful feeling:
- Sort daily: Return stray mail, bags, and appliances to their proper places before bedtime.
- Group thoughtfully: Place cooking tools near the stove and beverage supplies beside the coffee maker.
- Refresh weekly: Remove rarely used pieces, wipe beneath decor, and reconsider what deserves counter space.
Smart Storage solutions can include drawer dividers, wall rails, appliance garages, and baskets inside cabinets. Keep counters from becoming a drop zone by adding a tray near the entrance for keys and receipts.
Pair your system with consistent cleaning routines: wipe spills immediately, clear crumbs after meals, and sanitize high-touch areas regularly. Your kitchen will stay welcoming without constant effort.
Frequently Asked Questions
How Often Should Kitchen Counter Decor Be Cleaned and Refreshed?
Clean kitchen counter decor weekly, and refresh it every one to three months. Wipe decorative objects, trays, and containers during your regular countertop organization routine, especially near sinks, stoves, and food-preparation areas.
Remove clutter immediately whenever it accumulates. Replace seasonal decorations as seasons change, checking each piece for dust, grease, moisture, or damage first.
You’ll keep your counters attractive, hygienic, and functional without letting decorations interfere with cooking or daily cleaning.
Which Materials Withstand Heat and Moisture Best for Kitchen Counter Accessories?
Heat resistant materials perform best beside stoves, while Moisture proof surfaces handle splashes and humidity reliably. Think of these accessories as kitchen armor: choose stone, stainless steel, tempered glass, silicone, or glazed ceramic for durable performance.
Avoid untreated wood, porous marble, and ordinary plastic near heat or standing water. You’ll get the longest service from sealed surfaces, washable finishes, and trivets that prevent direct contact with hot cookware.
How Can Renters Decorate Kitchen Counters Without Making Permanent Changes?
You can refresh your counters with temporary decor that adds style without risking your security deposit. Choose trays, cutting boards, canisters, and utensil holders that sit freely and won’t require drilling or adhesive.
Use nonpermanent accessories, such as removable hooks, peel-and-stick liners, or countertop organizers, only on surfaces your lease permits.
Rotate plants, artwork, and textiles seasonally. Keep everything easy to lift, clean, and relocate when you move out.
What Safety Precautions Should I Follow When Decorating Near Stovetops and Outlets?
About 30% of home fires start in kitchens, so prioritize Fire safety when decorating near stovetops. Keep towels, paper, curtains, and wooden décor well away from burners, and never block ventilation.
For Electrical hazards, maintain distance between outlets, cords, and heat or water. Don’t overload power strips, conceal cords beneath rugs, or use damaged cables.
Secure lightweight items, keep decorations away from controls, and remove everything before cooking or cleaning.
How Can I Coordinate Counter Decor With Existing Kitchen Lighting?
Coordinate your counter decor with existing lighting by matching colors, finishes, and visual weight. For effective Countertop color coordination, compare your countertop, backsplash, and accessories under daytime and evening illumination.
Warm bulbs can deepen beige or wood tones, while cool bulbs sharpen whites and grays. Create Lighting harmony by repeating fixture finishes in trays or containers, avoiding shiny clutter that causes glare, and balancing bright areas with softer accents.
Conclusion
Your kitchen counters should feel useful, welcoming, and unmistakably yours. Clear the clutter, define each area’s purpose, and choose decor that complements your style without stealing valuable workspace.
A little greenery, a purposeful tray, or a neatly arranged appliance can make a big difference. Remember, less often says more: when every item earns its place, your kitchen can breathe.
Keep refining your arrangement as your needs change, and you’ll create beautifully functional kitchen counters that work well every day.