How to Degrease Kitchen Cabinets in 10 Steps
Greasy kitchen cabinets can make an otherwise clean kitchen feel grimy, and stubborn buildup can be frustrating to remove. You’re not alone—many people struggle to find a method that cuts through grease without damaging the finish.
This guide to how to degrease kitchen cabinets in 10 steps will help you clean them with confidence.
Empty your cabinets, then mix a DIY degreaser using vinegar, baking soda paste, or dish soap with warm water. Test it on a hidden spot first to protect your finish.
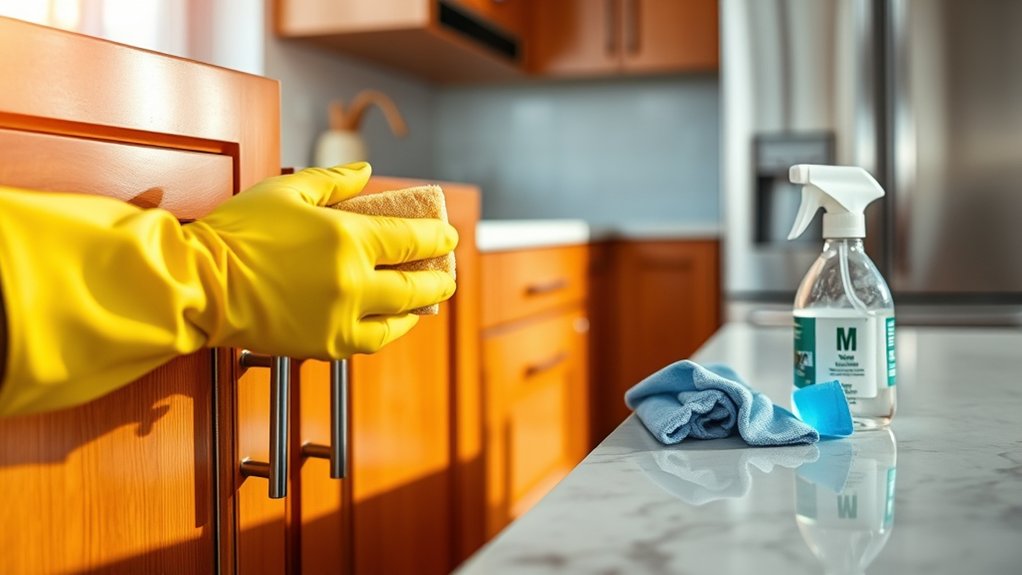
Wipe doors and frames in circular motions, then scrub handles and hinges with an old toothbrush. Rinse thoroughly, dry immediately, and buff with a microfiber cloth for shine.
Finally, set up preventative habits like weekly wipe-downs. Keep reading for the exact steps and product picks to make the process foolproof.
Key Takeaways
- Empty cabinets, sort contents, and gather cleaning supplies like degreaser, microfiber cloths, and gloves before starting.
- Mix DIY degreasers using vinegar, baking soda paste, or dish soap, testing on hidden spots first.
- Wipe surfaces in circular motions, focusing on grease-prone areas near stoves, handles, and hinges.
- Rinse and dry thoroughly using two buckets, drying immediately to prevent water spots or swelling.
- Buff with a microfiber cloth in overlapping circles for a streak-free, polished finish.
Clear Out Cabinets and Gather Supplies
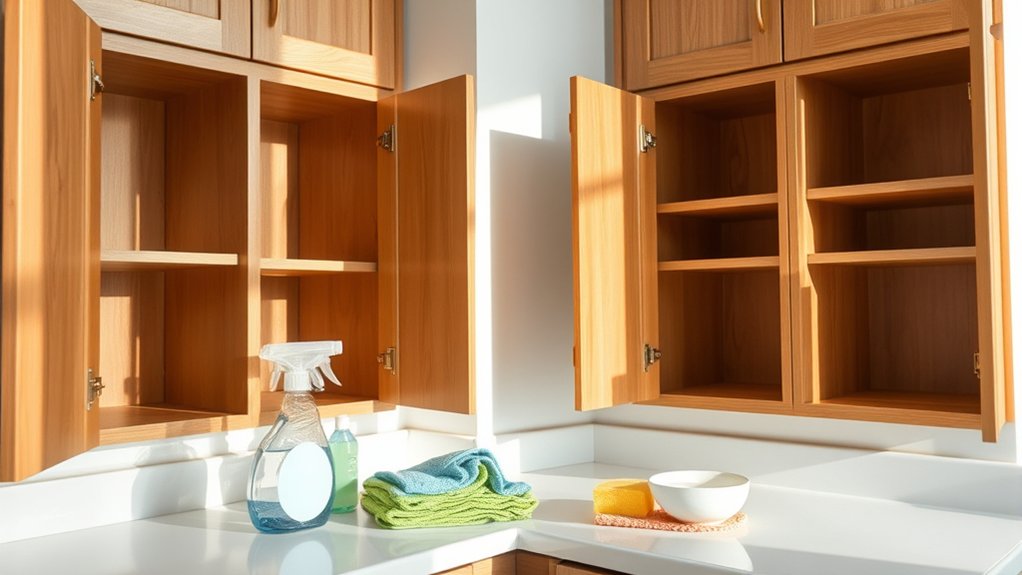
Before you tackle grease buildup, empty your cabinets completely and set the contents aside on your counters or a nearby table. This gives you full access to every surface and prevents accidental spills on your dishes or cookware during the cleaning process.
Empty your cabinets completely before cleaning—it gives you full access and keeps your dishes safe from spills.
Use this opportunity to sort through items you no longer need. Donate or toss anything expired, broken, or unused. This is the perfect moment to apply some organizing tips you’ve been meaning to try, like grouping similar items together or labeling shelves by category.
While cabinets are empty, consider upgrading your storage solutions. Add shelf liners, lazy Susans, or stackable bins to maximize space once you’re done cleaning.
Next, gather your supplies: a degreaser (store-bought or homemade with vinegar and dish soap), microfiber cloths, a soft-bristled brush, warm water, and rubber gloves. Having everything within reach keeps you efficient and guarantees you don’t scramble mid-task.
Mix a DIY Kitchen Cabinet Degreaser
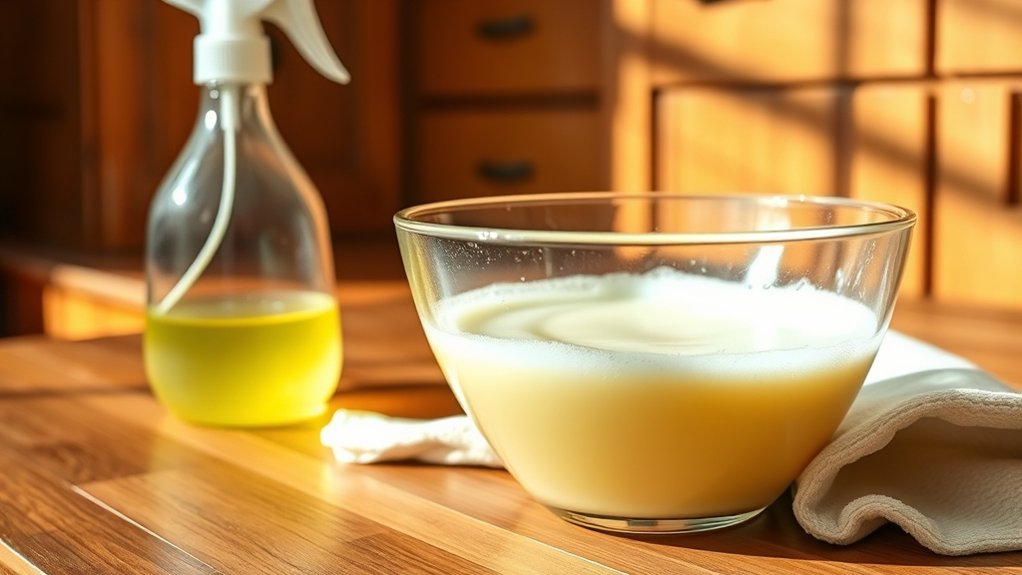
If you’d rather skip store-bought cleaners, you can whip up an effective degreaser using items already in your pantry. Several DIY solutions tackle grease just as well as commercial products, without harsh chemicals or lingering odors.
One of the simplest homemade recipes combines equal parts white vinegar and warm water in a spray bottle. The acidity cuts through grease and grime without damaging most cabinet finishes.
For tougher buildup, mix a few tablespoons of baking soda with warm water to form a paste. Spread it over greasy spots, let it sit for a few minutes, then wipe clean with a damp cloth.
You can also combine dish soap with warm water for a gentler option that still breaks down oily residue. Add a few drops of lemon essential oil if you want a fresh scent.
Test any mixture on a small, hidden area first to verify it won’t harm your cabinet’s finish.
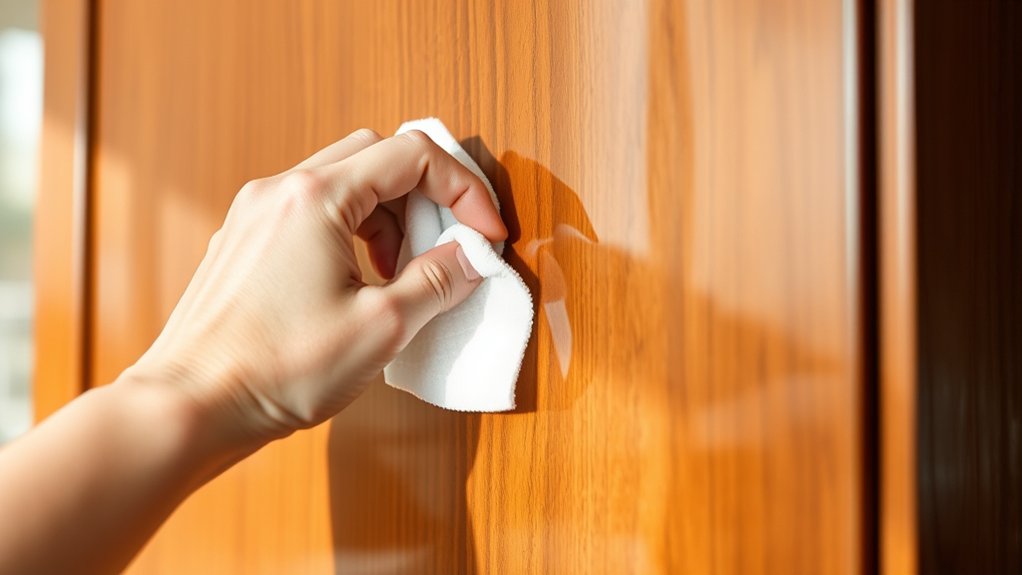
Before cleaning the entire cabinet, test your solution on an inconspicuous spot, such as the inside edge of a door or a bottom corner. Apply a small amount, let it sit for a minute or two, then wipe it away. Check for discoloration or damage to the finish. If the area looks fine, you’re ready to clean the rest of the cabinet.
Choose An Inconspicuous Area
Why risk damaging your cabinet’s finish before you’ve even tackled the grease? Before you scrub every surface, pick a spot where mistakes won’t matter. This simple step saves you from stripping paint or dulling the finish across your whole kitchen.
Look for areas that won’t draw the eye during everyday use. You want somewhere realistic enough to show how the cleaner reacts, but tucked away from view.
- Inside a cabinet door, near the hinges
- Behind cabinet hardware, like handles or knobs
- The bottom edge of a lower cabinet
- A corner panel near your kitchen ventilation system
Once you’ve chosen your spot, you’re ready to apply a small amount of solution and watch how the surface responds.
Apply A Small Amount
With your hidden spot picked out, dab a small amount of your degreasing solution onto the surface using a soft cloth or cotton swab. Applying small amounts lets you gauge how the cabinet finish reacts without risking damage to a larger area.
Controlling product quantity matters here—too much solution can seep into seams or strip away protective coatings before you’ve had a chance to assess the results.
Let the solution sit for about one minute, mimicking how long you’d leave it during actual cleaning. Then wipe it away with a clean, damp cloth and examine the spot closely. Check for discoloration, dullness, or any texture changes.
If the cabinet looks unaffected, you’ve got a green light to move forward with confidence.
Check For Discoloration
How do you know if your test spot passed? Give your cleaner a few minutes to sit, then wipe it away and inspect the wood closely. You’re watching for subtle shifts in color, dull patches, or a cloudy film that wasn’t there before. These reactions reveal discoloration causes before you commit to cleaning every cabinet surface.
Check for these warning signs:
- Color shift: The wood looks lighter, darker, or blotchy
- Finish dulling: The surface loses its original sheen
- Cloudy residue: A hazy film remains after wiping
- Texture change: The wood feels rough or tacky
If everything looks consistent, you’re clear to proceed. This simple staining prevention step protects your cabinets from permanent damage and costly refinishing down the road.
Wipe Down Cabinet Doors and Frames
Once you’ve mixed your degreasing solution, dip a microfiber cloth into it and wring out the excess liquid so it’s damp, not dripping. Wipe down each cabinet door and frame using small circular motions, focusing on areas near the stove and handles where grease builds up fastest. Work in sections so the solution doesn’t dry before you can wipe it away.
Pay attention to your cabinet materials since wood, laminate, and painted surfaces react differently to cleaning solutions. Wood cabinets need gentler pressure to avoid stripping finishes, while laminate can handle slightly more scrubbing. Always test a small, hidden spot first if you’re unsure.
Keep ventilation tips in mind while you clean. Open a window or turn on your exhaust fan to disperse fumes from cleaning products. This keeps the air fresh and prevents you from breathing in concentrated grease and cleaner residue as you work through each cabinet section.
Scrub Grease From Handles, Hinges, and Corners
Because grease loves to hide in tight spaces, handles, hinges, and corners need a bit more attention than flat surfaces. These small areas trap grime fast, and a simple wipe-down won’t cut it. Grab an old toothbrush. It’s perfect for reaching into grooves and tight angles that cloths can’t handle.
Grease hides where you least expect it—tight corners and hinges demand more than a quick wipe to truly clean.
- Dip the toothbrush in warm, soapy water or a degreasing solution to loosen handle grime.
- Scrub hinge buildup gently, working the bristles into every crevice where grease collects.
- Use a toothpick or cotton swab to clear out stubborn residue in screw holes and corners.
- Wipe each area with a clean, damp cloth to remove loosened grease and soap residue.
Work slowly through each cabinet, focusing on handles first since they get the most contact from hands. Once you’ve tackled the hinges and corners, step back and check for any missed spots before moving on.
Clean Inside Cabinets and Drawers
Although the outside of your cabinets might shine now, grease and crumbs often sneak inside drawers and shelves, too. Empty each cabinet and drawer completely, then vacuum up crumbs before wiping surfaces with a mild soap-and-water solution. For sticky residue, add a splash of vinegar to cut through grime without leaving harsh fumes behind. Dry every surface thoroughly to prevent moisture from warping wood or encouraging mold growth.
While everything’s out, take advantage of the moment to tackle cabinet organization. Sort items by category, discard anything expired or unused, and group similar tools or cookware together. Drawer labeling makes this system stick long-term, helping everyone in your household return items to their proper spot instead of shoving them wherever there’s space.
Once you’ve cleaned and organized, line shelves with washable liners to catch future spills. This small step saves you from repeating a deep clean too soon and keeps your cabinets fresh longer.
Rinse Away Soap Residue Thoroughly
Why does leftover soap matter so much? Soap residue attracts dust and grease faster than bare wood, leaving cabinets dirtier than before you started. Thorough rinsing removes every trace of cleaner so surfaces stay cleaner longer and finishes stay protected. Skipping this step undoes all your hard work, so don’t rush it.
Grab a clean cloth and fresh water, then wipe each surface until it feels smooth and squeak-free. Change your rinse water often; dirty water just redistributes grime. Pay extra attention to corners, hinges, and handles, where soap residue tends to hide. Dry cabinets immediately with a soft towel to prevent water spots and swelling, especially on wood.
- Use two buckets: one for rinsing, one for wringing
- Check cloth cleanliness between wipes
- Rinse hardware separately for a streak-free shine
- Dry thoroughly before closing doors
Thorough rinsing guarantees a truly clean, grease-free finish that lasts.
Dry and Buff Cabinets to a Shine
Once you’ve rinsed the cabinets, grab a microfiber cloth to dry them and bring out their shine. Wipe each surface in small circles, working from top to bottom so you don’t miss a spot. Before moving on, hold the cloth up to the light and check that the finish is streak-free.
Use a Microfiber Cloth
After you’ve rinsed the cabinets and wiped away any excess moisture, grab a clean microfiber cloth to finish the job. Microfiber works better than regular towels because its tiny fibers trap residue instead of pushing it around. This final step locks in that streak-free shine you’re after.
Here’s why microfiber makes such a difference:
- Microfiber effectiveness comes from fibers fine enough to grab grease particles other materials leave behind
- The soft texture won’t scratch painted or wood finishes
- It absorbs moisture fast, preventing water spots on your cabinets
- Microfiber maintenance is simple: just wash it separately from other laundry to preserve its grabbing power
Use smooth, even strokes and swap in a fresh cloth if yours feels saturated. Your cabinets will look polished and grease-free when you’re finished.
Wipe in Circular Motions
Because straight-line wiping can push grease into streaks, switch to small circular motions with your microfiber cloth to buff cabinets to a genuine shine. This circular motion lifts residue instead of smearing it across the surface, giving you a more even, polished finish.
Work in small sections, overlapping each circle slightly so you don’t miss any spots or leave faint grease trails behind.
This cleaning technique works especially well on textured or detailed cabinet surfaces, where straight strokes often skip over grooves and corners. Apply light, consistent pressure as you go, and switch to a clean section of cloth once it starts picking up grime.
Finish each panel with a few dry circular passes to buff away moisture and bring out a natural, streak-free shine.
Check for Streak-Free Finish
With your panels buffed and dry, take a step back and inspect each surface under good lighting. Streaks and cloudy patches often hide in shadows, so angle your view until you catch any reflection that looks uneven.
A true streak free finish means light bounces back cleanly across the whole panel, not just in patches.
Check these spots before calling it done:
- Corners and edges where cloth strokes often miss
- Grooves on paneled doors where grease hides
- Handle areas that get the most contact
- Lower cabinet surfaces facing countertops
If you spot residue, buff again with a dry microfiber cloth until you get an even coating with no dull spots. Consistent, overlapping strokes give you that polished, grease-free result you’re after.
Prevent Grease Buildup on Cabinets
Since grease loves to cling to cabinet surfaces near your stove, you’ll want to run your range hood or exhaust fan every time you cook. Proper kitchen ventilation pulls airborne grease particles away from your cabinets before they settle and harden into stubborn residue.
If your hood fan isn’t strong enough, crack a window to improve airflow while frying or sautéing.
Grease prevention also means wiping down cabinet surfaces weekly, even when they don’t look visibly dirty. A quick pass with a damp microfiber cloth removes light grease film before it builds up and attracts dust or grime.
Consider installing a backsplash or using stove-top covers to catch splatters before they reach your cabinets. Positioning pots and pans with lids on while cooking cuts down on airborne oil, too.
Finally, apply a protective cabinet wax or sealant every few months. This creates a barrier that keeps grease from penetrating the wood or laminate, making future cleanups faster and easier.
Choose Cabinet-Safe Degreasing Products
Before choosing a cleaner, check the label for “wood-safe” or “cabinet-safe” to help protect your finish. Avoid bleach, ammonia, and abrasive scrubbers, which can strip paint or dull wood grain over time. Instead, use a gentle formula made for cabinetry to cut through grease while keeping your cabinets looking their best.
Check Wood-Safe Labels
Why do some cleaners leave cabinets dull or discolored? The culprit is usually a product that ignores wood labels and skips safe cleaning standards. Before you grab any bottle, flip it over and read the fine print. Manufacturers often state clearly whether a product suits finished wood, laminate, or painted surfaces.
Look for these signals on the label:
- “Safe for wood finishes” or “wood-safe” wording
- No bleach, ammonia, or harsh solvents listed
- pH-neutral formula claims
- Manufacturer recommendations for cabinetry use
If a label stays vague or omits surface compatibility altogether, skip it. Trustworthy brands disclose exactly where their product works best, so you’re not left guessing or risking damage to your cabinets’ finish.
Avoid Harsh Chemical Cleaners
Although bleach and ammonia promise fast results, they often strip protective finishes and leave cabinets looking cloudy or faded. These harsh chemicals break down the sealants that protect your wood, exposing it to moisture damage and discoloration over time.
Instead, you’ll get better, safer results with natural alternatives that cut grease without compromising your cabinet’s finish.
Homemade solutions like warm water mixed with dish soap or a diluted vinegar spray work well on everyday grime. For tougher buildup, try a baking soda paste applied gently with a soft cloth. Always test any cleaner on a hidden spot first.
Skip anything labeled “heavy-duty” or “industrial strength.” These products are formulated for surfaces far tougher than your kitchen cabinets, and you’ll pay the price in ruined finishes.
Frequently Asked Questions
How Often Should I Degrease My Kitchen Cabinets?
You should degrease your kitchen cabinets every one to three months, depending on how often you cook. If you fry food regularly, you’ll want to increase your cleaning frequency to keep grease from building up.
For maintenance tips, wipe down cabinet surfaces weekly with a damp cloth to catch grease before it hardens. This simple habit reduces deep-cleaning time and keeps your cabinets looking fresh longer.
Can Degreasing Damage Painted or Wooden Cabinet Finishes?
Yes, harsh degreasers can damage cabinet paint and wooden finishes if you’re not careful. Strong chemicals and abrasive scrubbing can strip paint, dull varnish, or leave wood looking faded.
To protect your cabinets, you’ll want to use gentle, non-abrasive cleaners and always test them on a hidden spot first. Avoid soaking wooden finishes in water, and never use steel wool or harsh scouring pads. They’ll scratch surfaces and ruin your cabinets’ appearance over time.
Is Vinegar Safe for All Cabinet Materials?
No, vinegar isn’t safe for all cabinet materials. You’ll want to think about vinegar safety before grabbing that spray bottle, since cabinet material compatibility varies a lot. If you’ve got wood, stone, or waxed finishes, skip it—the acidity can strip sealants or dull surfaces over time. You’re safer using vinegar on sealed laminate or glass. When in doubt, test a hidden spot first or choose a gentler degreaser suited to your cabinet’s finish.
What Causes Grease Buildup to Happen Faster in Kitchens?
Like a sponge soaking up everything around it, your kitchen cabinets absorb grease faster when certain conditions pile up. Frequent frying or sautéing releases heavy cooking fumes that cling to surfaces near your stove. If you’ve got poor kitchen ventilation, that greasy air lingers instead of escaping outside. You’ll also notice faster buildup if you’re cooking often without using exhaust fans, letting oily residue settle continuously on your cabinets.
Can I Use the Same Degreaser on Countertops Too?
Yes, you can often use the same degreaser on countertops, but you’ll want to check the material first—stone or laminate surfaces may react differently than cabinet wood or laminate finishes. The same oil removal techniques that lift grease from cabinets usually work on countertops too. Just like when cleaning appliances, test a small spot first, apply, let it sit briefly, then wipe clean with a damp cloth for best results.
Conclusion
You’ve turned back the clock on your cabinets, stripping away months of grease and grime until they gleam like new. Now that the hard work’s done, keep that shine alive with regular wipe-downs and smart cooking habits.
Don’t let grease sneak back in and undo your progress. With a little consistency, your kitchen cabinets will stay fresh, clean, and ready to shine for years to come. Regularly degreasing kitchen cabinets helps keep them looking their best.