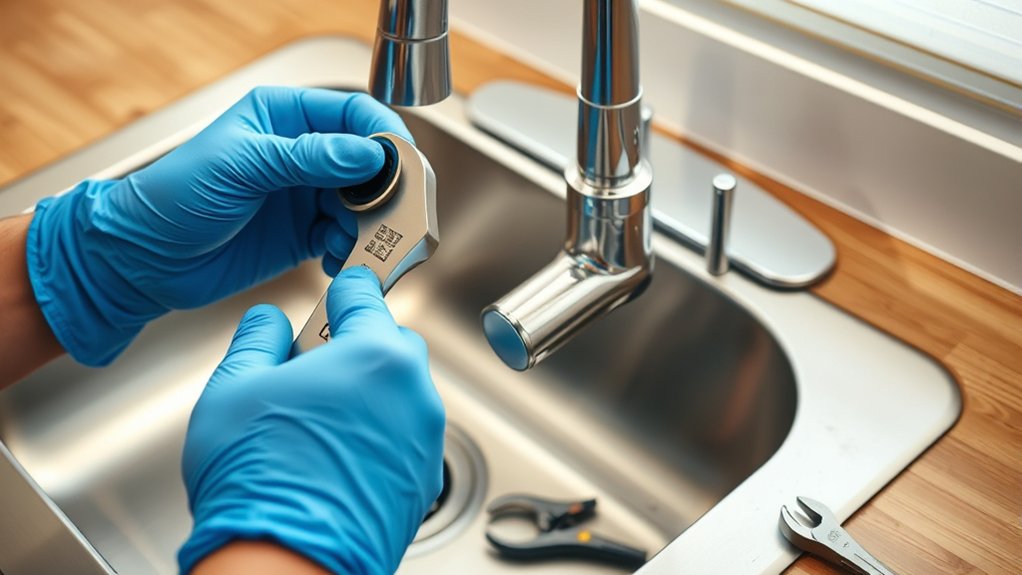
How to Replace a Kitchen Sink Faucet in 3 Steps
Replacing a kitchen sink faucet can feel daunting, especially if you’re worried about leaks or getting stuck halfway through the job. You’re not alone—many people struggle with this project, but learning how to replace a kitchen sink faucet can make it much more manageable.
First, gather your tools and shut off the water supply beneath the sink, then open the handles to drain any residual water.
Next, disconnect the supply lines, loosen the mounting nuts with a basin wrench, and remove the old faucet, cleaning the sink deck thoroughly.
Finally, install your new faucet, reconnect the supply lines, and test for leaks.
Stick around for the details that make each step foolproof.
Key Takeaways
- Shut off water valves, drain faucet lines, then disconnect and remove old faucet from sink deck.
- Check new faucet compatibility with sink holes and countertop before beginning installation.
- Feed supply lines and hardware through sink holes, then secure faucet with mounting nuts underneath.
- Connect supply lines to shutoff valves, matching hot to hot and cold to cold.
- Turn water on slowly, inspect for leaks, and test flow and pressure thoroughly.
Gather Your Tools and Shut Off the Water Supply
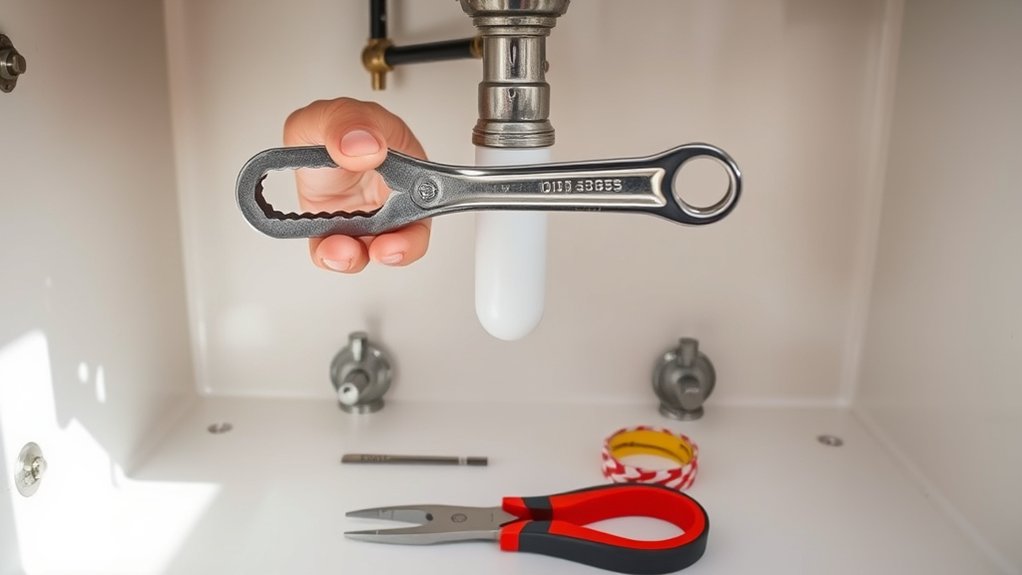
Before you touch a single bolt, gather the tools you’ll need: an adjustable wrench, a basin wrench, a bucket, a flashlight, and plumber’s tape. These tools will make the job faster and prevent unnecessary frustration under the sink.
Next, prioritize plumbing safety by shutting off the water supply. Locate the shutoff valves beneath your sink and turn them clockwise until they stop. If your sink lacks dedicated valves, shut off the main water line to your house instead.
Once you’ve closed the valves, open the faucet handles to release any remaining pressure and drain leftover water into your bucket.
Before heading to the store, check your new faucet’s specifications for faucet compatibility with your existing sink holes and countertop layout. Standard kitchen sinks have one, three, or four holes, so measure carefully to avoid buying the wrong model. Taking these early steps will save you time and prevent costly mistakes later.
Remove Your Old Kitchen Sink Faucet
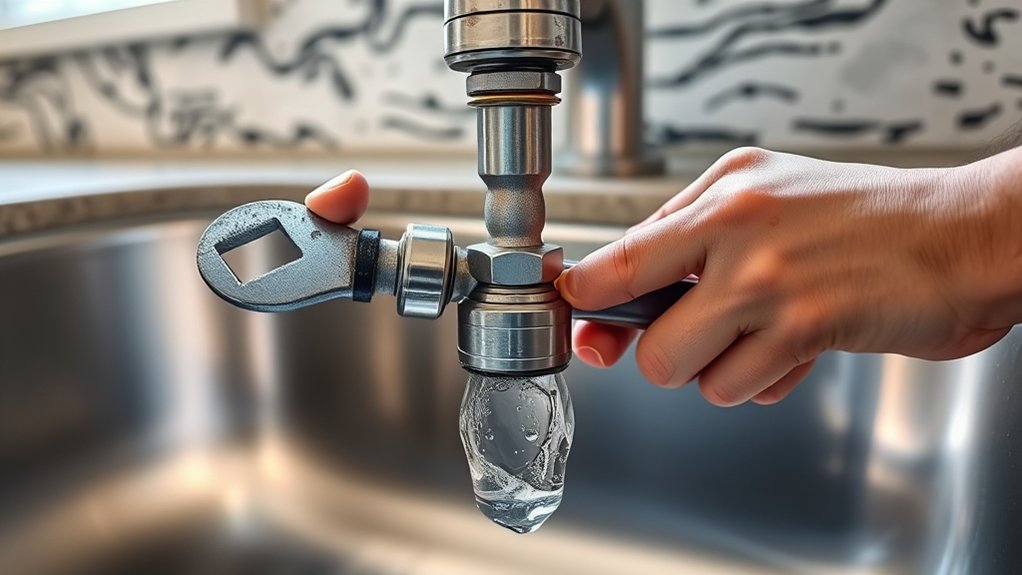
Once you’ve cleared space beneath the sink, grab your flashlight and get ready to crawl underneath for a closer look. Disconnect the supply lines from the faucet shanks using an adjustable wrench, keeping a small bucket handy to catch any residual water still in the lines. If you spot faucet corrosion on the fittings, spray them with penetrating oil and let it sit for a few minutes before trying again.
Next, locate the mounting nuts securing the faucet to the sink deck. A basin wrench makes quick work of these hard-to-reach fasteners. Loosen and remove them completely, then lift the old faucet up and out from above.
Clean away any old plumber’s putty, caulk, or mineral buildup from the sink surface. This gives your new faucet a solid, clean base and helps maintain steady water pressure once you reconnect everything.
Install and Test Your New Kitchen Sink Faucet
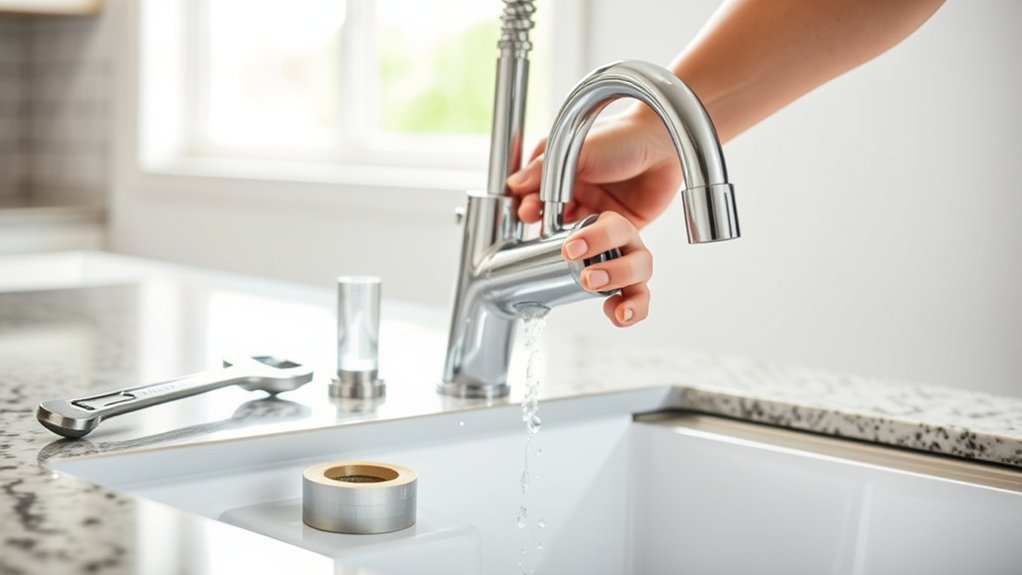
With the sink deck clean and ready, you can start setting the new faucet in place. Before installing, double-check faucet compatibility with your sink’s hole configuration and countertop thickness—this prevents frustrating mismatches later.
A little prep goes a long way: confirm hole configuration and countertop thickness before you ever set that faucet in place.
Feed the supply lines and mounting hardware through the designated holes, then secure the faucet from underneath using the provided nuts or mounting bracket. Tighten firmly, but don’t overdo it; you risk cracking the base or stripping threads.
Next, connect the supply lines to your shutoff valves, matching hot to hot and cold to cold. Hand-tighten first, then use a wrench for a snug fit without overtightening.
Once everything’s connected, turn the water supply back on slowly. Check all connections for leaks, and run both hot and cold water to flush out debris. Perform water pressure testing by checking flow strength at the faucet head. Steady, strong flow confirms a successful installation.
Frequently Asked Questions
How Long Does Replacing a Kitchen Sink Faucet Typically Take?
You’ll typically spend about 1 to 2 hours on faucet installation, depending on your experience and your sink’s setup. If you’ve gathered the right plumbing tools beforehand—like a basin wrench, adjustable pliers, and plumber’s tape—you’ll move through the job much faster.
Tight cabinet spaces or corroded old connections can slow you down, so don’t rush it. Once you’re prepped, you’ll find the actual swap goes quicker than you’d expect!
Do I Need a Plumber or Can I DIY This?
You can definitely DIY this if you’re comfortable with basic tools and don’t mind working under the sink for an hour or two. Just check your local plumbing codes first, since some areas have specific requirements for shutoff valves or supply lines.
Also, review your faucet warranties before starting. Some manufacturers require professional installation to keep coverage valid. If you’re unsure about either, hiring a plumber’s a safe bet.
What Faucet Type Works Best for My Sink Configuration?
Count your sink’s mounting holes first. This determines which faucet styles will actually fit.
One hole? You’re set for a single-handle pull-down faucet. Three holes? You’ll want a widespread or centerset style.
Here’s a theory worth testing: most modern sinks accommodate single-handle faucets since they’re versatile and easier to install.
Before buying, check your installation tools too. You’ll typically need a basin wrench, adjustable pliers, and plumber’s tape on hand.
How Much Does a New Kitchen Faucet Usually Cost?
You’ll typically spend $50 to $500 on a new kitchen faucet, depending on brand, finish, and features. Pricing estimates for basic models start around $50-$100, while mid-range options with sprayers or pull-down heads run $150-$300. If you’re after designer brands or smart technology, you’ll pay $300 and up.
When budget considerations matter most, look for sales or mid-tier brands that balance durability and affordability without sacrificing quality.
Can I Reuse My Old Faucet’s Water Supply Lines?
You can reuse your old supply lines, but it’s not always the best idea. First, check faucet compatibility—many new models require different connector sizes or thread types than your old setup.
Also, inspect the lines for cracks, rust, or wear, since compromised lines can affect water pressure or cause leaks. If you’re unsure, it’s worth investing in new flexible supply lines; they’re inexpensive and guarantee a secure, reliable connection.
Conclusion
Step back and admire your handiwork—that shiny new faucet gleaming like a chrome crown atop your sink. You’ve turned the water back on, watched it flow smooth as a quiet stream, and checked for leaks lurking like hidden traps.
With just three steps, you’ve transformed a tired corner of your kitchen into something fresh and new. Give yourself a pat on the back; you’ve earned it. Replacing a kitchen sink faucet can make a big difference.