How to Stain Kitchen Cabinets Step by Step
Staining kitchen cabinets can feel like a big project, especially when you’re worried about uneven color or a finish that won’t last. You’re not alone—many people struggle to get professional-looking results at home.
This step-by-step guide to how to stain kitchen cabinets will help you prepare, apply stain, and protect your cabinets with confidence.
To stain kitchen cabinets, start by removing doors and hardware, then clean and degrease every surface. Sand with 120- then 220-grit paper, wiping away dust with a tack cloth.
Apply a pre-stain conditioner, then brush on your stain, wiping off excess along the grain.
Seal with 2-3 coats of topcoat, sanding lightly between coats.
Keep going below for the full breakdown of each step.
Key Takeaways
- Remove doors, drawers, and hardware, labeling each piece for easy reassembly later.
- Clean, degrease, and sand surfaces with 120- then 220-grit sandpaper for smooth staining.
- Apply pre-stain conditioner to prevent blotching, then wipe excess before it dries.
- Stain along the wood grain, wiping excess off with a lint-free cloth promptly.
- Seal with 2-3 thin topcoat layers, sanding lightly between coats before reassembling cabinets.
Gather the Right Tools and Materials

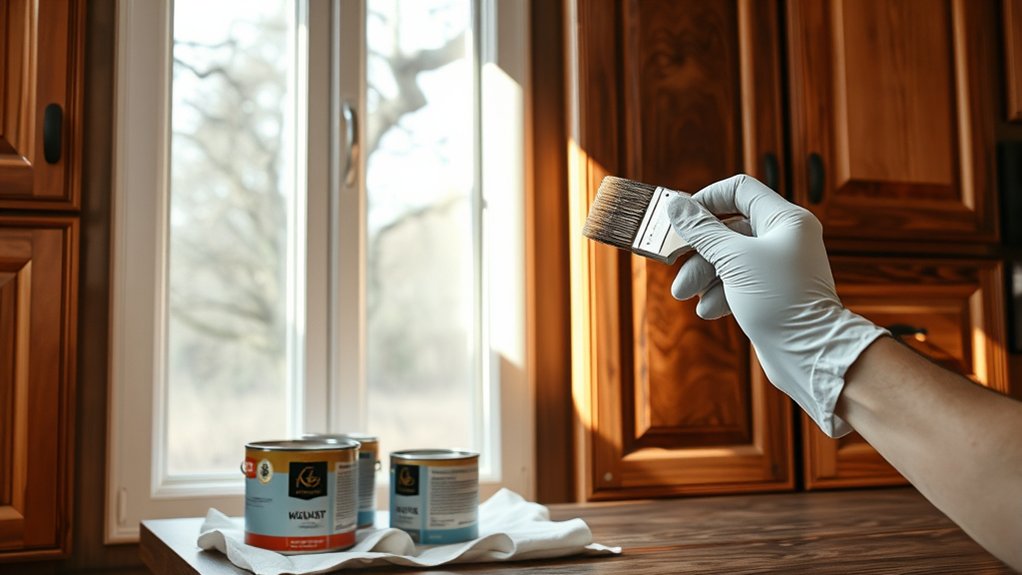
Before you touch a single cabinet door, round up all your supplies so you’re not scrambling mid-project with stain-covered hands. You’ll need a screwdriver for removing hardware, 120- and 220-grit sandpaper, a tack cloth, wood conditioner, and your chosen stain. Grab foam brushes or clean rags for application, along with a quality polyurethane or paint finishing topcoat to protect your work.
Don’t skip the color matching step. Test your stain on a scrap piece of wood or an inconspicuous cabinet spot to confirm it matches your vision before committing. Wood varies in grain and absorption, so what looks perfect on the sample might shift tone once applied to your actual cabinets.
Set up drop cloths, painter’s tape, and a well-ventilated workspace with sawhorses for drying doors. Keep disposable gloves and a respirator mask handy, too. Having everything within reach keeps your workflow smooth and your results consistent from the first door to the last.
Choose the Right Stain for Your Cabinets
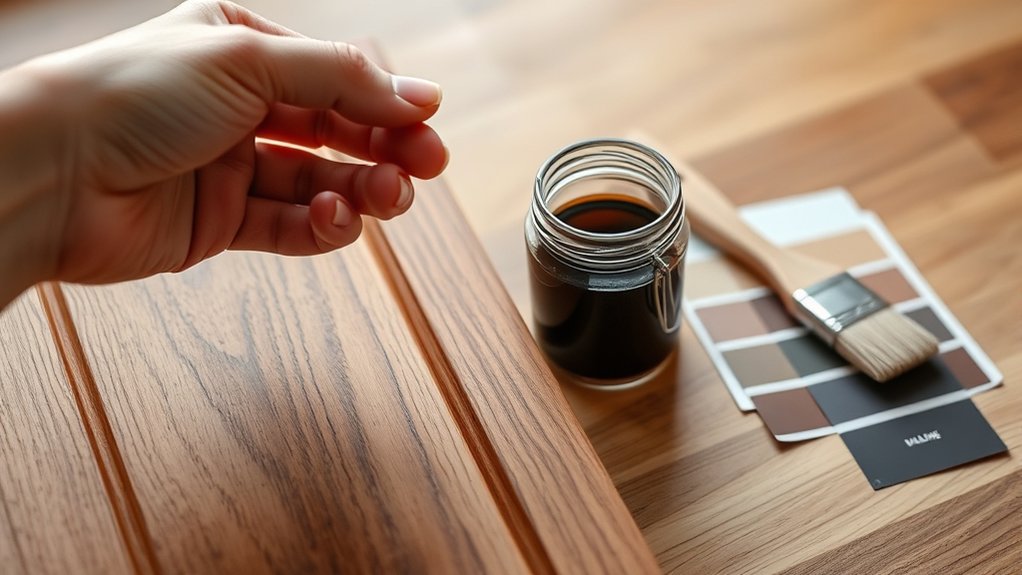
Since cabinet wood species vary so much in grain and porosity, you’ll want to match your stain type to your cabinet material for the best results. Oil-based stains penetrate deeply and suit dense woods like oak or maple, giving you rich, long-lasting color. Water-based stains dry faster, produce fewer fumes, and work well on softer woods like pine, though they may raise the grain slightly.
Gel stains sit on the surface rather than soaking in, making them ideal for uneven or previously finished cabinets where color matching matters most. If you’re refinishing existing cabinets, test your stain on a hidden spot or scrap wood to confirm the shade before committing.
Consider stain durability, too. Cabinets endure daily wear, moisture, and grease, so choose a product rated for high-traffic surfaces. Combining the right stain with a quality topcoat protects your investment and keeps your cabinets looking sharp for years.
Remove Cabinet Doors and Hardware First
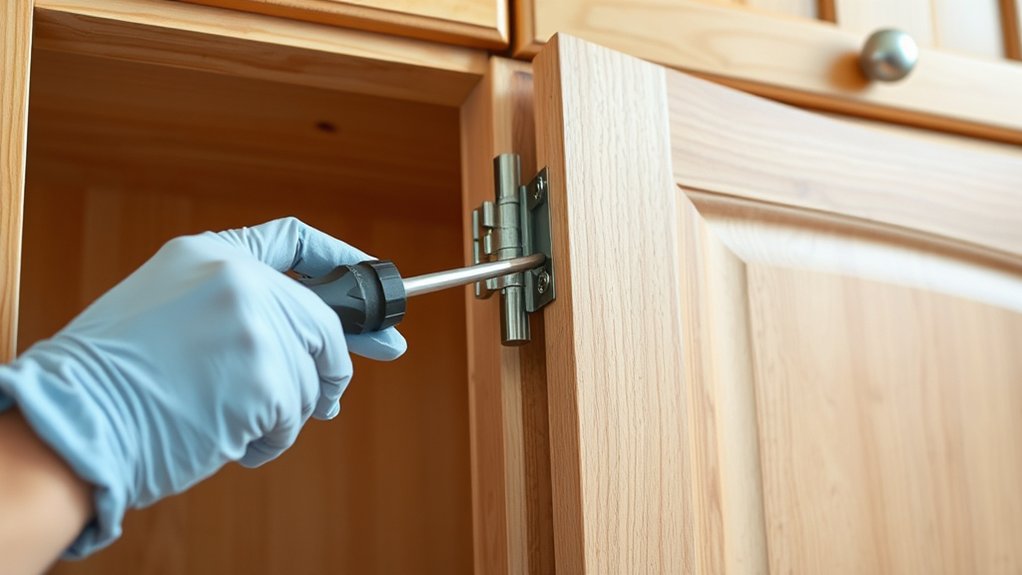
Before you grab a brush, remove each cabinet door and drawer front from the frame. Staining is much easier when you’re not working around hinges or awkward angles.
Next, use painter’s tape and a marker to label each door and its matching spot on the cabinet. Openings can vary slightly, so keeping everything matched makes reassembly easier. As you remove the hardware, place screws, hinges, and pulls in labeled bags or containers. That way, everything will be ready to go once the stain dries.
Label Doors and Hinges
Once you remove a cabinet door, its hinges and hardware can quickly become an unsolvable puzzle, so take a minute to label everything first. Before you start hinge removal, stick a piece of painter’s tape on each door and its matching frame, numbering them as a pair.
Use this same system for drawers, since their fronts rarely fit interchangeably once installed.
As you label doors, note which side the hinges sit on—left or right—since cabinet openings aren’t always symmetrical. Drop screws and hinges into small labeled bags or containers, matching each set to its door number.
Keep these bags in one place, like a tray or box, so nothing gets lost during staining. This small step saves you from a frustrating reassembly later.
Unscrew Hinges Carefully
After you’ve labeled every door and drawer front, grab a screwdriver and start removing hinges one at a time. Work slowly, supporting each door’s weight as you loosen the final screw so it doesn’t drop and dent your flooring or cabinet frame. Set the screws aside in a labeled bag or container so you don’t lose them during the staining process.
If you notice loose hinges or stripped screw holes, this is the perfect time for hinge adjustment or hinge replacement before you reinstall everything. Staining is much easier when hardware isn’t in your way, and you’ll avoid drips or uneven coverage around hinge plates. Store all hardware together in a safe spot, away from dust and debris, until your cabinets are fully stained and dry.
Organize Screws and Hardware
Since you’re pulling hardware off multiple cabinets, keeping everything sorted will save you from a headache later. Good hardware organization means you won’t end up guessing which hinge belongs where once it’s time to reassemble everything.
- Label small bags for each cabinet door and number them to match.
- Use a muffin tin or egg carton for screw storage during the project.
- Tape screws directly to the inside of each cabinet if you’re short on containers.
- Store hinges and pulls separately from screws to avoid mixing hardware types.
Take a quick photo of each cabinet before removing anything. It’s a handy reference when you’re reattaching hardware later. A little prep now keeps the whole project running smoothly.
Clean and Degrease Every Surface
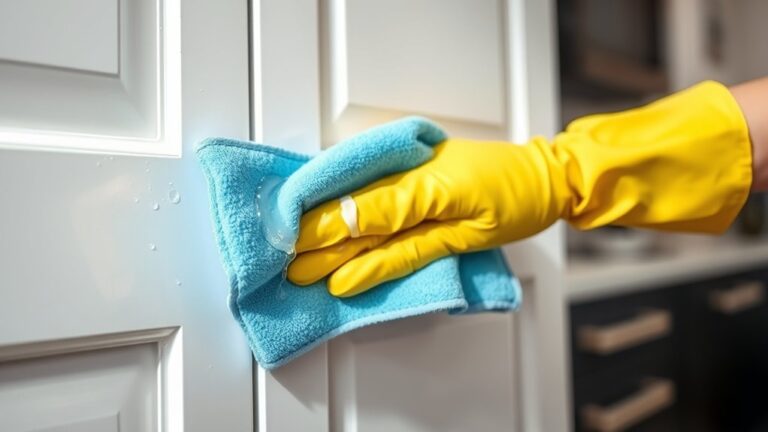
Before applying stain, remove any cooking grease and grime that could prevent the wood from absorbing it. For light buildup, use dish soap and warm water; for stubborn, sticky residue, choose a degreaser formulated for kitchen surfaces. Scrub every panel and edge, then rinse thoroughly with clean water. Let the wood dry completely before moving on.
Remove Grease and Grime
Because kitchen cabinets collect years of cooking residue, you can’t skip a thorough degreasing before staining. Stain won’t bond to greasy surfaces, so proper grease removal is non-negotiable. Use cleaning techniques that cut through buildup without damaging the wood underneath.
- Mix a degreaser: Combine warm water with dish soap or a dedicated TSP substitute for tough grease.
- Scrub with a soft cloth: Work in small sections, focusing on areas near the stove and handles.
- Rinse thoroughly: Wipe down with clean water to remove soap residue that blocks stain absorption.
- Dry completely: Let cabinets air dry for several hours before moving forward.
Skipping this step leaves behind invisible grime that causes blotchy, uneven stain results. Take your time here. It pays off later.
Choose the Right Degreaser
How do you know which degreaser actually works? You need a product that cuts through grease without leaving behind residue that interferes with stain absorption. Skip harsh ammonia-based cleaners. They can damage wood fibers and alter color. Instead, reach for a trisodium phosphate (TSP) substitute or a specialized wood-safe degreaser designed for cabinet surfaces.
Good cleaning techniques matter as much as the product you choose. Apply the degreaser with a soft cloth, working in small sections, and wipe away buildup before it dries. Rinse thoroughly with clean water to remove any chemical film.
Proper surface preparation sets the foundation for even staining. A truly clean cabinet surface absorbs stain uniformly, so don’t rush this step. Your final finish depends on it.
Rinse and Dry Thoroughly
Once you’ve wiped away the degreaser, don’t stop there—any leftover soap or chemical residue will sabotage your stain job. Proper surface preparation means rinsing every panel with clean water until no suds appear, then wiping dry with a lint-free cloth. Skipping this step traps residue under your stain, causing blotchy or peeling results down the road.
Follow these steps for a flawless finish:
- Rinse each cabinet surface with a damp cloth and plain water.
- Change your rinse water often to avoid spreading grime.
- Dry immediately with a clean towel to prevent water spots.
- Let cabinets air-dry fully before moving to paint removal or sanding.
Thorough drying guarantees stain absorbs evenly, giving you a smooth, professional-looking result every time.
Sand Cabinets to Prep for Stain
Why does sanding matter so much before staining? Cabinet sanding opens up the wood’s grain, allowing stain to penetrate evenly and bond properly. Skip this step, and you’ll end up with blotchy patches, peeling finish, or stain that simply won’t adhere to old lacquer or paint residue.
Start with 120-grit sandpaper to strip away the existing finish and smooth out imperfections. Work with the grain, not against it, to avoid visible scratch marks.
Once you’ve removed the old coating, switch to 220-grit sandpaper for a finer surface preparation pass. This step softens the wood’s texture and removes any remaining roughness from the first round.
After sanding, wipe down every cabinet piece with a tack cloth to capture fine dust particles. Check corners, edges, and detailed molding closely, since dust hides easily in these spots.
A clean, properly sanded surface sets the foundation for a flawless stain application.
Apply a Pre-Stain Wood Conditioner
What’s the point of wood conditioner? It seals the wood grain evenly so stain soaks in uniformly instead of blotching—especially important on soft woods like pine or maple cabinet boxes and doors. Skipping this step after surface preparation can leave you with patchy, uneven color that ruins your hard sanding work.
Here’s how to apply it correctly:
- Stir, don’t shake the conditioner to avoid bubbles that cause uneven application.
- Brush or wipe a thin, even coat along the wood grain using a rag or natural-bristle brush.
- Wait 15 minutes, then wipe off excess conditioner before it fully dries.
- Stain within 2 hours for the best absorption and color consistency.
Conditioner won’t eliminate all grain variation, but it levels out porosity differences across your cabinet surfaces. This small extra step protects your investment and gives you a professional, streak-free finish once you start staining.
Apply Stain to Your Cabinets
After your conditioner has set and you’ve wiped away the excess, you’re ready to add color. Stir your stain thoroughly before application—pigments settle at the bottom of the can, and skipping this step leads to uneven color matching across your cabinets.
Using a natural-bristle brush or a clean rag, apply the stain in thin, even coats, working with the wood grain. Let it penetrate for 5-15 minutes, checking the manufacturer’s instructions for exact timing.
Wipe off excess stain with a clean cloth before it dries on the surface, since leftover residue creates blotchy patches and compromises stain durability.
Apply a second coat if you want deeper color, but always test on a scrap piece first to confirm the shade matches your vision. Work in a well-ventilated area, and allow each coat to dry completely before moving forward.
Patience here pays off with a professional, long-lasting finish.
Wipe Away Excess Stain for an Even Finish
Once you’ve brushed or rubbed the stain onto the wood, don’t let it sit too long before wiping it down. Excess removal is the key to a clean, professional finish—too much stain left behind creates blotches, drips, and uneven color.
Follow these steps for the best results:
- Use a clean, lint-free cloth. Wipe in the direction of the wood grain to avoid streaks.
- Work quickly in sections. Don’t let stain dry on the surface before you wipe it.
- Check for pooling. Pay close attention to corners, edges, and joints where stain tends to collect.
- Flip your cloth often. A saturated rag just redistributes stain instead of removing it.
Once you’re done, seal your stain can tightly for proper stain storage, keeping it fresh for touch-ups later. Let the cabinets dry fully before adding another coat or sealant.
Seal Your Cabinets With a Protective Topcoat
Once your stain is dry, apply a protective topcoat to guard your cabinets against moisture, grease, and everyday wear. You can choose polyurethane, polycrylic, or lacquer depending on how durable you need the finish to be and what sheen you prefer. Apply thin, even coats, letting each one dry and cure fully before handling the cabinets or putting them back into regular use.
Choosing the Right Topcoat
Why does a topcoat matter so much? It protects your hard work from scratches, moisture, and daily kitchen chaos. Picking the right one keeps your stain’s color matching intact while giving you the finish sheen you want. Not every topcoat suits every project, so consider your options carefully.
- Polyurethane: Durable and water-resistant, ideal for high-traffic cabinets.
- Polycrylic: Dries clear, won’t yellow light stains, and cleans up with water.
- Lacquer: Offers a smooth, professional finish but requires spray application.
- Wax: Adds subtle sheen and softness, though it offers less protection.
Think about how much wear your cabinets will face, then choose a topcoat that balances durability with the look you’re after.
Applying the Protective Finish
After your stain dries completely, usually within 24 hours, you’re ready to lock in that color with a topcoat. Choose between polyurethane, lacquer, or wax based on your desired sheen and durability needs.
Apply thin, even coats with a high-quality brush or sprayer, always following the wood grain. Let each coat dry fully, then lightly sand with fine-grit sandpaper before adding the next layer. Two to three coats work best for lasting protection.
If you’re blending cabinets with existing woodwork, color matching ensures a seamless look throughout your kitchen.
| Finish Type | Best For |
|---|---|
| Polyurethane | High-traffic durability |
| Lacquer | Smooth, professional look |
| Wax | Decorative finishes, soft sheen |
Your cabinets will reward you with years of beauty.
Drying and Curing Time
Because patience pays off here, give your topcoat the full curing window before you load cabinets back with dishes or slam doors shut. Drying time and curing process aren’t the same thing—drying means the surface feels dry to touch, while curing means the finish has fully hardened inside and out.
- Touch-dry stage: Most topcoats feel dry within 1-2 hours, but don’t test this by pressing hard.
- Recoat window: Wait 4-6 hours between coats for proper adhesion.
- Light use: You can rehang doors after 24 hours, but handle them gently.
- Full cure: Give it 7-30 days before heavy daily use, depending on the product.
Rushing this step invites scratches and tackiness you’ll regret.
Reinstall Cabinet Doors and Hardware
Once the stain and topcoat have fully cured, you’re ready to put everything back together. Start by matching each door and drawer front to its original location—the labeling you did earlier makes this step quick and foolproof.
Once everything’s cured, reassembly is the easy part—your labeling system turns guesswork into a quick, foolproof process.
Attach hinges first, making sure screws sit flush and doors hang evenly. If you’re tackling hardware replacement alongside your cabinet painting project, now’s the time to install new knobs or pulls.
Use your old hardware as a template, or measure carefully if you’re changing styles or positions. Pre-drilling holes prevents splitting the wood and keeps everything aligned.
Work one door at a time to avoid mixing up pieces. Check that doors close flush against the frame and drawers glide smoothly. Tighten all screws securely, but don’t overtighten, as this can strip the wood.
Step back and inspect your finished cabinets. Consistent spacing and properly aligned doors give your kitchen a polished, professional look.
Frequently Asked Questions
How Long Does the Entire Cabinet Staining Project Typically Take to Complete?
You’ll typically spend 3-5 days on your cabinet staining project, factoring in drying time between coats. You can’t rush color matching, so take time testing stain on hidden areas first.
Once you’re satisfied with the shade, you’ll spend a day applying stain and another day or two on finishing techniques like sealing and buffing. Don’t skip cure time—you’ll want cabinets fully hardened before reinstalling hardware and using them daily.
Can You Stain Cabinets Without Sanding Them First?
You can’t skip sanding and expect great results—”you reap what you sow” definitely applies here. Proper cabinet prep is the foundation of a lasting finish, and skimping on it will show.
Sanding opens up the wood grain so your stain color can penetrate evenly instead of sitting blotchy on the surface. If you stain unsanded cabinets, you’ll likely get uneven absorption, visible brush marks, and a finish that peels prematurely.
Is It Necessary to Remove Old Stain Before Applying a New One?
Not always, but it’s often a good idea. If you’re going darker, you can usually skip stripping and apply new stain over the old one.
However, for color preservation and better stain durability, you’ll want to eliminate old stain when switching to a lighter shade or when the existing finish is uneven.
Sanding or using a stripper ensures the new stain absorbs evenly, giving you a cleaner, longer-lasting result overall.
How Do You Fix Blotchy or Uneven Stain Spots Afterward?
To fix blotchy or uneven stain spots, you’ll first sand the affected area lightly with fine-grit sandpaper to smooth out the surface. Then, reapply stain using proper staining techniques, blending it carefully into the surrounding wood to match the existing tone. Work in thin layers, wiping away excess as you go. Once you’re satisfied with the color, finish touch ups by applying a matching topcoat, ensuring everything looks seamless and consistent.
Can Laminate or Veneer Cabinets Be Stained Like Real Wood?
No, you can’t stain laminate, and you can’t stain veneer the way you’d stain solid wood. Your cabinet material matters here: laminate’s plastic coating simply won’t absorb pigment, so staining techniques fail completely on it.
Veneer, however, is real wood on the surface, so it can accept stain if you’re careful and use light coats. Test an inconspicuous spot first to see how your cabinets actually respond.
Conclusion
Funny how the scariest part of staining cabinets isn’t the staining at all. It’s the waiting. You’ll stand there, brush in hand, convinced you’re about to ruin your kitchen forever, only to step back and realize you’ve created something that looks like it belongs in a magazine.
Trust the process you were so sure would fail you. Reinstall those doors, add the hardware, and enjoy the irony: the “disaster” became your favorite room. With a little patience, staining kitchen cabinets can transform your space beautifully.