How to Refinish a Wooden Kitchen Table in 7 Steps
A worn, scratched kitchen table can make your entire space feel tired, even when the rest of your home looks great. You’re not alone—many people struggle with knowing where to begin, but learning how to refinish a wooden kitchen table can give it a beautiful new life without the cost of replacing it.
To refinish a wooden kitchen table in seven steps, gather safety gear and supplies, then inspect and clean the table. Strip the old finish if necessary, and sand with progressively finer grits along the grain. Test and apply your chosen stain or paint in thin, even coats.
Seal the surface with several protective topcoat layers, sanding lightly between coats when directed. Let everything cure fully, then maintain the table with gentle cleaning, coasters, and trivets for lasting beauty.
Key Takeaways
- Inspect the table, repair loose joints or damage, and clean away dust, grease, and debris.
- Strip the old finish if necessary, following product safety instructions in a well-ventilated area.
- Sand with the grain using progressively finer grits, ending around 220 grit, then remove all dust.
- Test and apply stain in thin, even coats, wiping away excess and allowing complete drying.
- Protect the table with several thin topcoat layers, then let it cure fully before regular use.
Gather Tools, Materials, and Safety Gear
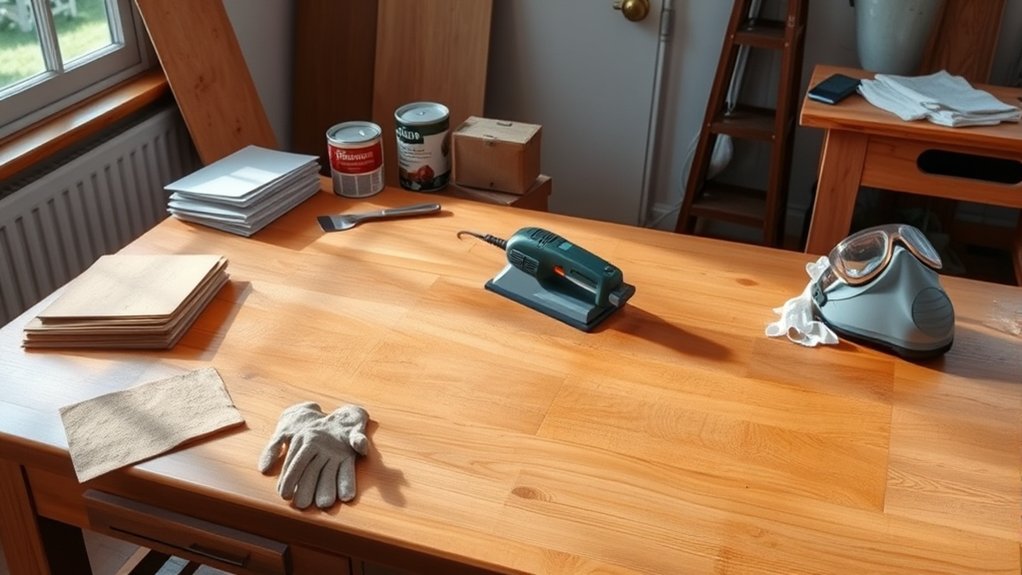
Before you begin refinishing, gather 80- to 120-grit sandpaper, a sanding block or orbital sander, wood cleaner, drop cloths, clean rags, painter’s tape, stain or paint, and a protective finish. Choose supplies suited to your table’s size and the finish you want.
Gather essential sanding, cleaning, coating, and protective supplies suited to your table and chosen finish before refinishing begins.
Add a tack cloth or vacuum for removing sanding dust, disposable gloves for handling cleaners and coatings, and a quality brush or foam applicator for even application. If you’ll use power tools, keep extra sanding discs available so worn abrasive doesn’t slow your work.
Wear safety glasses whenever you sand, and use a dust mask or respirator rated for fine particles and finish fumes. Protect your clothing with an apron, and improve ventilation by opening windows or using a fan.
Gather a sturdy work light, extension cord, and containers for safely holding used rags. Keep every item nearby before you start, so you won’t interrupt the refinishing process to search for supplies.
Inspect and Clean the Wooden Kitchen Table
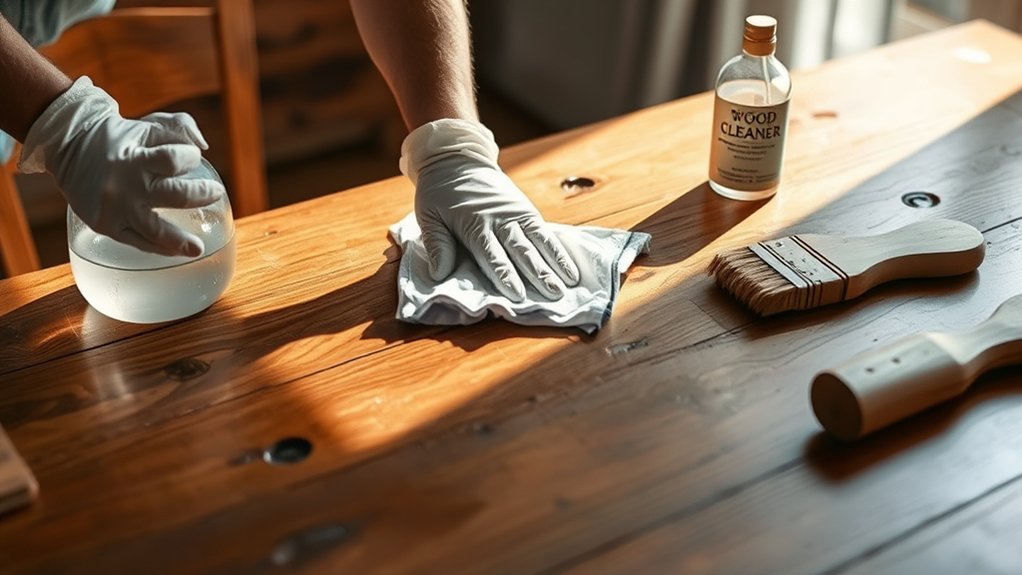
Before refinishing, check the table for scratches, cracks, loose joints, or other damage. Then remove dust, crumbs, and loose debris from every surface. Wash the wood with a mild cleaner, and let it dry completely before continuing.
Check for Damage
Start by inspecting the table in bright light, looking for scratches, dents, loose joints, water stains, or peeling finish. Run your fingers gently over the surface to find raised edges, cracks, or splinters you can’t see.
Check each leg, apron, and corner for wobbling, separation, or signs of wood damage. Press lightly around stained areas to see whether the wood feels soft, which may indicate rot or moisture damage.
Look underneath the tabletop for warped boards, broken supports, loose fasteners, or other structural issues. Test every joint by applying gentle pressure, but don’t force anything that could worsen a problem.
Mark damaged spots with removable tape so you’ll find them easily during repairs. Photograph severe defects, and decide whether you can fix them or need professional help before refinishing.
Remove Surface Debris
Once you’ve marked any damage, clear the tabletop of crumbs, dust, and loose debris. Use a soft, dry microfiber cloth to capture fine particles without scratching the finish.
For corners, joints, and carved edges, use a clean, soft-bristled brush or a vacuum’s brush attachment on a low setting. Work systematically from one end to the other, and check beneath the table for particles that could return to the surface.
Remove stickers, tape residue, and other surface contaminants carefully with a plastic scraper, keeping the tool nearly flat to prevent gouges. Don’t use abrasive pads, metal tools, or excessive pressure.
Effective debris removal gives you a clear view of scratches, stains, and finish wear, helping you plan the next refinishing steps accurately. Keep the surface completely dry for now.
Wash and Dry
How clean is the table after removing loose debris? Inspect the wood for sticky spots, stains, grease, or damage. Mix warm water with a few drops of mild dish soap, then dampen a soft cloth.
Wring it thoroughly so you don’t soak the table, and wipe with the grain. Use a soft toothbrush to reach crevices, but avoid harsh chemicals, abrasive pads, and excessive water.
Try these Cleaning techniques:
- Blot spills instead of spreading them.
- Wipe stubborn residue gently with diluted soap.
- Rinse the cloth often to prevent redistributing grime.
Follow safe Drying methods immediately. Wipe away soapy residue with a clean, barely damp cloth, then dry every surface with a lint-free towel.
Leave the table uncovered in a well-ventilated room until it’s completely dry. Don’t sand or refinish damp wood, because trapped moisture can damage the finish and cause uneven results.
Strip the Old Finish When Necessary
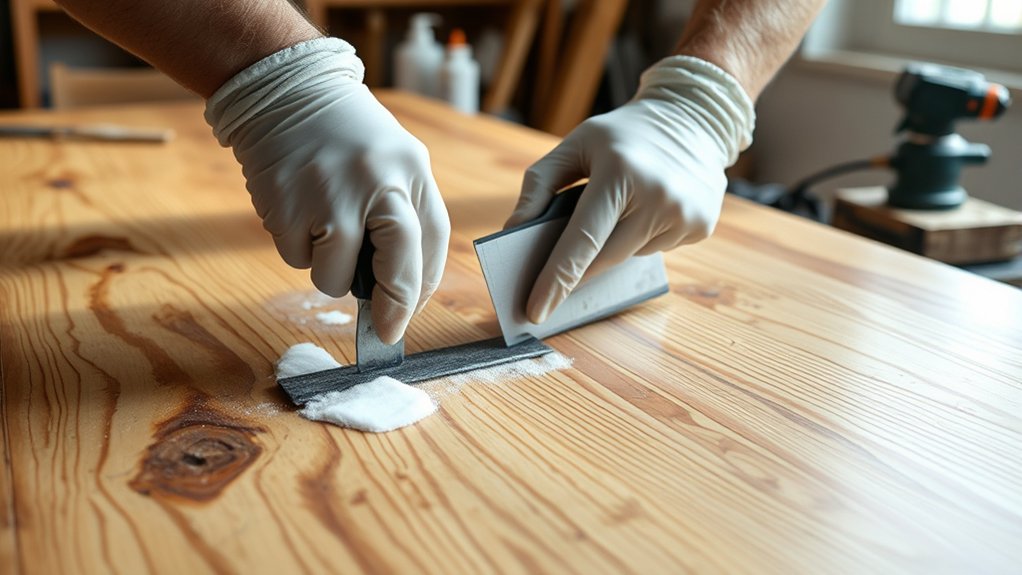
If the finish is peeling, deeply scratched, or too thick to sand evenly, strip it before refinishing the table. Work outdoors or in a well-ventilated area, and protect your floor with a drop cloth.
Wear chemical-resistant gloves, eye protection, and a respirator rated for fumes.
| Task | Best practice |
|---|---|
| Choose stripper | Match it to the finish |
| Protect yourself | Wear gloves, goggles, and ventilation |
| Apply product | Brush on a thick, even coat |
| Lift finish | Scrape gently with a plastic scraper |
For removing old paint, choose a stripper labeled for painted wood. When stripping varnish, use a product designed to soften clear finishes.
Follow the manufacturer’s dwell time, and don’t let the coating dry on the table. Test a hidden area first to confirm the product won’t discolor the wood.
Collect softened residue in a sealed container, then dispose of it according to local hazardous-waste rules. Wipe away remaining stripper as directed, and let the tabletop dry completely before continuing.
Don’t mix chemical products or use an open flame nearby.
Sand the Table Smooth and Even
Choose the right sandpaper for each stage, starting with a coarse grit and finishing with a fine one. Sand in the direction of the wood grain to create an even surface without visible scratches. Once you’re done, thoroughly remove all the dust before applying the new finish.
Choose the Right Sandpaper
Start with medium-grit sandpaper, such as 100- or 120-grit, to remove the old finish and level the surface without cutting too deeply into the wood.
Choosing grit depends on the table’s condition: use coarser paper only for stubborn layers, then switch to finer grades for a smooth finish. Consider these sandpaper types:
- Aluminum oxide paper lasts well and works for most wooden tables.
- Garnet paper cuts gently, making it useful for final smoothing.
- Sanding sponges conform to rounded edges and detailed areas.
After medium grit, use 150- or 180-grit paper to refine the surface. Finish with 220-grit if you want an especially smooth base for stain or paint.
Replace clogged sheets promptly; worn abrasive won’t remove material evenly. Keep your paper clean, and inspect the tabletop between grades so you’ll catch remaining scratches before finishing.
Sand With the Grain
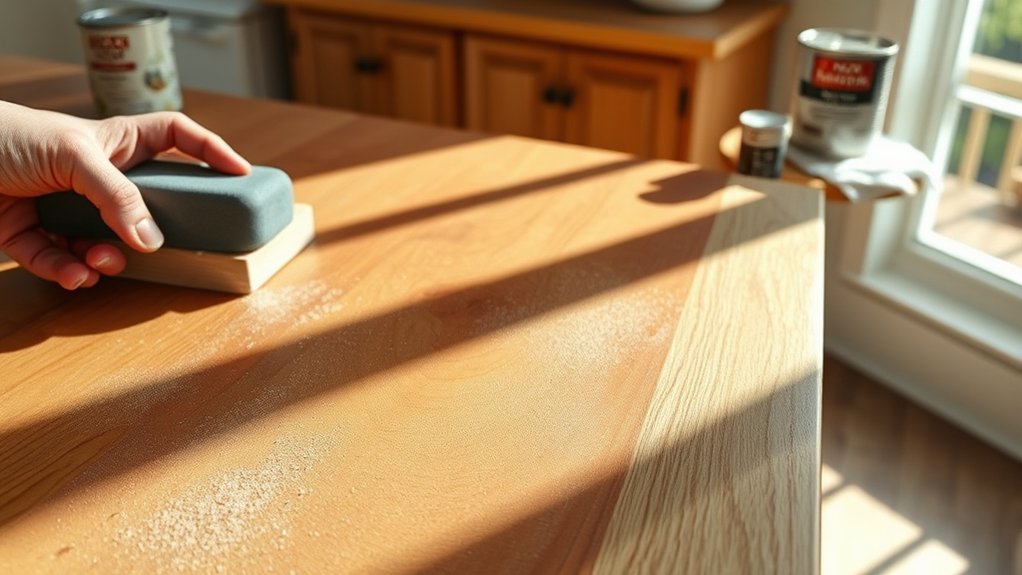
With the appropriate grit selected, sand the tabletop in the direction of the wood grain using even, overlapping strokes. Keep your sanding block or orbital sander flat so you don’t create dips, swirls, or rounded edges.
Follow the grain direction consistently, including along the table’s edges and around corners. Use light, steady pressure; let the abrasive do the work rather than forcing it into the wood.
Start with coarse paper only when you need to remove finish or noticeable damage, then progress through medium and fine grits for a smooth surface. Overlap each pass slightly, and vary your starting points to prevent uneven wear.
Refine your sanding techniques by slowing down near joints and inspecting the tabletop often under good lighting. Stop when the surface feels uniformly smooth.
Remove Dust Thoroughly
Once the tabletop feels uniformly smooth, remove all sanding dust before applying any finish. Begin with a vacuum fitted with a soft brush attachment.
Move slowly across the tabletop, seams, edges, and legs, where particles often collect. Follow with a clean, dry microfiber cloth, folding it frequently so you don’t redistribute grit.
For effective surface cleaning, inspect the wood under bright, angled light.
- Vacuum corners, joints, and undersides carefully.
- Wipe the tabletop with light, overlapping strokes.
- Check for remaining dust before proceeding.
Avoid soaking the wood or using oily cleaners, which can interfere with stain or finish adhesion.
If fine powder remains, use a lightly dampened cloth approved for unfinished wood, then allow the table to dry completely.
Run your fingertips over the surface. If they feel gritty, repeat the cleaning process.
Don’t rush this step, because trapped dust can create bumps and cloud the final finish.
Choose and Apply the Right Finish
Choose a finish based on how you use the table and the sheen you want. For a natural look, choose a clear finish that highlights the wood’s grain.
Choose a finish that suits your table’s use while enhancing the wood’s natural grain.
If you want richer color, consider stain options, including oil-based, water-based, and gel stains. Test each product on scrap wood or an inconspicuous area before committing.
Let the sample dry fully, because its color and sheen may change. Stir the finish gently rather than shaking it, which can create bubbles.
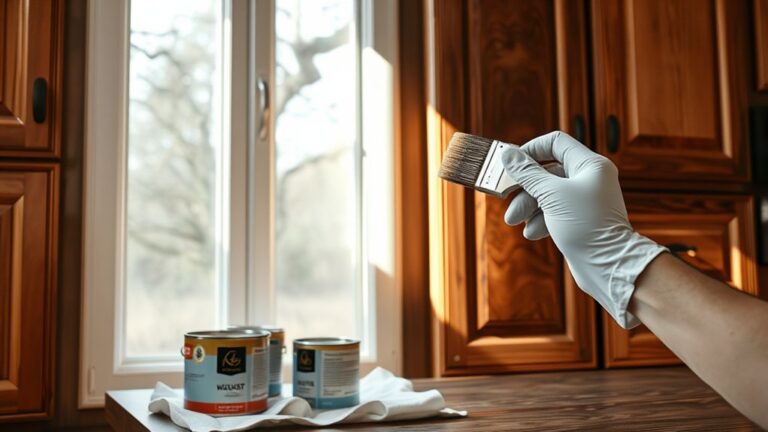
Apply stain with a clean cloth or brush, following the grain. Wipe away excess after the manufacturer’s recommended time, then allow the surface to dry completely.
For varnish, use a high-quality brush and thin, even coats. Apply varnish carefully to prevent drips, lap marks, and trapped dust.
Sand lightly between coats only when the label directs you to, and remove every particle before applying the next coat. Work in a ventilated area, and follow drying times carefully.
Protect the Table With a Durable Topcoat
After the stain has dried completely, seal the table with a durable topcoat to protect it from spills, scratches, and daily wear. Choose protective coatings based on your table’s use, desired sheen, and the manufacturer’s directions.
Water-based polyurethane dries clear and produces fewer odors, while oil-based polyurethane adds warmth and strong finish durability. You can also select varnish for a traditional, resilient surface.
Before applying, remove dust with a clean, lint-free cloth. Stir the product gently instead of shaking it, which can create bubbles.
Use a quality brush, foam applicator, or sprayer to spread a thin, even coat, working with the wood grain. Don’t overload the surface or leave puddles along the edges.
- Apply compatible topcoat over the fully dry finish.
- Sand lightly between coats with fine-grit paper, then remove all dust.
- Build protection with several thin coats rather than one thick layer.
Keep your workspace ventilated, and follow the label’s application and recoat instructions carefully.
Cure the Finish and Maintain the Table
Let the final coat cure fully before using the table, even if it feels dry to the touch. Follow the product label; most finishes need several days, while hardening can take weeks.
During this period, keep the surface dust-free, dry, and away from heat or direct sunlight. Don’t place appliances, placemats, or decorations on it.
| Task | Timing |
|---|---|
| Light cleaning | After full cure |
| Wipe spills | Immediately |
| Use coasters | Always |
| Reapply protection | As needed |
To cure the finish properly, avoid washing, scrubbing, or testing the surface early. Once cured, maintain the table with a soft, damp cloth and mild soap.
Dry it promptly, and never let water pool around joints or edges. Use trivets beneath hot cookware and cutting boards beneath sharp tools.
Refresh the finish when it looks dull, feels rough, or absorbs moisture quickly. Sand lightly only when the product instructions permit it, then clean and apply a compatible coat.
Address scratches promptly to prevent stains and swelling. With gentle, consistent care, your refinished table will stay attractive and serviceable for years.
Frequently Asked Questions
How Long Does Refinishing a Wooden Kitchen Table Typically Take?
You’ll typically spend two to four days refinishing a wooden kitchen table, though the timeline depends on its size, condition, and finish. You’ll need time to sand, repair damage, apply stain or paint, and let each coat cure.
Furniture restoration often takes longer when you uncover deep scratches or old varnish. By using reliable Wood finishing techniques, you’ll achieve better results, but don’t rush drying between coats or applying the protective topcoat.
Can I Refinish a Table Without Moving It Outdoors?
Yes, you can refinish a table indoors, but you’ll need strong ventilation and careful planning. Picture your room becoming a tiny workshop: open windows, run fans, and keep children and pets away.
For indoor refinishing, choose low-odor, water-based products whenever possible. Use furniture protection beneath and around the table, including a drop cloth, plastic sheeting, and painter’s tape.
Sand carefully, control dust, and let each coat cure fully before using the table.
Should I Remove the Table Legs Before Refinishing?
Usually, you should remove the table legs before refinishing if they detach easily. Removing them gives you better access, prevents drips around joints, and lets you sand and coat each surface evenly.
However, don’t force stuck hardware or glued joints, as you could damage the table. If removal isn’t practical, protect the floor, mask the hardware, and work carefully.
Choose refinishing techniques that suit your finish, workspace, and table’s construction.
How Much Does Professional Table Refinishing Usually Cost?
Professional table refinishing usually costs $300–$1,000, though intricate designs, large tables, damage, and premium finishes can push the price higher. You’ll often pay $150–$400 for stripping and sanding, plus additional labor for staining, sealing, or repairs.
Ask for an itemized estimate and compare local shops. A clear cost comparison helps you judge whether furniture restoration beats replacement, especially when your table has sentimental or heirloom value.
Can a Refinished Table Safely Support Hot Dishes?
Yes, your refinished table can safely support hot dishes if you’ve applied a properly cured, heat-resistant finish. Don’t place scorching cookware directly on the surface, because even durable coatings can discolor, soften, or develop marks.
Use trivets, mats, or insulated pads beneath hot pots and serving dishes. For better surface durability, let the finish cure fully according to the manufacturer’s instructions.
You’ll protect the table and preserve its appearance longer.
Conclusion
With the right tools and patience, you can turn a worn wooden kitchen table into the heart of your home again. Clean away years of grime, strip stubborn finish, and sand until the surface feels smooth beneath your hand.
Then brush on your chosen stain or finish, seal it with a durable topcoat, and let it cure fully. As you maintain it gently, each meal will add another warm memory to its renewed grain and glow.
With these steps for how to refinish a wooden kitchen table, you can enjoy a beautiful, durable centerpiece for years to come.