Build Kitchen Cabinets With 10 Free Plans
Finding kitchen cabinets that fit your space and budget can be a challenge, and you’re not alone. If you’re ready to build your own, these 10 free kitchen cabinet plans offer options for a range of styles and skill levels.
You can build your own kitchen cabinets with basic tools like a table saw, drill, and pocket-hole jig, plus plywood, hardwood, and standard hardware. Match your plan to your skill level: beginners can start with simple butt joints and pocket screws before tackling dovetails or corner units.
From basic base cabinets to glass-front doors and hidden storage, these 10 free plans cover a range of styles and budgets. Take a look to find the right fit for your kitchen.
Key Takeaways
- Gather essential tools like a table saw, drill, pocket-hole jig, clamps, and router before starting your build.
- Choose plans that match your skill level. Beginners can start with simple butt joints and pocket screws.
- Explore a variety of free plans, including base cabinets, open shelving, corner units, and glass-front designs.
- Use standard 3/4-inch plywood and efficient cut lists to keep your cabinet build affordable.
- Finish with quality hardware, such as soft-close hinges and full-extension slides, and make sure the doors align for a professional look.
Tools and Materials You’ll Need for Cabinet Building
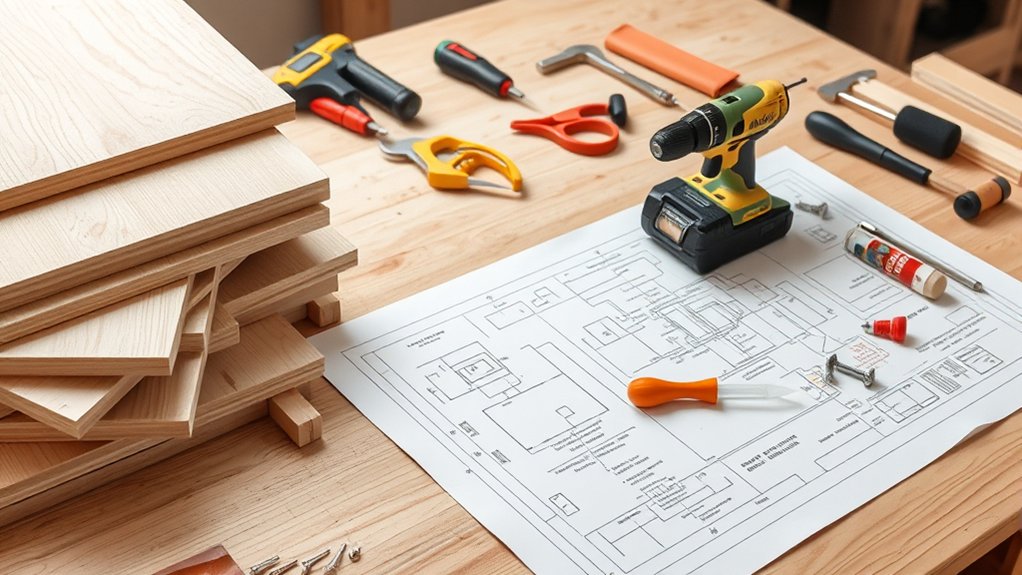
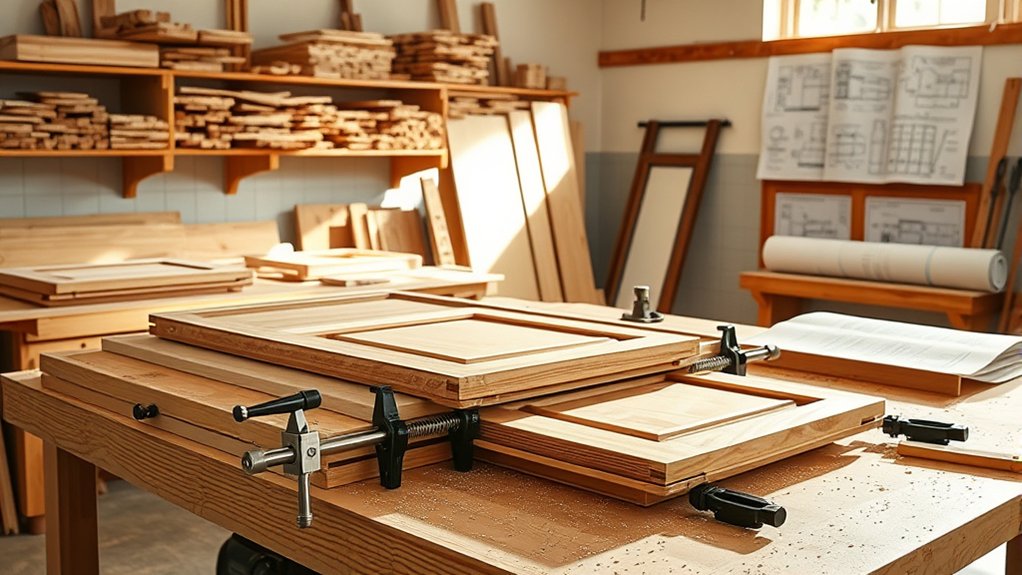
Before you cut a single board, you’ll want to gather the right tools and materials to make your cabinet build go smoothly. Start with a table saw, circular saw, drill, pocket-hole jig, and clamps for accurate joinery. You’ll also need a miter saw for clean angle cuts and a router if you’re adding decorative edges or dado joints.
Gather your table saw, circular saw, drill, pocket-hole jig, and clamps first—accurate joinery starts with having the right tools on hand.
For materials, choose plywood for boxes and solid hardwood for face frames and doors. Pick up wood screws, cabinet hinges, drawer slides, and edge banding before starting. Sandpaper in various grits and wood glue round out your supply list.
Think ahead about color coordination between your cabinet finish, countertops, and flooring, since mismatched tones are hard to fix later. Also plan for appliance integration early, measuring spaces for your refrigerator, dishwasher, and range so your cabinet dimensions fit seamlessly.
Having these tools and materials ready prevents mid-project delays and keeps your build on track.
Choosing the Right Cabinet Plan for Your Skill Level
How do you know which cabinet plan actually matches your skill level? Start by looking honestly at your experience with basic joinery. If you’ve never built anything beyond a shelf, pick a plan with simple butt joints and pocket screws rather than dovetails or face frames with hidden hinges.
Beginner plans usually skip fancy details, so you’ll add your own color coordination later through paint or stain rather than following a complicated finish schedule. That gives you room to make the project your own without adding build complexity.
Intermediate and advanced plans often include built-in lighting options, like under-cabinet LED strips, which require extra wiring knowledge and precise cutouts. If electrical work isn’t your strength yet, choose a plan without it, or add lighting as a separate upgrade once the basic cabinet structure is solid and functional.
Simple Base Cabinet Plans for Beginners
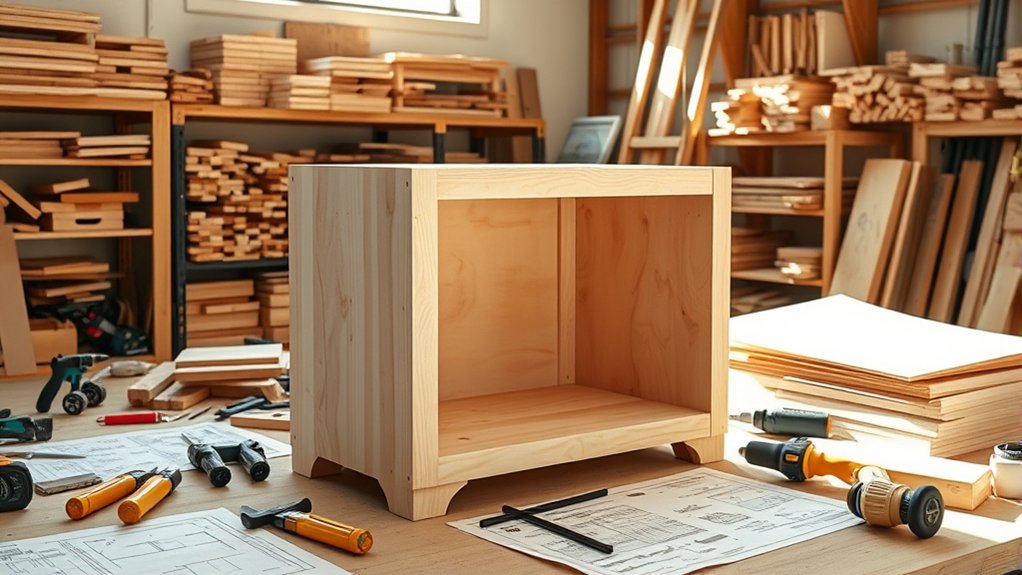
Once you’ve settled on a beginner-friendly design, a simple base cabinet is the best place to start. These cabinets rely on basic box construction, straight cuts, and butt joints, so you won’t need advanced joinery skills to build something sturdy and functional.
Start with a standard 24-inch deep, 34.5-inch tall frame, and adjust the width to fit your kitchen layout. Use ¾-inch plywood for the sides, bottom, and back panel, since this thickness offers solid material durability without adding unnecessary weight or cost.
Attach the face frame with pocket screws or wood glue and clamps, then add a simple shelf or drawer box inside. Skip decorative details for now; focus on square corners and level surfaces.
Once you’ve mastered this basic build, you’ll have the confidence and core skills needed to tackle upper cabinets, drawer units, and more customized storage solutions throughout your kitchen.
Free Upper Cabinet Plans With Open Shelving
If you want your kitchen to feel more open and show off your favorite dishes, try upper cabinets with open shelving instead of traditional doors. You’ll need basic materials like plywood, 1×4 boards for the face frames, and shelf brackets or dado joints for support. Before you start cutting, make a detailed cut list to get the most out of your lumber and reduce waste.
Open Shelving Design Benefits
Because open shelving ditches doors and hinges, you’ll cut material costs and build time considerably compared to traditional upper cabinets. You’ll also gain easy access to dishes and cookware without fumbling for handles, and you’ll create visual breathing room in tighter kitchens where closed cabinets feel heavy.
Open shelving adds genuine aesthetic appeal, letting you display curated dishware, glassware, or decorative pieces as part of your kitchen’s style. It turns storage into design.
| Benefit | Impact |
|---|---|
| Lower material costs | No doors, hinges, or hardware needed |
| Faster build time | Fewer joints and cuts required |
| Easier access | Grab items without opening doors |
| Visual openness | Kitchen feels larger, less boxed-in |
| Display opportunity | Showcase dishware for added charm |
Materials And Cut List
Before you start cutting, gather 3/4-inch plywood for the sides, top, and bottom panels, plus 1/4-inch plywood for the back panel and shelf supports. You’ll need two side panels at 12″x30″, a top and bottom at 12″x30″, and three adjustable shelves at 11.5″x29.5″. Cut the back panel from 1/4-inch plywood to 30.5″x30.5″ for a clean, flush fit.
Grab edge banding for exposed plywood edges, wood glue, 1.25-inch screws, and shelf pin hardware for adjustable spacing. If you’re adding interior lighting, run LED strip wiring channels before assembly—it’s much easier than retrofitting later.
Keep your cut list organized by labeling each piece as you go. This prevents mismatched cuts and wasted material, especially when coordinating dimensions with existing countertop materials and surrounding cabinetry.
If you’re looking to add storage without taking up more floor space, hidden drawers are a smart solution. You could add toe-kick drawers beneath your base cabinets, create false-bottom compartments for valuables or rarely used items, or install concealed pull-out panels that blend into the cabinet fronts. That way, you can make the most of your kitchen while keeping it looking clean and uncluttered.
Toe-Kick Storage Drawers
Why let the space beneath your cabinets go to waste? Toe kick storage turns that overlooked gap into hidden compartments for flat items you rarely access, like baking sheets, step stools, or seasonal linens. These shallow drawers sit flush with your cabinet base and pop open with a gentle push or discreet pull mechanism, keeping your kitchen’s clean lines intact.
Building one requires basic skills and minimal materials. Here’s how to get started:
- Measure your toe-kick height and depth for drawer sizing
- Build a simple drawer box from plywood
- Install smooth-gliding drawer slides underneath
- Add a face panel matching your cabinetry
This project maximizes storage without sacrificing floor space or aesthetics, giving every inch of your kitchen real purpose.
False-Bottom Cabinet Compartments
Once you lift the real bottom panel of a standard base cabinet, you’ll find several inches of dead space hiding between it and the cabinet’s true floor. Instead of wasting that gap, build a lightweight lift-out panel with a finger notch, and you’ve got instant bottom storage for items you don’t need daily.
This hidden layer boosts cabinet organization without changing your cabinet’s exterior look.
| Item Type | Storage Benefit |
|---|---|
| Baking sheets | Flat, dust-free storage |
| Spare linens | Keeps clutter out of sight |
| Important documents | Added security |
| Seasonal tools | Easy seasonal rotation |
Cut the panel from thin plywood, add a recessed pull, and rest it on cleats screwed to the cabinet sides for quick access whenever you need it.
Concealed Pull-Out Panels
Beyond that false bottom, another layer of hidden storage waits right under your nose: the toe-kick space below your cabinets. Instead of wasting this gap, you can turn it into concealed pull-out panels that store flat items you’d otherwise struggle to fit elsewhere.
Here’s how to build yours:
- Measure the toe-kick depth so your tray slides smoothly without hitting pipes or framing.
- Attach drawer slides to the cabinet’s base frame for a sturdy, quiet glide.
- Build a shallow tray sized to hold baking sheets, cutting boards, or platters.
- Add a finger pull so you can open it without visible hardware.
These hidden compartments keep bulky items accessible yet completely out of sight, maximizing every inch of your kitchen’s footprint.
Corner Cabinet Plans That Maximize Tight Spaces
Because corner spaces waste so much storage potential, you’ll want a cabinet plan that turns that dead zone into usable real estate. A lazy Susan or diagonal corner cabinet lets you access items that would otherwise sit trapped behind a blind panel.
You’ll cut angled face frames, install a rotating shelf system, and hang doors that swing clear of adjacent cabinetry.
Add interior lighting inside the cabinet so you can actually see what’s stored on the rotating shelves, and consider decorative accents on the exposed end panel to tie the corner unit into your overall kitchen design.
| Corner Type | Storage Capacity | Build Difficulty |
|---|---|---|
| Lazy Susan | High | Moderate |
| Diagonal Corner | Medium | Easy |
| Blind Corner Pull-Out | High | Advanced |
| L-Shaped Corner | Medium | Moderate |
Choose the design that matches your tools and your kitchen’s layout constraints.
Glass-Front Cabinet Door Plans for a Custom Look
Glass-front cabinet doors add a custom touch, letting you show off your dishware and break up solid wood surfaces. First, choose the glass: clear glass puts everything on display, while frosted or textured glass offers more privacy.
Once you’ve chosen a style, build a sturdy frame with rabbets or retainer strips to hold the panel securely. That way, the door looks polished from every angle.
Choosing the Right Glass
How do you pick the right glass for your cabinet doors? Your choice affects both style and function, so weigh your options before cutting any wood.
- Clear glass shows off dishware and adds an open feel to your kitchen.
- Frosted glass hides clutter while still letting light pass through.
- Decorative glass, like seeded or reeded styles, adds texture and personality to your cabinets.
- Tempered glass is your safest bet since it resists shattering into sharp pieces.
Think about maintenance, too. Textured glass hides fingerprints better than clear panes. Once you’ve chosen your glass type, plan your glass installation carefully, using retainer strips or clips rather than permanent adhesive. This makes repairs or replacements easy down the road.
Building the Frame Design
Since glass panels need extra support, you’ll want to build your frame with sturdy rail and stile joints. Cut your stiles and rails from 3/4-inch hardwood, then use a router to create a groove that holds the glass securely without putting pressure on the pane itself.
Once your frame’s assembled, add decorative molding around the inside edge for a polished, furniture-grade look. This small detail hides gaps and gives the door a finished appearance that matches your cabinet style, whether it’s traditional or modern.
If you’re installing cabinet lighting inside the cabinet, plan your frame depth accordingly so the glass sits flush and the light distributes evenly. A well-built frame keeps your door stable while showcasing what’s inside.
Pantry Cabinet Plans for Extra Kitchen Storage
Where do you stash bulky bags of flour, canned goods, and small appliances that clutter your countertops? A pantry cabinet solves this problem by giving every item a dedicated spot, freeing up your countertops and enhancing your kitchen decor.
Smart appliance placement within the pantry keeps your blender, mixer, and toaster accessible yet tucked away from sight.
When building your pantry cabinet, focus on these key features:
- Adjustable shelving – Customize shelf height to fit cereal boxes, canned goods, or bulky appliances.
- Deep drawers – Store heavier items like small appliances at a convenient reach.
- Pull-out racks – Maximize corner space and keep spices or canned goods organized.
- Door-mounted racks – Add extra storage for thin items like foil or cutting boards.
Combining these elements creates a pantry cabinet that’s both functional and visually appealing, giving your kitchen a clean, organized look while maximizing every inch of storage space available.
Budget-Friendly Plywood Cabinet Plans
Because plywood costs less than hardwood and resists warping better than particleboard, it’s the go-to material for cabinet builders watching their budget. You’ll find plenty of free plans built around standard 3/4-inch plywood sheets, designed to minimize waste through smart cut lists that maximize every panel.
Most budget plywood plans use simple butt joints and pocket screws instead of complex joinery, so you don’t need advanced woodworking skills to get professional results. Look for plans that include edge-banding instructions. This step hides raw plywood edges and gives your cabinets a finished look without expensive trim work.
Don’t skimp on planning your color schemes before you start cutting. A coat of quality paint or stain transforms basic plywood into cabinets that rival pricier materials. Pair your finished cabinets with updated lighting fixtures to brighten your workspace and highlight your new builds. These combinations stretch your budget further while delivering a kitchen that looks custom-built, not corner-cut.
Cabinet Hardware and Finishing Touches
Once you’ve built your cabinet boxes and doors, the hardware you choose determines whether your kitchen looks handmade or professionally crafted. Skimping here undermines hours of careful woodworking, so treat hardware selection as a final design decision, not an afterthought.
Focus on these details:
- Hinges – Choose soft-close hinges for smooth, quiet operation and a polished feel.
- Pulls and knobs – Match finishes to your faucet or lighting for cohesive style.
- Drawer slides – Full-extension slides improve function and durability over time.
- Decorative accents – Add trim, molding, or glass inserts to raise plain cabinet faces.
Don’t overlook cabinet lighting. Under-cabinet LED strips highlight countertops and add warmth, while interior lighting inside glass-front cabinets showcases dishware beautifully. These touches cost little but make a noticeable difference.
Once hardware’s installed, step back and inspect everything. Tighten loose screws, align doors evenly, and confirm drawers glide smoothly. These final touches transform functional cabinets into a finished, custom-looking kitchen you’ll enjoy for years.
Frequently Asked Questions
How Long Does It Take to Build a Full Set of Kitchen Cabinets?
You’ll typically spend two to four weeks building a full set of kitchen cabinets, depending on your skill level and shop time. You’ll need days for cabinet design, deciding on layouts and dimensions before cutting anything.
Material selection also affects your timeline—plywood and hardwood take longer to prep than MDF. Don’t rush finishing steps like sanding and painting; they’re essential. If you’re working part-time on weekends, expect it to stretch closer to a month.
Can I Build Cabinets Without a Table Saw or Router?
Yes, you can. You don’t need every power tool in the book to get quality results. A circular saw and a drill can handle most cuts and joinery if you’re resourceful.
You’ll rely more on your woodworking skills, taking extra care with measurements and clamping. It’ll take patience, but you can still end up with sturdy, great-looking cabinets.
How Much Money Will I Actually Save Building My Own Cabinets?
You’ll typically save 50-70% compared to custom cabinets, often cutting costs from $15,000-20,000 down to $5,000-7,000 for materials alone. Your actual savings depend on a realistic cost analysis of lumber, hardware, and finishing supplies versus your labor time.
Factor in skill requirements too. If you’re buying tools you don’t own or making costly mistakes while learning, those “savings” shrink fast. Experienced DIYers save the most; beginners should budget extra for trial and error.
Do Homemade Cabinets Meet Code Requirements for Resale Value?
Yes, your homemade cabinets can meet code and hold resale value if you build them right. You’ll need to follow local building code for materials, ventilation, and load-bearing support, especially around sinks and appliances.
Appraisers and buyers judge cabinets by resale standards like functionality, finish quality, and durability, not just who built them. Use proper hardware, square joints, and solid materials.
If you’re unsure about compliance, have an inspector review your work before listing your home.
What’s the Best Wood Finish to Survive Kitchen Humidity and Grease?
Wondering what’ll actually stand up to years of steam and splatter? You’ll want a catalyzed conversion varnish or polyurethane. Nothing else matches their finish durability in a working kitchen.
These finishes seal the wood grain tightly, blocking moisture and grease from penetrating. Apply several thin coats, sanding between each, and you’ll get a smooth, resilient surface.
Avoid oil-based finishes alone. They can’t handle daily humidity swings without yellowing or breaking down over time.
Conclusion
You’ve got everything you need to build kitchen cabinets that fit your space and style perfectly. Here’s something worth considering: custom cabinets typically cost 30–50% more than DIY builds, yet you’ll spend just a fraction of that on materials when following these free plans.
Whether you choose a simple base cabinet or tackle glass-front doors, you’re saving serious money while creating something you’ll use daily. Grab your tools and start building today with these free kitchen cabinet plans.