How to Change a Kitchen Faucet in 5 Steps
Replacing a kitchen faucet can feel like a hassle, especially when you’re dealing with confusing connections, stubborn hardware, or the risk of leaks. You’re not alone—many people struggle with this project. The right tools and a clear plan can make changing a kitchen faucet much easier.
To change a kitchen faucet, gather a wrench, bucket, towels, and plumber’s tape, then shut off both water valves.
Disconnect the supply lines and mounting hardware, and lift out the old faucet.
Clean and dry the sink, inspect for damage, and confirm the new faucet fits.
Feed its lines through the opening, secure the mounting hardware, and align the fixture.
Reconnect hot and cold lines, open the valves slowly, flush the faucet, and check for leaks.
The steps below provide extra guidance.
Key Takeaways
- Gather tools, clear the cabinet, place a bucket and towels underneath, and shut off both water-supply valves.
- Disconnect the supply lines and mounting hardware, then carefully remove and set aside the old faucet.
- Clean and dry the sink surface, inspect for damage, and confirm the replacement faucet fits the existing holes.
- Feed the new faucet through the opening, install the gasket and mounting bracket, then tighten and align it securely.
- Reconnect hot and cold supply lines, slowly open the valves, flush the faucet, and check every connection for leaks.
Gather Tools and Shut Off the Water Supply
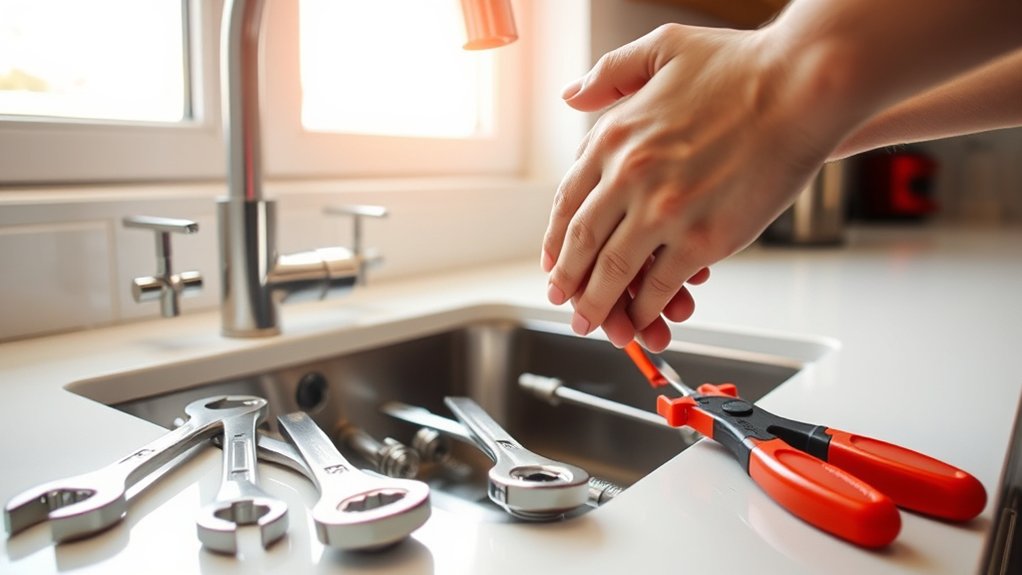
Before you begin, gather an adjustable wrench, basin wrench, bucket, towels, plumber’s tape, and a flashlight. Keep these tools within reach so you won’t need to search beneath the sink later.
Clear the cabinet of cleaners and stored items, then place a bucket beneath the supply connections. Spread towels around the cabinet floor to catch drips and protect the wood.
Find the hot- and cold-water shutoff valves on the wall beneath the sink. Turn each valve clockwise until it stops; don’t force it.
Open the existing faucet handles and let the remaining water drain into the sink. This step releases water pressure before you continue.
If water keeps flowing, close your home’s main shutoff valve and contact a plumber if necessary. Check both supply lines for leaks, corrosion, or damaged valves.
Careful preparation supports effective faucet maintenance and helps you work safely without creating an unexpected mess. Keep the flashlight ready for dim cabinet corners.
Disconnect and Remove the Old Kitchen Faucet

With the water shut off, disconnect the hot- and cold-water supply lines from the faucet’s threaded stems using an adjustable wrench. Place a bucket beneath the connections to catch residual water, and loosen each nut carefully. If the fittings resist, steady the faucet stem with pliers while turning the wrench to avoid twisting the supply tubes.
Next, look beneath the sink for the mounting nuts, brackets, or screws securing the faucet. Remove them with a basin wrench, adjustable wrench, or screwdriver, depending on the design. Hold the faucet above the sink as you loosen the final fastener so it doesn’t drop.
Pull the old faucet and attached lines through the sink opening. If mineral buildup or corrosion has fused parts together, work patiently rather than forcing them. Don’t restore water pressure until you’ve removed every connection.
Note the faucet material, since heavier metal models may require both hands. Set the old fixture aside without damaging nearby plumbing or cabinetry.
Clean the Sink and Check the Faucet Fit
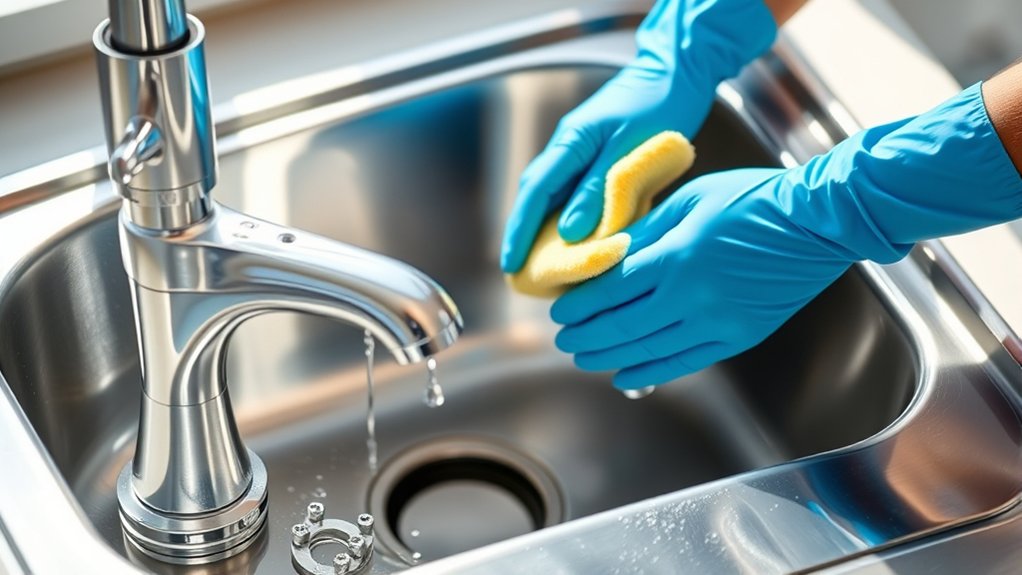
Once the old faucet is out, clean the sink’s mounting surface and drain openings to remove grime, mineral deposits, and old plumber’s putty. Use a plastic scraper to lift stubborn residue without scratching the sink.
Apply a mild cleaner, then wipe the area with a damp cloth. Dry the surface completely so you can inspect it clearly.
During this sink cleaning step, check for cracks, corrosion, or damage around the faucet holes. A damaged sink may not support a replacement securely, so address problems before continuing.
Confirm that the new faucet’s base or escutcheon covers the existing holes and sits flat against the sink. Measure the hole spacing if the faucet uses multiple connections, and compare it with the manufacturer’s specifications.
This faucet fitting check also helps you verify that the faucet’s supply lines can reach the shutoff valves. Don’t force a mismatched faucet or enlarge holes unless the instructions specifically allow it.
Keep the mounting area clean and dry for the next step.
Install the New Kitchen Faucet
Start by feeding the new faucet’s supply lines and mounting shank through the sink’s opening, keeping the base or escutcheon centered on the clean, dry surface. From beneath the sink, slide the rubber gasket and mounting bracket over the shank.
Thread on the mounting nut by hand, then tighten it with a basin wrench or the tool supplied by the manufacturer. Don’t overtighten, or you could damage the sink or faucet.
Check the faucet’s alignment from above. Position the spout to face the center of the basin, and confirm the handle moves freely without striking the backsplash.
Different faucet styles may require a separate deck plate, gasket, or stabilizing washer, so follow the installation diagram for your model. If the faucet includes a pull-down or side sprayer, seat its hose weight and guide the hose through the opening as directed.
Verify that the faucet sits firmly and level before proceeding to the next step.
Reconnect Supply Lines and Test for Leaks
After the faucet is secure and properly aligned, reconnect each supply line to the matching hot and cold shutoff valve. Hand-tighten both connectors, then use an adjustable wrench for another quarter turn.
Don’t overtighten, which can damage threads or crush washers.
| Check | Action |
|---|---|
| Hot line | Connect to hot valve |
| Cold line | Connect to cold valve |
| Connections | Tighten without forcing |
| Aerator | Remove before flushing |
Open both shutoff valves slowly while watching every joint. Keep a dry paper towel beneath the connections; even a small drip will reveal itself quickly.
If you see moisture, close the valve, relieve pressure, and reseat the connector or replace its washer. For effective Leak prevention, confirm the hoses aren’t twisted, kinked, or rubbing against cabinet surfaces.
Next, turn on the faucet and let water run for a minute to clear debris. Replace the aerator, then perform Pressure testing by switching between hot and cold and checking underneath again.
Dry all fittings and recheck them after several minutes. Don’t proceed until everything stays completely dry.
Frequently Asked Questions
How Often Should a Kitchen Faucet Be Replaced?
You should typically replace a kitchen faucet every 10–15 years, though faucet lifespan depends on water quality, usage, and construction. Don’t wait for age alone; watch for replacement indicators such as persistent leaks, rust, loose handles, poor water flow, or recurring repairs.
If your faucet still works reliably and looks sound, you can keep it longer. However, upgrading sooner may improve efficiency, convenience, and your kitchen’s appearance while preventing water damage.
Which Kitchen Faucet Style Best Suits My Sink and Kitchen Design?
Choose a faucet style that matches your sink’s mounting holes, size, and overall design. A single-handle pull-down faucet suits most modern kitchens and simplifies daily tasks, while a bridge or two-handle model complements traditional spaces.
For compact sinks, choose a low-arc faucet to prevent splashing. Deep sinks benefit from a high-arc design. Consider material options, such as stainless steel or brass, and prioritize style compatibility with your hardware and cabinetry.
Can I Install a Water Filter or Soap Dispenser With My New Faucet?
Yes, you can add a water filter or soap dispenser with your new faucet, making your sink setup feel like a million bucks. Check how many mounting holes your sink or countertop has before buying accessories.
Water filtration options include faucet-mounted, under-sink, and integrated systems. Confirm compatibility and allow space beneath the cabinet.
For soap dispenser installation, use an available hole, tighten the mounting hardware, and connect the refill bottle securely underneath.
What Faucet Finishes Are Easiest to Clean and Maintain?
Choose a brushed stainless steel or brushed nickel faucet if you want easy cleaning and maintenance. These finishes hide water spots, fingerprints, and minor scratches better than polished chrome or matte black.
For effective cleaning tips, wipe your faucet daily with a soft cloth and mild dish soap, then dry it thoroughly. Your maintenance routine should avoid abrasive cleaners, vinegar soaks, and steel wool, which can damage protective coatings and leave permanent marks over time.
When Should I Hire a Professional Plumber for Faucet Replacement?
Hire a professional plumber if you can’t confidently shut off the water, access cramped connections, or identify your faucet compatibility. You should also seek help when valves leak, pipes show corrosion, countertop damage complicates installation, or the replacement requires rerouting lines.
DIY plumbing works for straightforward swaps when you have suitable tools and experience. Call a professional immediately if water won’t stop, connections remain seized, or leaks persist after installation and testing carefully.
Conclusion
With your new kitchen faucet installed, you’ve completed a practical upgrade that can make daily tasks easier. Check every connection once more, wipe away any drips, and enjoy the improved flow.
If a problem appears, shut off the water and tighten the fitting carefully. Your faucet is the small bridge between your home and its water supply, so treat it well with routine cleaning and occasional inspections.
Now that you know how to change a kitchen faucet, you can turn it on confidently and get back to cooking.