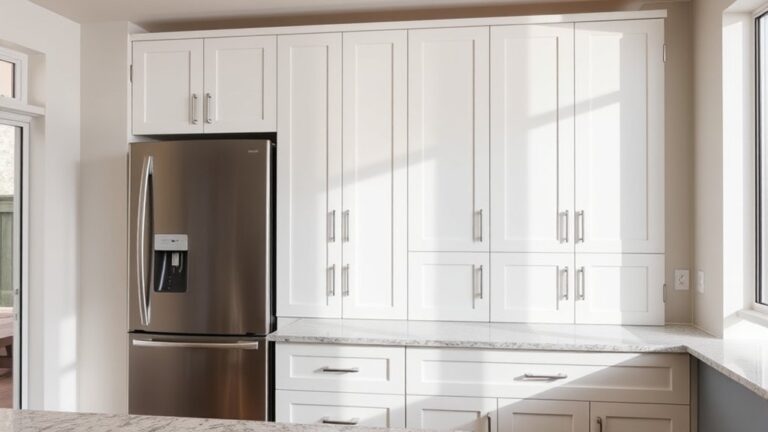
How to Clean White Kitchen Cabinets in 10 Steps
White kitchen cabinets can look dingy fast, and finding a cleaner that removes grime without damaging the finish can be a challenge. If you’ve struggled to get them looking bright again, you’re not alone.
This guide to how to clean white kitchen cabinets shares simple steps to help you clean them with confidence.
Clear your countertops, then gather microfiber cloths, mild dish soap, and an old toothbrush. Mix warm water with dish soap, dust surfaces first, then wipe fronts and edges following the grain.
Clean grooves and corners with your toothbrush, treat stubborn stains with baking soda paste, and always test products on hidden spots.
Dry and buff for shine, then protect cabinets with a sealant.
Stick around, and you’ll pick up the exact steps that make this process foolproof.
Key Takeaways
- Clear countertops and cabinets, sorting items into keep, donate, and toss piles before cleaning.
- Mix warm water with mild dish soap, using microfiber cloths for washing and drying.
- Scrub corners, grooves, and hardware with an old toothbrush and baking soda paste for stubborn grime.
- Dry and buff cabinets immediately with a clean microfiber cloth to prevent streaks and water spots.
- Apply a protective finish and use handles instead of fingers to maintain cleanliness longer.
Clear Out Cabinets and Countertops First
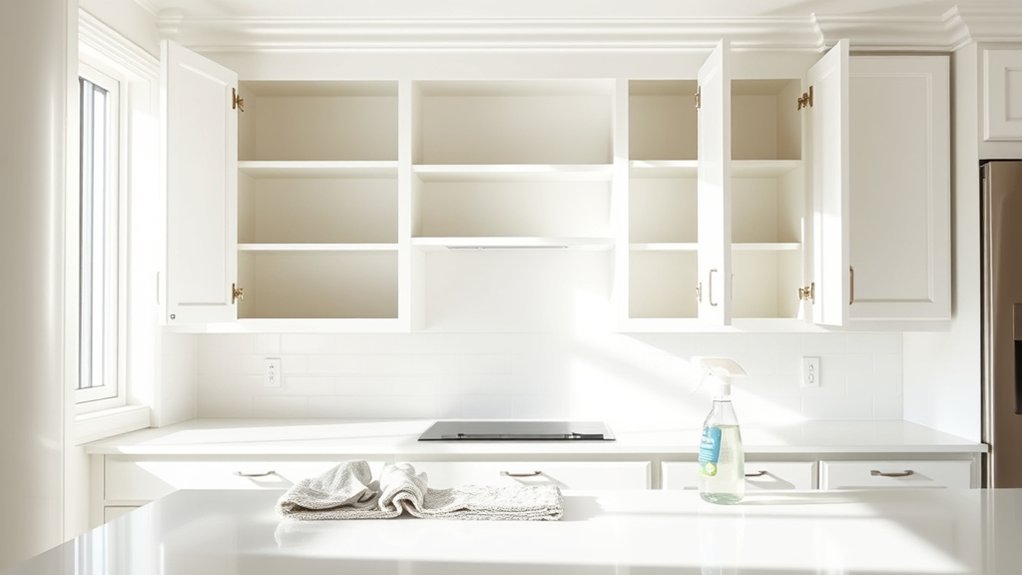
Before you grab a sponge or spray bottle, clear everything off your countertops and out of your cabinets. A clean workspace lets you reach every corner, hinge, and handle without maneuvering around dishes or small appliances.
Pull out plates, cups, pots, and pantry items, and set them on your kitchen table or another flat surface.
This is also a great chance to put some organizing tips to use. Sort items into keep, donate, and toss piles as you empty each shelf. You’ll likely find expired spices, duplicate utensils, or mismatched lids you no longer need.
While everything’s out, think about storage solutions that could improve your cabinet layout, like shelf risers, lazy Susans, or drawer dividers.
Clearing cabinets completely makes the actual cleaning process faster and gives you a chance to reset your kitchen’s organization before putting everything back in place.
Gather the Right Cabinet-Cleaning Supplies
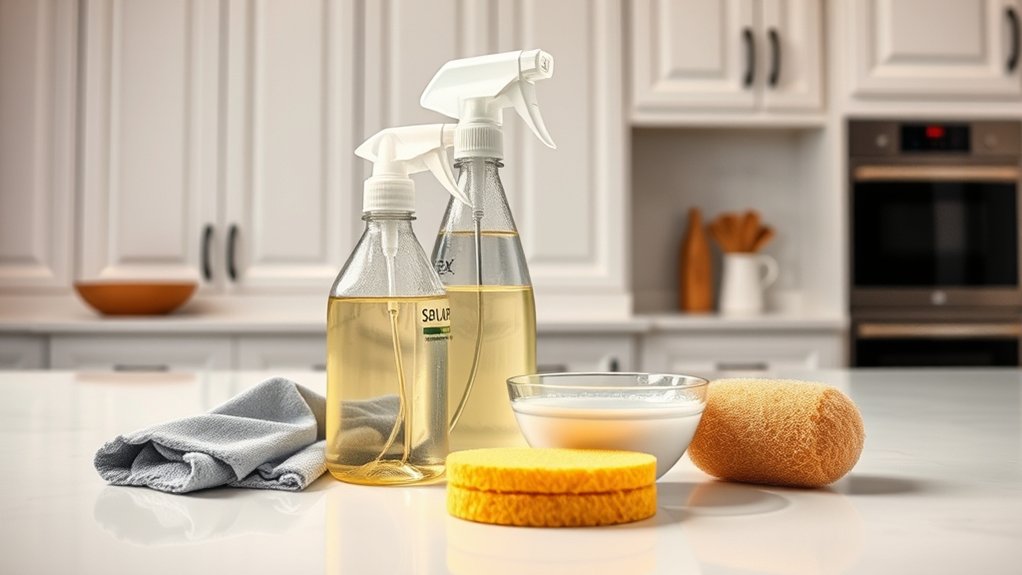
Grab a few basics, and you’ll have everything you need to tackle grease, grime, and dust without damaging your cabinet finish. Start with a mild dish soap mixed with warm water—it cuts through kitchen grease without stripping paint or finish.
Keep two microfiber cloths on hand: one for washing, one for drying, since leftover moisture can dull white surfaces over time.
Two microfiber cloths do the trick: one to wash, one to dry, keeping moisture from dulling your white cabinets.
For stubborn buildup near the stove or cabinet ventilation areas, a baking soda paste works well without scratching. Grab an old toothbrush to clean detailed cabinet hardware like knobs, pulls, and hinges where grime tends to collect.
Add a bottle of white vinegar diluted with water for a natural degreaser, plus a soft-bristle brush for textured panels. Skip abrasive sponges and bleach-based cleaners, which can yellow or scratch white finishes.
With these simple supplies gathered beforehand, you’ll move through the cleaning process faster and protect your cabinets’ pristine look.
Mix a Gentle Homemade Cabinet Cleaner

Once you’ve gathered your supplies, mix up a cleaner that’s tough on grime but gentle on white finishes. Combine one cup of warm water with a tablespoon of mild dish soap in a spray bottle, then shake gently to blend.
This simple homemade solution cuts through grease without stripping paint or leaving streaks behind.
For tougher buildup around handles or near the stove, add a tablespoon of baking soda to the mix. It boosts cleaning power while staying safe on delicate surfaces.
Avoid vinegar-heavy recipes, since too much acidity can dull white paint over time.
Test your cleaner on a small, hidden spot first to confirm it won’t damage the finish. Once you’ve got the go-ahead, apply it with a microfiber cloth using light, circular motions.
This is one of the best cleaning techniques for avoiding scratches. This gentle approach keeps cabinets spotless without risking discoloration or wear.
Dust Cabinet Surfaces Before Washing
Before you reach for a cleaner, grab a microfiber cloth and wipe down the cabinet surfaces to remove loose dust and crumbs. That way, you won’t smear grit around when you add liquid, which could scratch the finish or leave muddy streaks.
Pay extra attention to corners, handles, and cabinet tops, where dust tends to settle unnoticed.
Use a Microfiber Cloth
Since loose dust and crumbs can scratch your cabinet finish once they mix with cleaning solution, you’ll want to wipe them away first. Grab a dry microfiber cloth and run it along the cabinet surfaces, corners, and edges before you ever touch water or cleaner.
Microfiber traps dust rather than pushing it around, so you won’t scatter debris onto nearby countertops or floors.
Don’t skip the cabinet hardware. Knobs, pulls, and hinges collect grime that standard dusting misses. Wipe each piece individually, especially if your color coordination features contrasting brass or black hardware against white cabinets, since fingerprints show up fast there.
Fold the cloth to expose a clean section as you work, switching sides often. This keeps you from redistributing dust instead of removing it.
Remove Loose Debris First
Because crumbs and dust hide in corners and along hinges, you’ll want to clear them out before any liquid touches the surface. Grab a dry microfiber cloth or a soft-bristled brush and sweep across each cabinet door, starting from the top and working down.
Pay close attention to carved details, handle bases, and the gaps around hinges where debris elimination often gets overlooked.
For stubborn dust removal, a vacuum with a brush attachment works well on textured panels or grooved trim. Don’t skip this step. Wiping wet cloths over loose particles just smears grit across the white finish, creating tiny scratches you’ll notice later.
Taking a minute to dust thoroughly now means your cleaning solution can focus on actual grime, not grinding dirt deeper into the paint.
Wipe Down Cabinet Fronts and Edges
Grab a microfiber cloth and wipe down each cabinet front, starting at the top and working your way down. Pay extra attention to grooves, panel edges, and corners, where grime tends to collect. These spots trap more dust and grease than flat surfaces, so give them a few extra passes to get them truly clean.
Use Microfiber Cloths
Once your cleaning solution’s ready, dip a microfiber cloth into it and wring out the excess so it’s damp, not dripping. Wipe cabinet fronts in smooth, straight strokes, following the grain rather than circling randomly.
Microfiber’s tight fibers trap grease and grime without scratching white surfaces, making it ideal for repeated use. Here’s why microfiber cloths outperform regular rags:
- Microfiber durability – These cloths withstand hundreds of washes without losing their scrubbing power.
- Lint-free finish – They leave no residue or streaks behind, keeping cabinets looking crisp.
- Reusable design – You can rinse and reuse them immediately, cutting down on waste.
After cleaning, proper cloth storage matters too. Let them air dry fully before folding to prevent mildew and odors.
Focus on Grooves and Edges
With the flat surfaces handled, turn your attention to the grooves, edges, and corners where grime tends to hide. These spots trap grease and dust that a quick wipe often misses, so they need a more deliberate approach.
Dip an old toothbrush or a small detailing brush into your cleaning solution and work it along panel grooves, raised trim, and corner seams. This groove cleaning step lifts buildup that regular cloths can’t reach without scrubbing too hard on the flat panels.
For edge detailing, run a damp microfiber cloth along cabinet edges and handles, where hands leave oily residue over time. Wrap the cloth around your finger to get into tight spaces.
Finish by drying these areas thoroughly to prevent streaking or water spots from settling into the grooves.
Clean Grease Buildup Around Cabinet Handles
Because handles and knobs take the brunt of daily use, they often collect more grease than the surrounding cabinet surfaces. Your hands transfer oils every time you open a cabinet, and that residue builds up around cabinet hardware faster than you might expect.
Handles and knobs quietly absorb the most daily contact—making them grease magnets long before the rest of your cabinets show any wear.
Effective grease removal here requires a bit more attention than a quick wipe-down.
Try this approach:
- Soak a cloth in warm, soapy water and wrap it around the handle for a minute to loosen grime.
- Use an old toothbrush to scrub the base where the handle meets the cabinet door.
- Dry thoroughly with a clean cloth to prevent water spots on the white finish.
Don’t forget the screws holding the hardware in place. Grease loves to hide there too. Removing handles occasionally for a deeper clean keeps them looking fresh and prevents buildup from spreading back onto your cabinet doors.
Clean Inside Corners and Grooved Panels
Although flat cabinet surfaces wipe clean in seconds, inside corners and grooved panels trap grime that a simple pass with a cloth won’t touch. These tight spots need dedicated attention to avoid leaving dark buildup behind.
For corner detailing, grab an old toothbrush or a small detail brush. Dip it in warm water mixed with mild dish soap, then scrub along the inside edges where panels meet. Work in small circles to loosen trapped dust and grease without scratching the finish.
For groove maintenance, run a cotton swab or a folded microfiber cloth through decorative grooves and raised panel lines. These narrow channels collect cooking residue that regular wiping misses. If grime persists, use a baking soda paste applied with the brush, then rinse with a damp cloth.
Finish by drying all corners and grooves thoroughly. Leftover moisture in these recessed areas can lead to mildew or discoloration over time.
Remove Stains Without Scratching Cabinet Paint
Once the corners and grooves are spotless, stubborn stains on flat surfaces deserve the same careful approach. Grease splatters, food residue, and fingerprint marks need targeted stain removal that won’t damage your cabinet’s finish. Skip abrasive powders and steel wool. They’ll dull or scratch white paint permanently, leaving marks worse than the original stain.
Abrasive powders and steel wool may seem effective, but they’ll permanently dull or scratch your cabinet’s white finish.
For effective scratch prevention, follow this approach:
- Test first: Apply your cleaning solution to a hidden spot, like the inside edge, before tackling visible areas.
- Use soft tools: Choose microfiber cloths or soft-bristled brushes instead of scrub pads or sponges with rough textures.
- Apply gentle pressure: Let the cleaning solution break down the stain rather than scrubbing harder, which only increases scratch risk.
For tough spots, a baking soda paste works well when applied gently and wiped away with a damp cloth. Patience protects your cabinet’s finish while still lifting away stubborn stains completely.
Dry and Buff Cabinets to a Shine
Once your cabinets are clean and rinsed, grab a microfiber cloth and dry them completely. Then buff the surface in small circles, working section by section across each door and drawer front. This helps lift away any leftover residue and leaves the cabinets with a streak-free shine.
Use a Microfiber Cloth
After wiping down your cabinets, grab a clean microfiber cloth and dry the surfaces immediately to prevent water spots and streaks. Microfiber traps moisture and lifts residue without scratching painted or laminate finishes, giving you that polished look you want. Buff in small circular motions, then follow the wood grain or cabinet panel direction for an even sheen.
Keep your cloth effective by following these tips:
- Cleaning microfiber after each use removes grime that can scratch surfaces later.
- Microfiber maintenance means air-drying cloths flat, not in a heated dryer.
- Rotate between several cloths so you’re always buffing with a dry one.
A well-maintained cloth keeps your white cabinets streak-free and shining longer.
Buff in Circular Motions
Because a clean swipe can still leave faint haze on white surfaces, buffing in small circular motions is what brings out the real shine. Grab a dry section of your microfiber cloth and work in tight, overlapping circles rather than long straight strokes.
This polishing technique lifts leftover moisture and residue without pushing it back into the grain or grooves of the cabinet door. Focus on one panel at a time, applying light pressure as you go.
Pay attention to corners and edges, where cleaner tends to pool and dry unevenly. A steady circular motion blends these spots smoothly, so you won’t see streaks once the light hits the cabinet.
Finish each panel before moving to the next, checking for a consistent, even shine throughout.
Protect White Cabinets From Future Stains
Since clean cabinets won’t stay spotless on their own, a little prevention goes a long way toward keeping them that way. Stain prevention starts with simple daily habits that stop grime before it sets in.
Once your cabinets are clean, consider applying protective finishes like a food-grade sealant or wax to create a barrier against grease and splatters.
Keep these habits in mind to maintain your results:
- Wipe spills immediately. Sauce, oil, or coffee splashes can stain quickly if left sitting on the surface.
- Use handles, not fingers. Oils from your hands build up over time, leaving smudges that are harder to remove.
- Avoid harsh cleaners. Stick to gentle, cabinet-safe products to prevent damaging the finish and causing discoloration.
Frequently Asked Questions
How Often Should I Deep Clean My White Kitchen Cabinets?
You should deep clean your white kitchen cabinets every three to six months, depending on how often you cook. If you’re frying foods regularly, bump up your cleaning frequency to once a month since grease builds up fast.
Don’t forget to wipe down your cabinet hardware too—knobs and handles collect grime from everyday touching. Regular dusting between deep cleans will keep your cabinets looking fresh longer.
Can I Use Vinegar on Painted White Cabinets Without Damaging Them?
Vinegar is a double-edged sword for painted surface care: gentle enough for grime, but harsh enough to dull your finish if misused. Always dilute it by mixing one part vinegar with two parts water before wiping down your cabinets.
Never apply vinegar full-strength, and skip it entirely on waxed or hand-painted finishes. Test a hidden spot first, then rinse with clean water and dry immediately to protect your cabinets’ smooth, painted glow.
Will Yellowing White Cabinets Ever Return to Their Original Color?
You can often improve yellowing, but you won’t always restore the exact original shade. Cabinet discoloration usually comes from grease, smoke, or UV exposure building up over time, so regular cleaning frequency makes a huge difference.
If you clean weekly with gentle solutions, you’ll prevent deeper staining. For already-yellowed cabinets, try baking soda paste or specialized cleaners first. If discoloration persists, you’ll likely need repainting to fully reclaim that crisp white look.
Is It Safe to Use Magic Erasers on White Cabinet Surfaces?
“A little goes a long way”—and that’s especially true here. Yes, you can use Magic Erasers on your white cabinets, but don’t go overboard. These handy tools work great for cabinet cleaning since they tackle scuffs and grime without harsh chemicals.
Just test a small, hidden spot first, since the melamine foam acts as a mild abrasive. Use gentle pressure, avoid scrubbing repeatedly in one area, and you’ll keep your finish looking its best.
How Do I Clean Cabinets if I Have Hard Water Stains?
Mix equal parts white vinegar and water to tackle hard water stains and mineral deposits on your cabinets. Spray the solution directly onto affected areas and let it sit for a few minutes before wiping with a soft cloth.
For stubborn spots, you’ll want to create a paste using baking soda and water, apply it gently, then rinse thoroughly. This stain removal method works great without damaging your cabinet’s finish, leaving surfaces clean and streak-free.
Conclusion
Your white cabinets are the crown jewels of your kitchen, and now you’ve given them the royal treatment they deserve. With just a little elbow grease and the right tools, you’ve transformed grime into gleam.
Don’t let the sparkle fade, though. Keep up with regular wipe-downs and smart protective habits to keep your white kitchen cabinets brightening your kitchen for years to come.