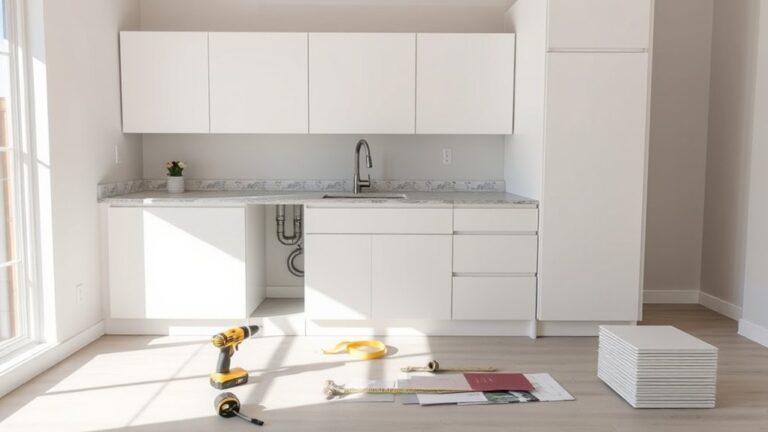
How to Install Kitchen Base Cabinets in 5 Steps
Installing kitchen base cabinets can feel intimidating, especially when you’re trying to get every cabinet level and securely anchored. You’re not alone—many people struggle with the measuring and shimming.
This guide to how to install kitchen base cabinets breaks the process into five manageable steps.
To install kitchen base cabinets, start by gathering your tools and supplies, then locate wall studs for secure mounting.
Next, set a level layout line at 34 1/2 inches to mark countertop height.
Position and level your first cabinet in a corner, shimming until it’s plumb, then anchor it to studs.
Finally, connect remaining cabinets flush, clamping and anchoring each one.
Keep going to see exactly how each step comes together.
Key Takeaways
- Gather tools, cabinet accessories, and supplies, then locate and mark wall studs for secure mounting.
- Find the highest floor point, measure up 34 1/2 inches, and draw a level horizontal layout line.
- Position the first cabinet on the layout line, shim until level and plumb, then screw into studs.
- Align remaining cabinets flush, clamp them together, and secure face frames with screws.
- Recheck level and plumb after each cabinet, then shim, anchor to studs, and install accessories.
Gather Your Cabinet Installation Tools
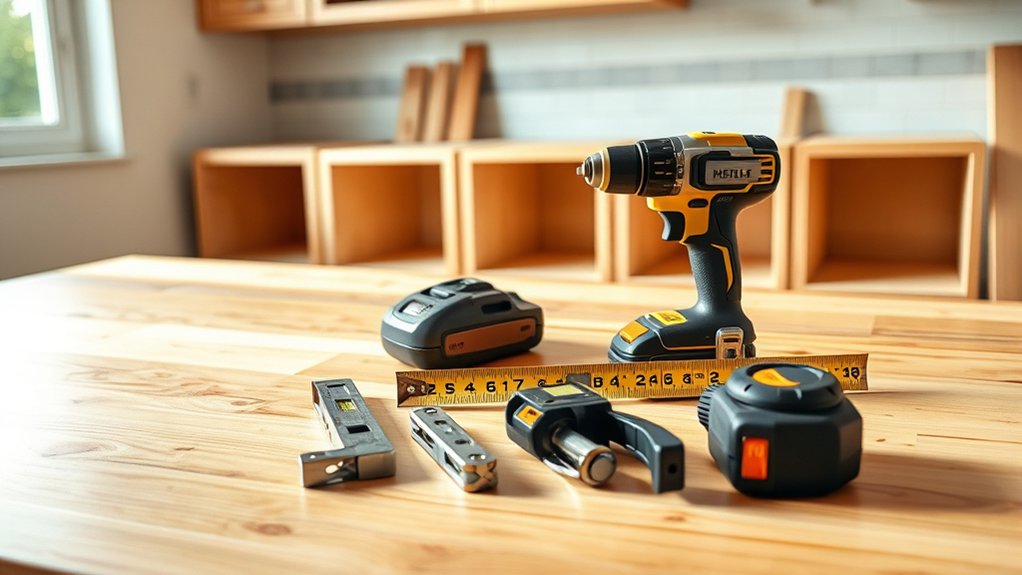
Before you lift a single cabinet, gather the right tools so the job goes smoothly. You’ll need a stud finder to locate wall studs, a 4-foot level to keep rows straight, and a drill with both drilling and driving bits. Keep a tape measure, pencil, and utility knife handy for marking and adjusting panels.
Clamps are essential. They hold cabinets in place while you drill, freeing up your hands. A jigsaw comes in useful for cutting openings for plumbing or electrical lines. You’ll also want shims to level cabinets on uneven floors and a drill bit set matched to your screws.
If you’re touching up any surfaces, have your cabinet paint and supplies ready before installation begins, since painting afterward gets messy. Lay out your cabinet accessories now, too. Pull-out trays, soft-close hinges, and drawer organizers install faster when they’re within reach rather than buried in boxes. Organize everything in one spot so you’re not searching mid-project.
Find Wall Studs for Cabinet Mounting

Run your stud finder across the wall where each cabinet will hang, marking every stud with a pencil line rather than a single dot. This gives you a clear reference even after you bump or smudge a mark. Most studs sit 16 inches apart, so once you locate one, measure out to confirm the pattern across the rest of the wall.
Double-check each reading by tapping the wall or driving a small pilot hole before committing to your wall markings. Cabinets carry serious weight once loaded with dishes and cookware, so you need solid wood behind the screws, not just drywall anchors.
Use painter’s tape to extend your stud lines up and down past where the cabinet will cover them. This way, you’ll still see your markings after the cabinet’s hung flush against the wall, making it easy to drive screws exactly where they belong.
Set the Base Cabinet Layout Line
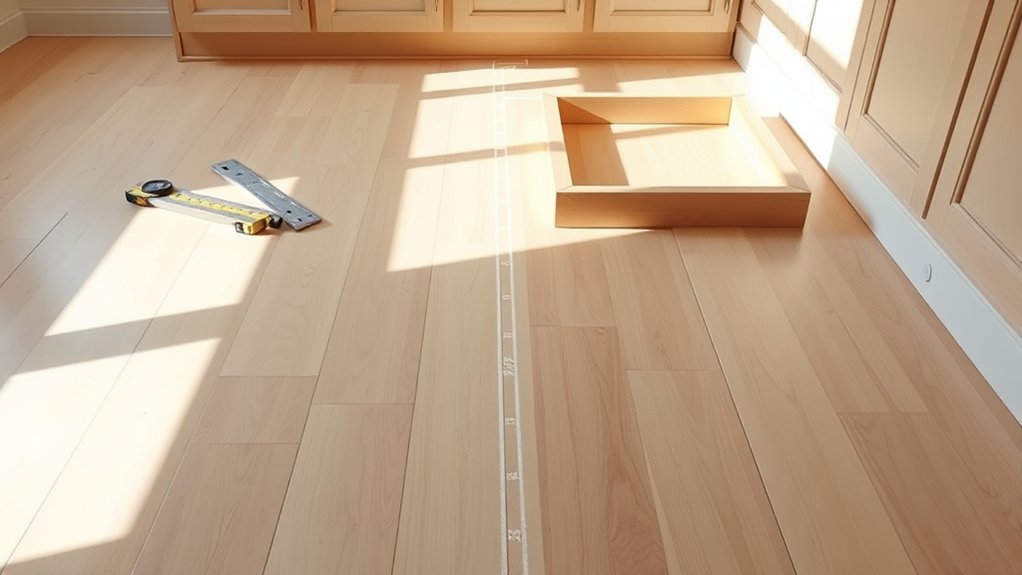
Since base cabinets must sit perfectly level to keep doors and drawers working smoothly, you’ll need a reliable reference line before any cabinet touches the wall. Start by finding the highest point along the floor using a 4-foot level or laser level, since cabinets must be built up from that point rather than down from a low spot.
Measure up 34 1/2 inches from the highest point to account for the countertop height, then mark this spot on the wall. Use your laser level to draw a perfectly horizontal line across the entire installation area, connecting it to the stud marks you identified earlier.
This layout line becomes your installation guide, ensuring consistent cabinet placement regardless of cabinet material or finishing techniques used. Draw the line clearly with a pencil, and double-check it with your level every few feet to confirm accuracy before you start hanging cabinets.
Level and Secure the First Cabinet
Why does the first cabinet matter so much? Every other cabinet in the run takes its cue from this one, so getting it level and plumb now saves you headaches later.
Get the first cabinet right, and everything else falls into line—get it wrong, and you’ll fight it the whole way down.
Start by positioning the cabinet at the end of your layout line, either in a corner or against a wall. Use a level to check it’s plumb front-to-back and side-to-side. Slide cedar shims under the base or behind the back as needed, adjusting until both directions read true.
Once level, drive screws through the cabinet’s back rail into wall studs, not just drywall. Don’t fully tighten yet. You’ll want some flexibility until neighboring cabinets are in place.
Check for gaps where decorative molding or cabinet finishing touches will later cover minor imperfections, but don’t rely on trim to fix a poorly leveled cabinet. A solid first installation sets the foundation for a straight, professional-looking kitchen.
Connect and Anchor the Remaining Cabinets
How do you keep a whole row of cabinets looking like one continuous unit? You keep working from your leveled first cabinet, adding one piece at a time. Slide the next cabinet into place, aligning the face frames flush with each other.
Clamp them together before drilling, so nothing shifts while you work. Drive screws through the pre-drilled holes in the face frames—typically three along the vertical seam—to join the units securely.
Check level and plumb again after each connection, since cabinet material can shift slightly once clamps come off. Shim beneath the new cabinet as needed before securing it to the wall studs, just like you did with the first one.
Continue this process down the row, saving cabinet accessories like pull-out trays or lazy Susans for installation after the boxes are anchored. Working methodically keeps your countertop surface flat and your doors aligned.
Frequently Asked Questions
How Do I Fix Uneven or Sloped Flooring Before Installing Base Cabinets?
You’ll want to tackle floor leveling before you set a single cabinet in place. Start by checking the floor with a long level to pinpoint high and low spots. For minor slope correction, use a self-leveling compound poured over the subfloor. If you’re dealing with bigger dips, add leveling shims under cabinet bases as you install them. Don’t skip this step. It’ll keep your countertops and doors aligned properly.
What Should I Do if My Walls Are Not Perfectly Square?
Think of out-of-square walls as nature’s little practical joke—but don’t let them derail your install. Start by scribing cabinet edges to match wall contours, then focus on wall shimming behind cabinet backs to close any gaps.
Use a level consistently during cabinet leveling, checking both horizontal and vertical planes as you go. Shim incrementally, securing cabinets as you achieve true alignment, so your finished row looks seamless despite whatever quirks your walls are hiding.
Can I Install Base Cabinets Without Removing Old Flooring First?
Yes, you can install base cabinets over existing flooring, but it’s not always the best choice. You’ll want to check that the floor is level and sturdy enough to support the weight.
Keep in mind that certain cabinet styles sit lower to the ground, which can affect clearance. If you’re adding custom storage solutions like pull-out drawers, removing old flooring first often gives you cleaner results and more flexibility down the road.
How Do I Handle Cabinet Installation Around Pipes or Outlets?
Mark the exact locations of pipes and outlets on your cabinet’s back panel before installation. Use a drill or jigsaw to cut precise holes, allowing extra pipe clearance so you’re not forcing fittings into tight spaces.
Dry-fit the cabinet first to check its alignment against walls and neighboring units. Adjust cutouts as needed, then secure the cabinet in place. Always double-check that outlets remain accessible and pipes aren’t pinched once everything’s installed.
What’s the Best Way to Fill Gaps Between Cabinets and Walls?
Did you know nearly 80% of kitchens have walls that aren’t perfectly straight? That’s why you’ll almost always face gaps. You’ll want to use scribe molding or a wall gap filler to cover uneven spaces, blending cabinets seamlessly into the wall.
Before that, make sure you’ve nailed your cabinet leveling. Shims help correct minor inconsistencies. Once level, caulk small gaps and attach trim pieces for larger ones, giving you a polished, professional finish.
Conclusion
Step back and admire your work. You’ve transformed a jumble of boxes into a solid, level row of kitchen base cabinets that hugs the wall like it was always meant to be there. Your studs are secure, your lines are true, and every cabinet stands shoulder-to-shoulder with its neighbor.
That satisfying click of the final screw driving home? That’s the sound of a kitchen coming to life. Now go grab your countertop samples. You’ve earned it.