How to Deep Clean Your Kitchen in 5 Steps
A spotless kitchen can feel impossible when grease, crumbs, and clutter keep piling up. You’re not alone—many people struggle to know where to start. This simple guide to how to deep clean your kitchen breaks the job into five manageable steps.
Deep clean your kitchen in five steps. First, clear surfaces, ventilate, gather supplies, and check cleaner labels. Next, wipe cabinets, counters, walls, and handles from top to bottom.
Clean the oven, fridge, and microwave, following each appliance’s instructions. Then sweep, mop, and sanitize the sink.
Finally, disinfect high-touch areas, restock essentials, wash reusable cloths, and wash your hands. For detailed tips that make each step easier, keep going.
Key Takeaways
- Declutter the kitchen, ventilate the space, gather supplies, and protect yourself with gloves.
- Wipe cabinets, walls, countertops, handles, and edges from top to bottom using warm soapy water.
- Deep-clean the oven, refrigerator, and microwave according to their manufacturers’ cleaning instructions.
- Sweep and mop floors, then scrub, sanitize, rinse, and dry the sink thoroughly.
- Disinfect high-touch surfaces, restock essentials, launder reusable cloths, and wash your hands.
Prepare for a Deep Kitchen Clean

Before you begin, clear your countertops and remove everything from the sink, stovetop, and other surfaces. Put dishes, appliances, food, and décor in their proper places, or gather them in a temporary box. This first step improves Kitchen organization and gives you room to work safely.
Clear surfaces, organize loose items, and create a safe, uncluttered workspace before beginning your kitchen cleaning routine.
Next, open a window or turn on the exhaust fan to improve ventilation. Gather your cleaning tools, including microfiber cloths, scrub brushes, sponges, a bucket, gloves, a broom, a mop, and suitable cleaners.
Check product labels, and never mix bleach with ammonia or acidic products. Fill the bucket with warm water and prepare fresh cloths for each task to prevent cross-contamination.
Take out the trash and recycling, then replace the liners. Sweep or vacuum loose crumbs from the floor so they won’t spread during cleaning.
Finally, inspect your supplies and create a practical sequence, working from high areas toward low ones. Set a timer if you need motivation, and keep children and pets away while you clean.
Wipe Cabinets, Counters, and Walls

With the kitchen cleared and your supplies ready, start at the top by wiping cabinet faces, counters, and walls. Use a microfiber cloth dampened with warm water and a small amount of dish soap. Work from upper cabinets downward, catching drips as you go.
Pay attention to handles, edges, and grooves where grease collects. For stubborn buildup, let the soapy solution sit briefly, then wipe without soaking wood or laminate.
Clear each counter before cleaning it. Sweep crumbs into the sink or trash, then wash the surface in overlapping strokes. Sanitize according to the material’s care instructions, and dry it thoroughly to prevent streaks or swelling.
While surfaces are clear, group seldom-used items and return essentials thoughtfully. This simple Cabinet organization keeps future cleaning easier.
For Wall stain removal, test your cleaner in an inconspicuous spot first. Gently lift splatters with a soft sponge, avoiding abrasive pads that can damage paint.
Finish by wiping clean and drying every surface.
Clean the Oven, Fridge, and Microwave

Once the counters are clean, tackle the oven, fridge, and microwave one at a time.
Start with oven maintenance: remove racks, brush away crumbs, and apply a paste of baking soda and water. Let it sit overnight, then wipe the interior clean.
Wash racks separately and dry them before replacing them.
Next, empty your refrigerator and discard expired food. Wipe shelves, drawers, and door seals with warm, soapy water, then dry everything thoroughly.
Practice refrigerator organization by grouping produce, dairy, and condiments so you’ll spot spills quickly.
Finally, heat a microwave-safe bowl of water and lemon for several minutes. The steam loosens stuck-on splatters, so you can wipe the ceiling, walls, turntable, and door without harsh scrubbing.
Wash the turntable separately and return it once dry.
| Appliance | Deep-cleaning focus |
|---|---|
| Oven | Racks and baked-on residue |
| Fridge | Shelves and food placement |
| Microwave | Steam and splatters |
Check each appliance’s manual before using cleaning products.
Sanitize the Sink and Scrub Floors
Finish the kitchen floor by sanitizing the sink and scrubbing beneath movable items. Move stools, trash cans, and small appliances aside, then sweep or vacuum every exposed area.
Mix warm water with a few drops of Dish soap, and mop from the farthest corner toward the exit. For stuck-on grime, sprinkle Baking soda over the spot, dampen it, and scrub with a stiff brush.
Rinse the mop frequently so you don’t spread soil, and let the floor dry completely.
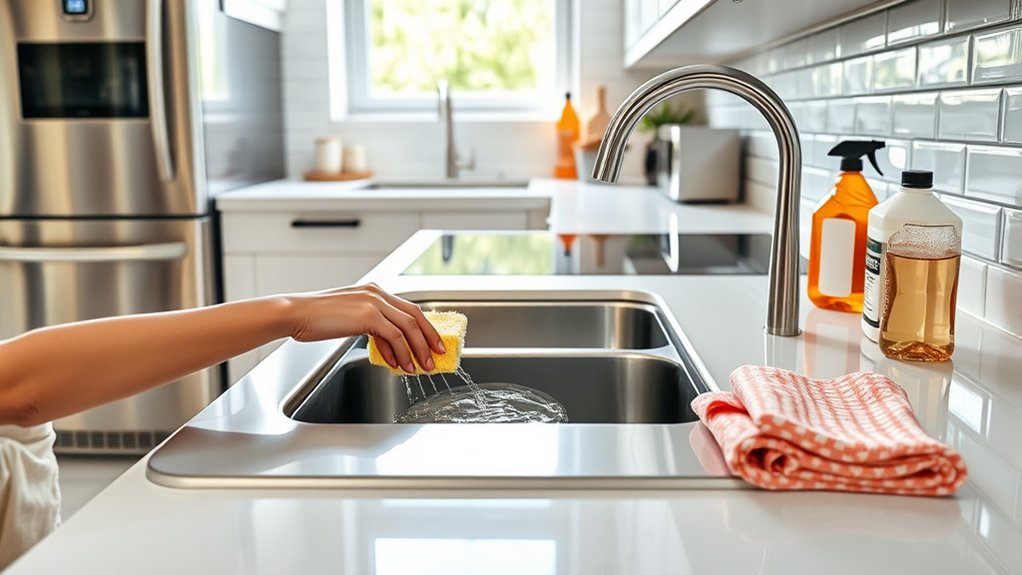
Next, clear the sink and remove food particles from the drain. Wash the basin with Dish soap, then sprinkle Baking soda across its surface.
Scrub the sides, corners, faucet base, and drain opening with a nonabrasive sponge. Rinse thoroughly with hot water, and wipe away remaining residue.
Sanitize the sink using a product labeled for that surface, following its required contact time. Rinse if directed, dry with a clean cloth, and polish the faucet to prevent water spots.
Restock Supplies and Disinfect High-Touch Areas
| Area | Supply | Action |
|---|---|---|
| Cabinet pulls | Disinfectant | Wipe thoroughly |
| Appliance handles | Microfiber cloth | Remove residue |
| Light switches | Slightly damp cloth | Avoid excess moisture |
| Faucet handles | Disinfectant | Rinse if required |
Spray products onto a cloth when possible rather than directly onto electrical components. Keep the surface wet for the label’s stated contact time, then let it air-dry.
Wash reusable cloths separately, replace saturated sponges, and seal waste before removing it. Finally, wash your hands for at least 20 seconds.
Refill soap, towels, bags, and frequently used cleaners so your kitchen stays easier to maintain after deep cleaning.
Frequently Asked Questions
Can I Deep Clean My Kitchen Using Only Natural, Non-Toxic Products?
Yes, you can deep clean your kitchen using only natural, non-toxic products. Choose vinegar to dissolve mineral deposits, baking soda to scrub surfaces, and unscented castile soap to remove grease.
Use hydrogen peroxide for disinfecting, but don’t mix it with vinegar. Natural cleaning works best when you pair each product with the right task.
These non toxic methods help you reduce chemical exposure while keeping counters, appliances, sinks, and floors fresh, clean, and safe.
How Often Should I Schedule a Professional Kitchen Deep Cleaning?
Schedule a professional kitchen deep cleaning every three to six months, before grime stages a full-scale rebellion. You’ll benefit from quarterly service if you cook daily, run a busy household, or operate a food business.
Otherwise, twice yearly usually keeps hidden grease, buildup, and sanitization issues under control. Between visits, maintain kitchen organization and appliance maintenance by wiping surfaces, checking seals, and cleaning filters.
Book extra service after renovations, pest problems, or spills that regular cleaning can’t resolve.
What Safety Precautions Should I Take When Mixing Cleaning Products?
Never mix cleaning products unless the label explicitly says it’s safe. Chemical interactions can release toxic gases, cause fires, or create corrosive substances.
Keep bleach separate from ammonia, acids, vinegar, alcohol, and other cleaners. Read every label, wear appropriate gloves and eye protection, and use small amounts as directed.
Prioritize ventilation safety by opening windows, turning on exhaust fans, and leaving the area immediately if you notice fumes, coughing, dizziness, or breathing difficulty.
How Can I Eliminate Persistent Cooking Odors From My Kitchen?
You can eliminate persistent cooking odors by improving airflow and cleaning odor-trapping surfaces. Run your ventilation fans during cooking and for 20 minutes afterward, open windows when weather permits, and use air purifiers with activated-carbon filters.
Wipe cabinets, walls, and appliances with a degreasing cleaner, then wash fabrics, rugs, and curtains regularly. Simmer water with lemon peels to freshen the air, and empty garbage and compost promptly.
Never mix cleaning products.
When Should I Replace Worn-Out Kitchen Sponges, Brushes, and Cleaning Tools?
Replace worn-out sponges, brushes, and cleaning tools before they become tiny biological experiments. Swap sponges every one to two weeks, or sooner when they smell, fray, or stay slimy after washing.
Replace brushes when bristles bend, shed, or no longer scrub effectively. Your cleaning tools lifespan depends on use, care, and material, so inspect them weekly.
For safer sponges replacement, disinfect tools regularly, let them dry completely, and discard anything visibly moldy or cracked.
Conclusion
With these five steps, you’ll turn your kitchen from cluttered to sparkling without feeling overwhelmed. You’ll clear surfaces, tackle grimy appliances, sanitize the sink, scrub the floors, and finish by disinfecting high-touch spots.
Keep in mind that kitchen sponges can harbor billions of bacteria per square inch, so replace or sanitize yours regularly. Once everything’s clean, restock essential supplies and enjoy a fresher, safer space.
A few consistent minutes each day will make your next deep clean your kitchen much easier.