How to Install a Kitchen Sink Drain in 5 Steps
A leaky or outdated kitchen sink drain can turn a simple cleanup into a frustrating mess. You’re not alone—many homeowners struggle with choosing the right parts and getting a secure, leak-free fit. This guide to how to install a kitchen sink drain will help you get started.
To install a kitchen sink drain, start by gathering your basin wrench, putty, and new drain assembly. Remove the old P-trap, tailpiece, and strainer, then clean the sink opening.
Apply a rope of plumber’s putty under the flange and seat it firmly. Connect the tailpiece and drain pipes, tightening all slip nuts.
Finally, test for leaks by running water and checking joints. Stick around for the full breakdown of each step.
Key Takeaways
- Gather tools and materials, then remove old drain components by disconnecting the P-trap, tailpiece, and strainer assembly.
- Clean the sink opening and apply a rope of plumber’s putty evenly around the flange before seating it.
- Secure the flange underneath with gasket, friction ring, and locknut, tightening by hand then pliers.
- Connect the tailpiece and drain pipe to the P-trap, tightening slip nuts without forcing bends.
- Test for leaks by filling the sink, running water, and checking all joints before final tightening.
Gather Your Kitchen Sink Drain Tools and Materials

Before you tackle the drain installation, gather all the tools and materials you’ll need so you’re not scrambling mid-project. Grab a basin wrench, slip-joint pliers, a putty knife, and plumber’s putty for a watertight seal. You’ll also need the new drain assembly (basket strainer, tailpiece, washers, and locknut) and plumber’s tape for sealing threaded connections.
Check your P-trap and connecting pipes for wear; replace any corroded parts now to simplify future drain maintenance. Have a bucket handy to catch residual water when you disconnect old plumbing, plus a flashlight and rags for cleanup.
Prioritize plumbing safety by shutting off the water supply and wearing gloves to protect against sharp edges or old putty residue. Lay out your tools within easy reach before you start, so you can work efficiently without pausing to search for parts. Proper preparation now saves you time and frustration once the actual installation begins.
Remove the Old Kitchen Sink Drain
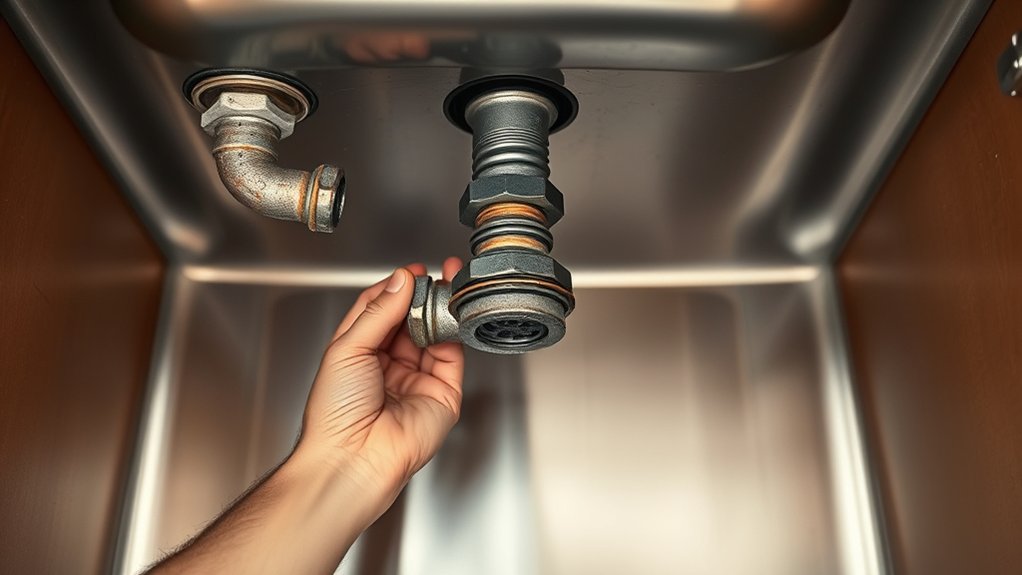
Once you’ve gathered your tools, start by disconnecting the P-trap: place your bucket underneath to catch any residual water, then use slip-joint pliers to loosen the slip nuts on both ends of the trap. Slide the trap off and set it aside for cleaning or replacement. This is also a good time to handle any drain cleaning you’ve been putting off, since the pipes are already exposed.
Next, disconnect the tailpiece from the sink’s strainer body. Reach under the sink and remove the locknut holding the strainer in place, using pliers if it’s stuck from years of use. Once the locknut is off, push the strainer assembly up through the drain opening from below, then lift it out from the top.
Clean away old plumber’s putty residue from the sink opening with a putty knife. A clean surface now will make your new drain fit snugly, much like proper prep matters for faucet installation.
Prep the Flange and Apply Plumber’s Putty

Since a good seal depends on a clean, dry surface, wipe down the underside of the sink flange and the drain opening with a rag before you apply anything. Any grease, grime, or old putty residue will keep the new seal from bonding properly, so take the extra minute to get it spotless.
Once the surface is clean, grab a golf-ball-sized amount of plumber’s putty and roll it into a rope between your palms. Press this rope evenly around the underside lip of the drain flange, making sure there are no gaps.
Keep these tips in mind:
- Use enough putty to create a visible bead all the way around
- Avoid using too little, which leads to leaks
- Press firmly but don’t overwork the putty
- Keep your hands slightly damp to prevent sticking
Your flange is now ready to seat into the drain opening.
Connect the Drain Pipes and Tailpiece
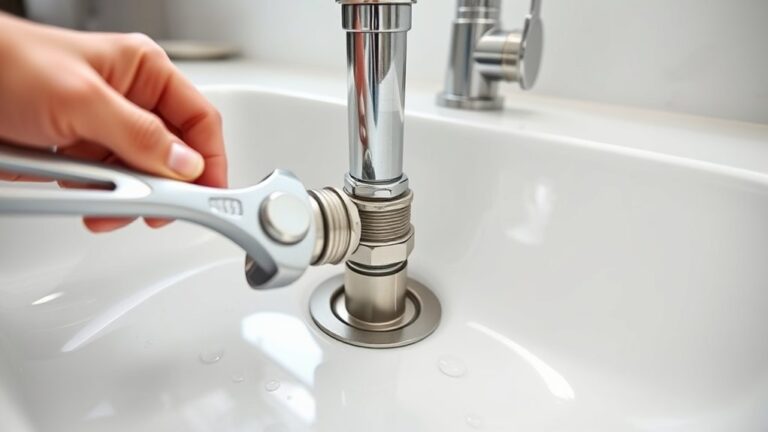
With the flange seated firmly in the drain opening, press down from inside the sink to squeeze out any excess putty around the edges. Wipe away the excess with a rag, then secure the flange from below with the rubber gasket, friction ring, and locknut, tightening the locknut by hand before finishing with slip-joint pliers.
Next, move to tailpiece installation. Slide the tailpiece into the bottom of the flange assembly, making sure the washer sits snugly between the two pieces for a watertight fit. Hand-tighten the slip nut, then give it a quarter turn with pliers.
Focus on drain pipe alignment as you connect the tailpiece to the P-trap. The pipes should line up without forcing any bends or angles, since strain on the joints can cause leaks over time. Adjust the trap’s position as needed, then tighten all slip nuts to complete the connection.
Test Your New Drain for Leaks
How do you know if your new drain actually works? You test it before you celebrate. Skip this step, and you risk discovering a leak after your cabinet’s already soaked.
Start with dry fit testing: assemble everything without plumber’s putty or caulk to check the fit. Once you’re confident, apply sealant and tighten connections for real. Then run water and watch closely.
Dry fit first, seal second: check the fit before committing, then apply sealant and run water to confirm success.
Here’s your leak detection checklist:
- Plug the drain, fill the sink halfway, then release the water and watch every joint
- Run the faucet steadily for two minutes while checking underneath
- Place dry paper towels under connections to catch hidden drips
- Wiggle pipes gently to see if movement causes leaks
If you spot moisture anywhere, tighten that connection and test again. Don’t rush this part. A few extra minutes now saves you from water damage later. Once everything stays dry, you’re done.
Frequently Asked Questions
How Long Does It Take for Plumber’s Putty to Fully Cure?
Plumber’s putty doesn’t need days to cure; it stays pliable but forms a water-tight seal almost immediately after you tighten the drain assembly. You can run water right away without worry.
Unlike caulk, it never fully hardens, which actually makes future pipe maintenance easier since you can remove and reseat fixtures without fighting dried residue. Keep this in mind during drain cleaning, too, since you might need to loosen the assembly occasionally to clear stubborn clogs.
Can I Use Silicone Caulk Instead of Plumber’s Putty?
Yes, you can—like swapping one trusty tool for another, silicone alternatives work just fine for sink drains. When it concerns caulk vs. putty, you’ll find silicone caulk creates a durable, waterproof seal that resists mold better than putty.
Just know it cures permanently, so you won’t get the easy removal putty offers. Apply a thin, even bead around the drain flange, and you’re set for a solid installation.
What Type of Drain Is Best for a Double-Bowl Sink?
For a double-bowl sink, you’ll want a connected drain system with a continuous waste kit, linking both basins to one trap. When considering material options, choose stainless steel or PVC components for durability and leak resistance.
Here’s an installation tip: make sure you slope the connecting tube slightly so water flows properly between bowls. Also, you’ll need to measure the distance between drains before buying your kit, ensuring you get a proper fit for your specific sink configuration.
How Often Should Kitchen Sink Drains Be Replaced?
Your kitchen drain is like a car’s tires. It won’t last forever, but good care stretches its life considerably. You don’t need to replace it on a strict schedule; instead, focus on consistent drain maintenance to catch problems early.
Watch for persistent leaks, rust, or corrosion around the flange. For most households, replacement frequency lands between 10-15 years, but if you notice cracks or recurring clogs, don’t wait. Swap it out sooner.
Is It Normal to Smell Odors From a New Drain Installation?
No, you shouldn’t notice lingering odors from a new drain installation. If you do, check your connections for leaks and make sure you’ve applied plumber’s putty correctly around the strainer.
For odor prevention, run water through the drain regularly to keep the P-trap filled, blocking sewer gases from rising. Good ventilation techniques matter too—ensure your plumbing vent stack isn’t blocked, as proper airflow keeps odors from backing up into your kitchen.
Conclusion
And there you have it—you’ve successfully shown that old, leaky drain the door! With your trusty tools, a little plumber’s putty, and some careful connecting, you’ve given your kitchen sink a fresh start. Don’t forget to double-check for leaks before you call it done.
You’ve tackled the job like a pro, and now you can enjoy a worry-free sink that’s ready to handle whatever you throw its way. With your new kitchen sink drain installed, you’re all set!