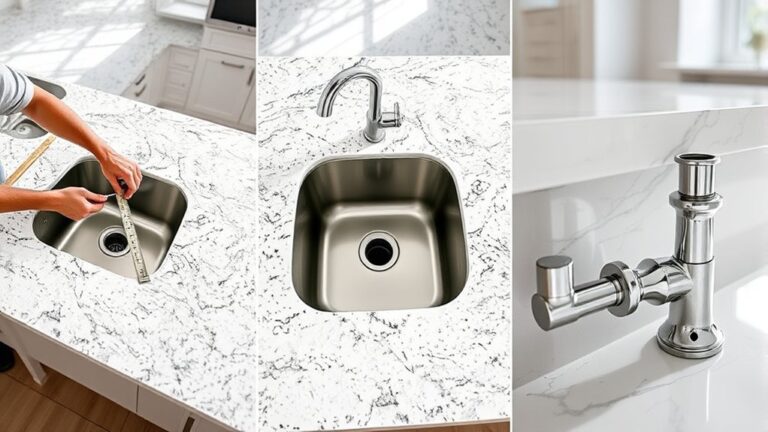
How to Install a Kitchen Sink in 7 Steps
Installing a kitchen sink can feel intimidating, especially when you’re trying to avoid leaks, uneven placement, or confusing plumbing connections. You’re not alone—many people struggle to know where to start.
This guide breaks down how to install a kitchen sink in seven simple steps so you can tackle the project with confidence.
To install a kitchen sink in seven steps, shut off the water and gather your tools. Measure the opening and dry-fit the sink. Install the faucet and connect supply lines. Apply silicone around the rim, then lower and secure the sink with clips. Connect the drain, P-trap, and optional garbage disposal or dishwasher hose. Turn on the water and check every connection for leaks with a dry towel.
Follow the detailed steps below for a smooth, leak-free installation.
Key Takeaways
- Shut off water, drain the lines, disconnect existing plumbing, and remove the old sink safely.
- Measure and dry-fit the sink, checking the template, cutout dimensions, alignment, and countertop clearance.
- Apply silicone around the rim, lower the sink into place, and secure it gradually with mounting clips.
- Install the faucet, strainer, disposal if applicable, and connect supply lines, drainpipes, and dishwasher hoses.
- Run water, inspect every connection for leaks, tighten or replace washers as needed, and allow sealant to cure.
Shut Off Water and Gather Your Tools

Before you begin, shut off the hot and cold water supply valves beneath the sink, then open the faucet to drain the lines. Let the remaining water escape into the basin, and keep a bucket and towels nearby for drips.
> Shut off both supply valves, open the faucet to drain the lines, and keep a bucket nearby for residual water.
Check the faucet handle and supply connections to confirm that water pressure has stopped before you disconnect anything. Identify the existing pipe materials, such as copper, PEX, PVC, or braided stainless steel, so you can choose compatible tools and replacement fittings.
Gather adjustable wrenches, tongue-and-groove pliers, a basin wrench, screwdrivers, a utility knife, a flashlight, plumber’s tape, and a bucket. Wear safety glasses, especially when working beneath the cabinet.
Keep the manufacturer’s instructions, a rag, and a small container for loose hardware within reach. If a valve won’t close fully, don’t force it; shut off the home’s main supply and call a plumber before continuing.
Measure and Dry-Fit the Kitchen Sink

Measure the sink opening carefully to make sure the basin will fit. Then lower the sink into place without sealant to check the fit. If necessary, adjust the opening before moving on.
Measure the Sink Opening
Check the sink opening’s length, width, and corner radius against the manufacturer’s template. Keep the measurements slightly smaller than the sink’s rim so it has a solid surface to rest on.
Confirm measurement accuracy by measuring from several points, since cabinets and countertops may vary slightly. Mark the opening’s centerline and transfer the template carefully.
Align the template with the faucet holes, backsplash, and cabinet interior. Check the template’s scale before tracing, and measure twice before cutting.
Choose tools based on your countertop. Use a tape measure, straightedge, pencil, and compass for layout, then select a jigsaw, drill, or specialized cutter recommended for the material.
Leave enough clearance beneath the countertop for the bowl, clips, plumbing, and faucet connections. Record your final dimensions for reference during installation.
Test the Dry Fit
Set the sink into the opening without sealant or clips to confirm that it fits properly. This dry fit reveals whether the rim rests evenly on the countertop and whether the cabinet provides enough clearance.
Center the basin from side to side, then check its front-to-back position. Make any alignment adjustments before applying sealant.
| Check | What to confirm |
|---|---|
| Rim contact | The edge sits evenly |
| Cabinet clearance | Doors and plumbing have room |
Lift the sink out carefully after marking its position with painter’s tape. Inspect the opening for bumps, exposed edges, or debris that could prevent a tight seal.
If the sink binds, identify the tight spot and enlarge the cutout only as needed. Repeat the dry fit until the rim lies flat and the sink remains centered.
Don’t skip this test. Correcting fit problems later can damage the seal and countertop.
Install the Faucet and Supply Lines
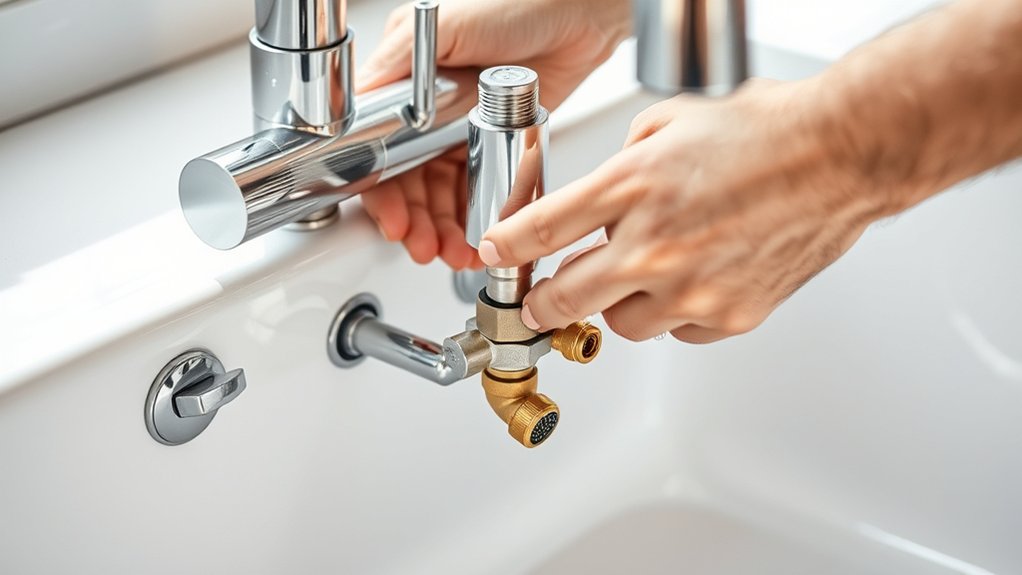
Mount the faucet through the sink’s designated opening, then secure it firmly from below. Next, connect the hot and cold supply lines to the faucet and shutoff valves. Hand-tighten each connection first, then use a wrench to finish tightening without overtightening.
Mount the Faucet
With the sink upside down, feed the faucet’s shanks through the mounting holes, then secure it from beneath with the washers and nuts provided. Before tightening, check Faucet compatibility: confirm the faucet matches the sink’s hole spacing and configuration.
Center the spout over the basin and keep the handles aligned with the sink’s front edge. If your faucet includes a gasket or sealant, place it between the faucet base and sink deck according to the manufacturer’s instructions.
Hand-tighten each nut first, then use a basin wrench to snug them without over-tightening, which could damage the sink or faucet. Hold the faucet steady as you tighten so it doesn’t twist.
Wipe away excess sealant, then inspect the base for gaps. Your faucet should feel solid and sit level. Keep all Mounting hardware accessible until installation is complete.
Connect Supply Lines
Once the faucet is secured, connect the braided supply lines to its hot and cold shanks, then route them toward the corresponding shutoff valves. Match hot to hot and cold to cold, and avoid crossing or sharply bending the lines.
Hand-tighten each compression nut, then snug it with an adjustable wrench without overtightening. Check the shutoff valves and supply-line Pipe materials; compatible connections prevent leaks and corrosion.
If the valves use different fittings, install the correct adapters with thread sealant where appropriate, but don’t apply tape to compression threads.
Slowly open both valves, watching each connection for drips. Turn on the faucet to purge air and debris, then inspect Water pressure and flow.
Tighten a leaking connection slightly, and retest before securing the cabinet. Keep the lines accessible for future maintenance.
Seal the Sink’s Edge
Apply a continuous bead of silicone caulk around the sink’s rim where it meets the countertop. Before you begin, complete Edge preparation by cleaning the rim and surrounding countertop with mild cleaner. Remove grease, dust, and old caulk, then dry every surface thoroughly.
A clean, dry joint helps the sealant adhere and prevents water from finding gaps.
For effective Sealant application, use a caulk gun to lay an even, unbroken bead. Keep the nozzle angled consistently, and work slowly around the entire perimeter. Don’t leave breaks at corners or near faucet openings.
Wet your fingertip lightly, then smooth the bead in one steady pass, pressing it into the joint. Wipe excess caulk onto a disposable cloth as you go.
Check the edge for thin spots, gaps, or bubbles, and correct them immediately. Follow the manufacturer’s curing time before exposing the sealant to water.
Keep the area clean and undisturbed while the silicone cures completely.
Set and Secure the Kitchen Sink
Lower the sink straight into the countertop opening, keeping the rim aligned with the caulked edge. Press evenly around the rim so the sealant spreads beneath it without shifting the sink.
Check that the front edge sits parallel to the counter and that each corner rests firmly.
From below, install the manufacturer’s clips or mounting brackets in the designated slots. Tighten each fastener gradually, alternating from side to side, until the rim feels stable.
Don’t overtighten, or you could crack the countertop, distort the sink, or squeeze out too much sealant. Follow the recommended torque for your sink materials, whether stainless steel, composite, fireclay, or cast iron.
Wipe away squeezed-out caulk immediately with a damp cloth. Confirm that the sink doesn’t rock and that its weight is fully supported by the counter and mounting hardware.
Allow the sealant to cure for the time listed on its label before exposing the area to water pressure or regular use. Keep the drain opening clear while the sealant cures.
Connect the Drain and Optional Disposal
With the sink secured, connect the drain assembly from above by fitting the strainer, gasket, and flange in the manufacturer’s specified order. From beneath the basin, thread on the locknut and tighten it against the sink while keeping the strainer centered.
Follow the manufacturer’s instructions for applying plumber’s putty or a compatible sealant. Some assemblies require a rubber gasket instead.
Continue the drain installation by attaching the tailpiece to the strainer, then connect the trap adapter and P-trap. Keep the trap aligned with the wall drain, and trim the tailpiece or extension tube if necessary.
If you’re adding a garbage disposal, remove the sink flange and install the disposal’s mounting flange in its place. Secure the flange, mount the disposal, and rotate it until the locking ring engages.
Attach the disposal discharge tube to the drain or dishwasher inlet as directed. Connect the dishwasher hose to the disposal inlet, if applicable, and secure every clamp firmly.
Check Every Connection for Leaks
Before restoring cabinet contents, run water through the sink and inspect the strainer, tailpiece, P-trap, disposal connections, and wall drain for leaks. Let cold water flow for a minute, then run hot water and fill each basin halfway.
Watch every joint while you check beneath the cabinet with a dry paper towel. Even a tiny drip will leave a visible mark.
For effective leak prevention, tighten a slip-joint nut by hand, then give it a slight additional turn with pliers. Don’t overtighten plastic fittings, which can crack or distort their washers.
If water appears, shut off the faucet, disassemble the connection, and reseat or replace the washer. Confirm that the disposal’s drain flange, dishwasher hose, and discharge tube sit securely.
During your connection inspection, check the faucet supply lines and shutoff valves, too. Dry all fittings and repeat the test after several minutes.
Restore cabinet contents only when everything stays completely dry.
Frequently Asked Questions
Can I Install a Kitchen Sink Without Replacing the Existing Countertop?
Yes, you can install a kitchen sink without replacing your existing countertop if the new sink matches the current cutout dimensions and mounting style.
First, measure the opening carefully and confirm sink compatibility, including depth, rim design, plumbing placement, and cabinet clearance.
Your countertop options include replacing an undermount sink with a compatible model or installing a top-mount sink over the opening.
A professional can modify stone countertops, but damage remains possible during alterations.
How Long Does Professional Kitchen Sink Installation Typically Take?
Professional kitchen sink installation typically takes two to four hours, depending on your sink compatibility, countertop cutout, plumbing condition, and whether you’re replacing faucets or disposal connections. A straightforward swap may finish sooner, while modifications can extend the job to a full day.
You’ll save time by clearing the cabinet, removing stored items, and confirming measurements beforehand. Although DIY plumbing might seem manageable, a professional helps prevent leaks, damage, and code issues.
What Kitchen Sink Materials Are Easiest to Clean and Maintain?
Stainless steel sinks rank among the easiest to clean, with many lasting 15–30 years when you maintain them properly. You’ll appreciate their nonporous surface, resistance to stains, and affordable replacement cost.
For simple cleaning tips, rinse away debris, use mild dish soap, and wipe with a soft cloth to prevent water spots. Composite granite also cleans easily, while porcelain needs gentler products.
Consider material durability, avoiding abrasive pads that can scratch finishes.
Do I Need a Permit to Install or Replace a Kitchen Sink?
You may need a permit to install or replace a kitchen sink, depending on your local permitting requirements. A simple replacement that keeps existing plumbing often needs no permit, while relocating pipes, changing drain lines, or modifying cabinets may require approval.
Check with your city or county building department before starting. If you’re doing the work yourself, ask whether DIY approval applies and confirm inspection requirements. Rules vary, so don’t rely on assumptions.
How Often Should I Replace a Kitchen Sink’s Plumbing Components?
A stitch in time saves nine: replace your kitchen sink’s plumbing components when they show leaks, corrosion, cracks, mineral buildup, or poor drainage, rather than on a fixed schedule.
Inspect supply lines, shutoff valves, the faucet, strainer, and drain trap annually. Flexible supply hoses typically last five to ten years, while quality metal components can last decades.
Prioritize leak prevention and material durability, and replace aging parts proactively to avoid water damage and costly repairs.
Conclusion
With the sink secured, faucet connected, and drain tested, you’re ready to enjoy a cleaner, more functional kitchen. Don’t skip the final leak check—small drips can become big headaches.
Run both hot and cold water, inspect every connection, and tighten fittings gently if needed. Once everything stays dry, clean away excess sealant and put your tools aside.
You’ve turned a tricky project into a smooth finish, and your new kitchen sink is ready to shine.