How to Reface Kitchen Cabinets in 7 Steps
Worn or outdated cabinets can make your whole kitchen feel tired, but replacing them can be expensive. You’re not alone—many homeowners want a fresh look without the cost and hassle of a full remodel. Learning how to reface kitchen cabinets can help you transform your space with less disruption.
In this guide, we’ll walk you through the process in seven steps, from gathering tools and choosing a finish to installing new doors and hardware.
You’ll also learn how to check your work for common mistakes and get a polished result.
Key Takeaways
- Gather tools and materials, then remove and label cabinet doors, drawers, and hardware for reinstallation.
- Clean and sand cabinet frames with 120-grit sandpaper to ensure proper adhesion of new finishes.
- Choose a refacing material—veneer, laminate, or paint—based on durability, budget, and style preferences.
- Apply chosen finish to surfaces, then install new or matching hardware like hinges, pulls, and knobs.
- Inspect all surfaces and hardware for flaws, making final adjustments before completing the project.
Gather Your Cabinet Refacing Tools and Materials
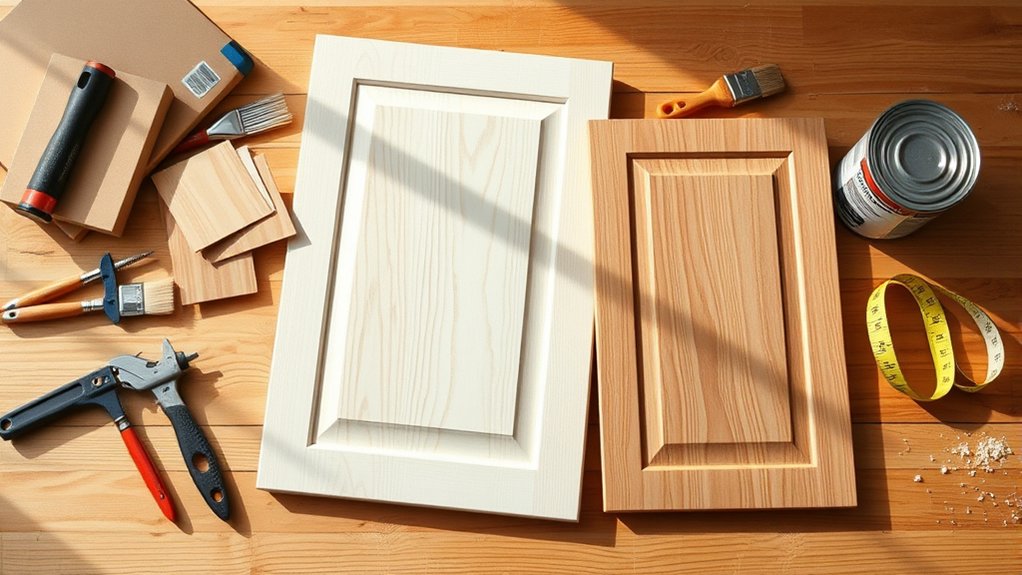
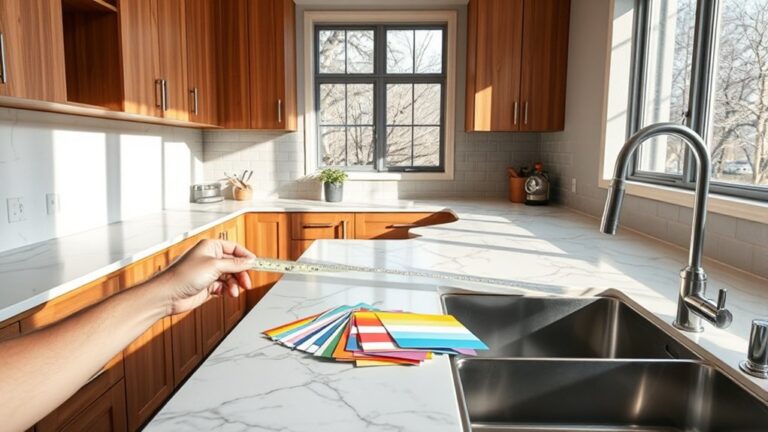
Before you swing a single hammer, round up every tool and material you’ll need so you don’t lose momentum mid-project. Grab a measuring tape, level, screwdriver, utility knife, and sandpaper for prep work. You’ll also need contact cement or adhesive, a J-roller, and a fine-tooth saw for trimming veneer sheets to size.
Next, choose your refacing materials: wood veneer, rigid thermofoil, or laminate. Prioritize material durability since cabinets endure daily wear from moisture, grease, and constant handling. Thicker veneers resist dents and peeling better than cheaper alternatives.
Don’t skip color coordination when selecting new doors, drawer fronts, and veneer sheets. Bring paint chips or cabinet samples with you to the store, and check how finishes look under your kitchen’s actual lighting, not just showroom bulbs.
Finally, stock up on new hinges, pulls, and knobs that match your chosen style. Having everything on hand before you start keeps the project moving efficiently from one step to the next.
Remove Cabinet Doors, Drawers, and Hardware
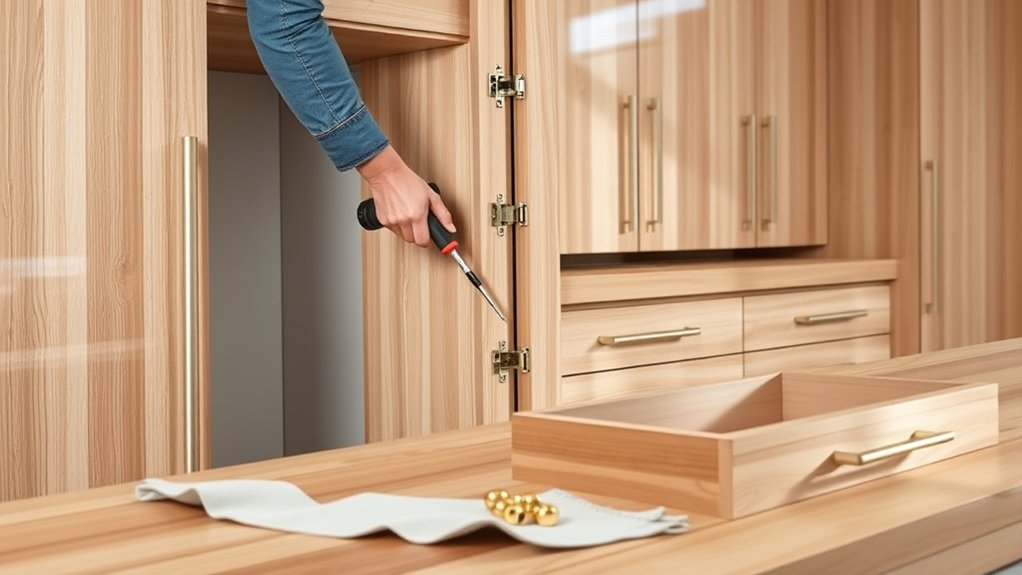
Once you’ve gathered your tools and materials, start clearing your cabinets completely. Remove everything from inside the cabinets, then shift your focus to cabinet removal. Using a screwdriver, take off all doors and drawers, labeling each one with painter’s tape so you know exactly where it goes when reinstalling.
Next, move on to hardware disassembly. Unscrew knobs, pulls, and hinges, placing them in labeled bags or containers to keep track of which pieces belong to each door or drawer. If you’re replacing your hardware, set these pieces aside for disposal or recycling instead.
Once everything’s removed, inspect the cabinet frames for damage like loose screws or warped wood. Address any issues now, since it’s easier to repair problems before you start the refacing process.
Clean all surfaces thoroughly, removing grease, dust, and grime so your new veneer or paint adheres properly. A clean, bare surface ensures a smooth, professional-looking finish.
Clean, Sand, and Prep the Cabinet Boxes
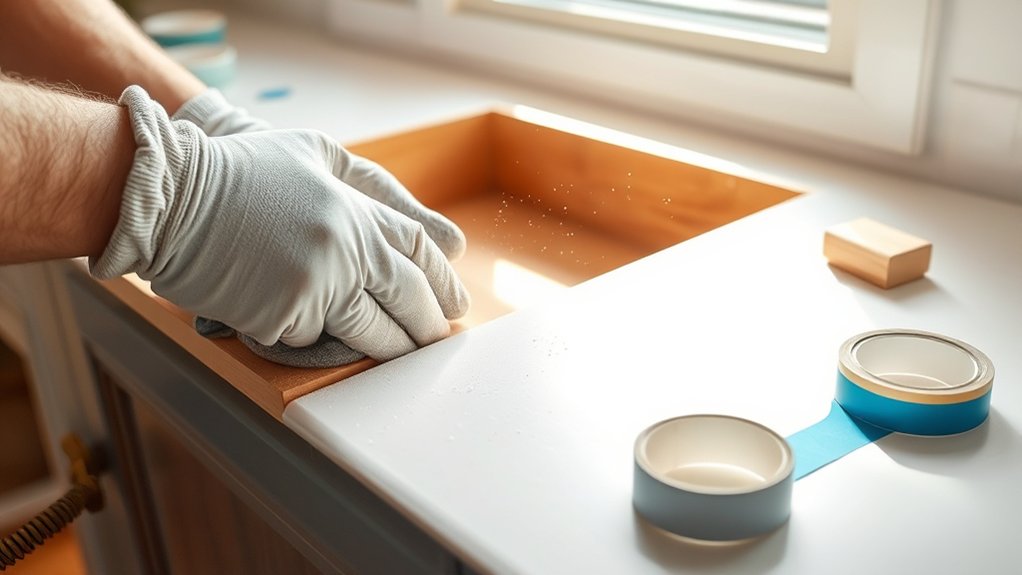
With your cabinet frames stripped bare and hardware safely stored away, it’s time to get your hands dirty with the real prep work. Start with cabinet cleaning—wipe down every surface with a degreaser to remove years of cooking residue, grease, and grime. Kitchen cabinets accumulate buildup you can’t always see, and any leftover film will prevent your new finish or veneer from bonding properly.
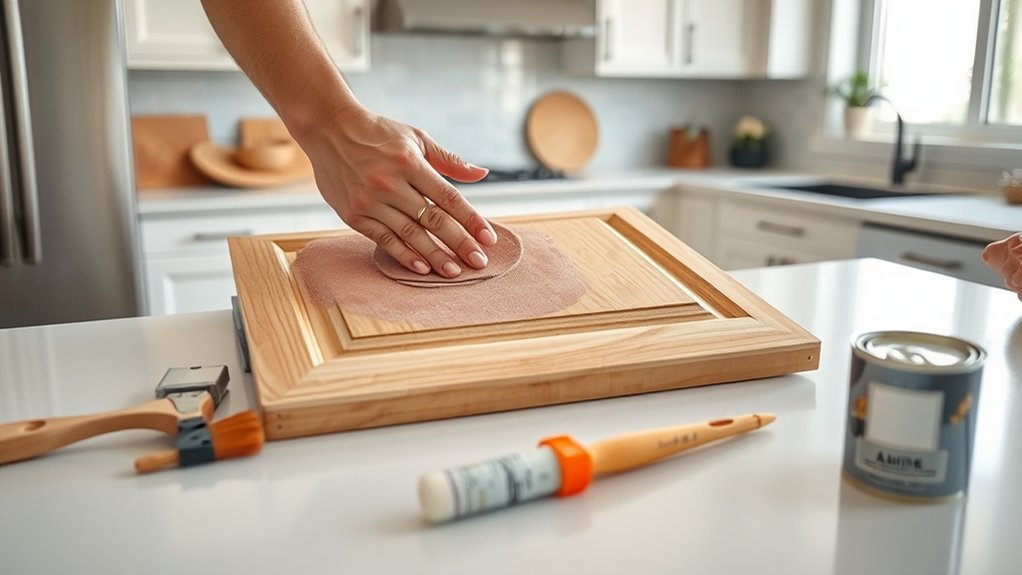
Once the boxes are clean and dry, move on to surface sanding. Use 120-grit sandpaper to scuff up the existing finish, focusing on glossy or painted areas that need extra texture for adhesion. You don’t need to strip the wood down completely—just rough it up enough to give your primer or adhesive something to grip.
After sanding, wipe away all dust with a tack cloth. Check for damaged wood, loose joints, or gaps that need filling before you proceed to the next step.
Choose Between Veneer, Laminate, or Paint Finishes
How do you want your cabinets to look and perform for the next decade? Your finish choice determines both.
Wood veneer gives you real grain and texture at a fraction of solid wood’s cost. Veneer durability holds up well against daily wear, though it can chip at edges if you’re not careful during installation. Choose veneer if you want an authentic wood look with some flexibility in budget.
Laminate offers the toughest surface for high-traffic kitchens. It resists moisture, scratches, and stains better than veneer, making it ideal if you have kids or do heavy cooking. You’ll sacrifice some of that natural wood feel, though patterns now mimic grain convincingly.
Paint delivers the widest range of customization. Paint color options let you match any design scheme, from bold statement colors to soft neutrals. It’s budget-friendly upfront, but expect more touch-ups over time since painted surfaces show wear faster than veneer or laminate.
Install New Doors and Drawer Fronts
Two steps turn your cabinet boxes from outdated to brand-new: hanging the doors and attaching drawer fronts. Once your boxes are veneered, laminated, or painted, it’s time to bring in the new cabinet door styles you chose earlier, whether shaker, raised-panel, or flat-slab.
Start by attaching hinges to each door, then mount them onto the cabinet frames. Use a level to assure doors hang straight and close evenly without gaps. Adjust the hinges as needed for a flush, professional fit.
Next, attach your drawer front designs to the drawer boxes. Line up each front, clamp it in place, and drill pilot holes before securing it with screws from inside the drawer box. This keeps the exterior finish clean and hardware-free until you add handles.
Work one cabinet at a time, checking alignment as you go. Consistent spacing and square edges make the difference between a DIY look and a polished, cohesive kitchen update.
Add Fresh Hardware and Finishing Touches
With your new doors and drawer fronts installed, it’s time to tie everything together with fresh hardware. Choose handles and knobs that complement your cabinet style, then install them for an instant upgrade. To finish, add decorative touches like molding or trim for a polished, cohesive look.
Choose New Hardware
Why settle for old, worn-out knobs when new hardware can transform your kitchen’s entire look? You’ll want to pick pulls, knobs, and hinges that complement your cabinet color and overall design. Bold black hardware pops against white or pastel cabinets, while brushed brass or nickel suits warmer wood tones beautifully.
Think about style coordination throughout your kitchen. If your faucet, light fixtures, or appliances feature a specific finish, match your cabinet hardware to create a cohesive theme. Mixing metals can work, but only when done intentionally.
Don’t overlook size and shape either. Longer pulls suit modern cabinets, while small knobs fit traditional designs perfectly. Test a few samples on your doors before committing, since lighting and angles can change how finishes appear in your space.
Install Handles and Knobs
Once you’ve chosen your hardware, it’s time to put it in place and watch your cabinets come to life. Start by measuring and marking drill points on each door and drawer using a template to guarantee consistency. Drill carefully, then attach handles and knobs with the provided screws, tightening them securely without over-torquing.
Step back periodically to check alignment, since even small discrepancies stand out on refaced surfaces. If you’re mixing hardware styles, keep placement uniform across similar cabinet types to maintain visual harmony.
Finish by adding any decorative accents, like matching cabinet pulls or hinges, to tie the look together. These final touches highlight your new finish and give the kitchen a polished, cohesive appearance that reflects your personal style.
Add Decorative Accents
After you’ve secured your handles and knobs, turn your attention to the smaller details that heighten a simple reface into a designer-quality finish. Decorative accents like molding, trim, or corbels add depth and character to flat cabinet faces.
Consider applying beadboard panels or fluted trim to door fronts for texture that catches the light. Glass inserts on upper cabinets create visual breaks and showcase dishware, while open shelving between sections adds a custom touch.
Creative embellishments such as metal medallions, rosettes, or appliqués give your cabinets a unique signature look. Don’t overlook under-cabinet lighting. It highlights your countertops and adds warmth to the kitchen’s atmosphere.
These finishing touches, though small, make the biggest difference in transforming ordinary cabinets into a polished, cohesive design you’ll love for years.
Inspect Your Reface Job for Common Mistakes
Before you pack away your tools, take a close look at every door, drawer, and panel you’ve just refaced. This final mistake identification step saves you from living with flaws you’ll notice every day.
Check veneer edges for bubbling or lifting, especially around corners where adhesive stress builds up first. Run your fingers along seams to feel for gaps instead of relying on sight alone.
Open and close each door and drawer to confirm smooth alignment. Sticking hinges or uneven reveals signal that hardware needs adjustment before you call the job finished.
Look at panels under different lighting since shadows reveal warping or uneven staining that daylight hides.
Quality assurance isn’t optional here. It’s what separates a professional-looking reface from an amateur one. Wipe down surfaces and check for dust trapped under finish coats.
Address every imperfection now, while materials and tools are still within reach, rather than after everything’s put away.
Frequently Asked Questions
How Much Does Refacing Cabinets Typically Cost Compared to Full Replacement?
You’ll typically spend 30-50% less on refacing than full replacement. Cost comparison shows refacing averages $4,000-$9,000, while replacement often runs $15,000-$30+. Your final price depends heavily on cabinet material—rigid thermofoil costs less than real wood veneers.
You’re keeping existing boxes, which saves considerably on labor and materials. If your cabinet structure’s solid, refacing gives you that updated look without the demolition, longer timeline, and higher expense full replacement demands.
How Long Does a Cabinet Refacing Project Usually Take to Complete?
You’ll typically finish refacing in two to five days, not weeks. You pick your cabinet color, you choose your hardware selection, and you watch your kitchen transform almost overnight. You won’t tear out walls, you won’t live without a kitchen, and you won’t blow your budget on months of construction.
Most of that time goes toward prep and finish work, so plan for a short installation once materials arrive.
Can I Reface Cabinets Myself, or Should I Hire a Professional?
You can absolutely reface cabinets yourself if you’re comfortable with basic tools and don’t mind detailed work. Simple tasks like cabinet painting and hardware upgrades are great DIY-friendly options that’ll save you money.
However, if you’re replacing doors or adding veneer, you might want a professional’s precision. Consider your skill level, available time, and budget. For complex jobs, hiring an expert guarantees a polished, long-lasting result you’ll love.
Will Refacing Work on Cabinets That Are Water-Damaged or Warped?
No, refacing won’t fix underlying structural problems. Imagine refacing a cabinet box that’s swollen from a dishwasher leak—new veneer and doors will look great for a few months, then peel or gap as moisture keeps working underneath.
If you spot water damage or warped wood on the frames, you’ll need to replace those boxes first. Refacing only works on solid, stable structures, so always inspect carefully before investing in new door fronts.
How Long Do Refaced Cabinets Typically Last Before Needing Replacement?
You’ll typically get 10-15 years out of refaced cabinets before you need to contemplate replacement, though cabinet durability depends heavily on the materials you choose. If you pick high-quality veneers or laminates, you’ll boost material longevity considerably.
Your cabinet boxes are still the original structure underneath, so as long as they’re solid, you’re really just extending their life with a fresh, durable surface that’ll hold up well.
Conclusion
Like a phoenix rising from its own ashes, your kitchen has been reborn without the cost or chaos of a full renovation. You’ve swapped tired, worn cabinets for a fresh face that rivals any showroom display.
By following these seven steps to reface kitchen cabinets, you’ve proven that you don’t need a magic wand, just patience, the right tools, and an eye for detail. Step back, admire your handiwork, and enjoy the transformation you’ve earned.