How to Remove a Kitchen Sink in 5 Steps
Removing a kitchen sink can feel like a daunting job, especially when you’re worried about leaks or damaging the countertop. You’re not alone—many people struggle to figure out where to start.
This guide to how to remove a kitchen sink in 5 steps walks you through the process, from shutting off the water to lifting the sink free.
Key Takeaways
- Shut off water supply valves, test faucet, and place a bucket under pipes.
- Disconnect hot and cold supply lines using a wrench, checking tubing for wear.
- Detach garbage disposal, drain pipes, and dishwasher hose before removing the sink.
- Loosen mounting clips and score caulk around the sink’s perimeter to break the seal.
- Lift the sink out carefully, then clean the countertop of old caulk and residue.
Gather Your Tools and Shut Off the Water
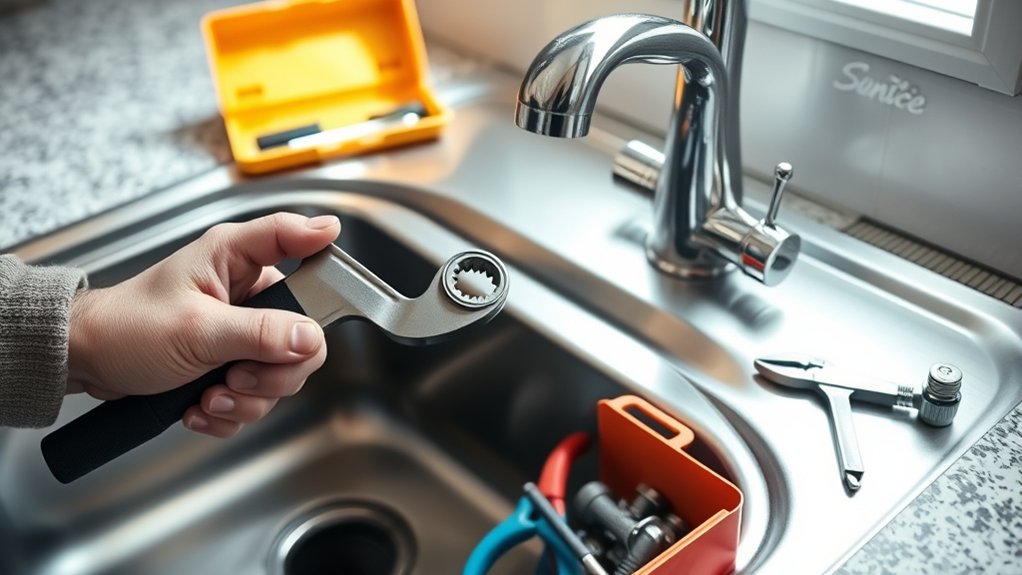
Before you touch a single pipe, grab the essentials: an adjustable wrench, a bucket, a flashlight, pliers, a putty knife, and a screwdriver. Having these tools within reach saves you from scrambling mid-project, especially once water’s involved.
Next, shut off the water supply. Locate the valves under the sink—one for hot, one for cold—and turn them clockwise until they stop. If your valves are stuck or missing, shut off the main water line instead. This step is non-negotiable in plumbing maintenance; skipping it risks a flooded cabinet.
Once the water’s off, test the faucet to confirm there’s no remaining pressure. Place your bucket beneath the pipes to catch any residual water or drips during disconnection. Good preparation here sets the stage for a smooth sink installation later, whether you’re replacing the old sink or upgrading fixtures.
Taking time now prevents headaches and keeps your workspace clean, dry, and ready for the next steps ahead.
Disconnect the Kitchen Sink’s Water Lines

Once the water’s off and your bucket’s in place, locate the supply lines running to the faucet—these are the thin, flexible tubes connecting to the shutoff valves. Use an adjustable wrench to loosen the compression nuts, turning counterclockwise while keeping the bucket underneath to catch any residual water. Don’t force stubborn fittings; a few drops of penetrating oil can loosen corroded connections without damaging the valve.
Loosen compression nuts counterclockwise with the bucket in place—patience and a little penetrating oil beat brute force every time.
Follow these steps to disconnect everything safely:
- Place a towel under the connections to absorb drips.
- Loosen the nuts on both hot and cold supply lines.
- Pull the lines free from the valves gently.
- Inspect the tubing for cracks or wear before reuse.
This step often overlaps with faucet repair work, so it’s a good time to check for mineral buildup. If you’ve noticed slow drainage, handle drain cleaning now too, since the pipes are already exposed and accessible.
Detach the Garbage Disposal and Drain Pipes

Since the water lines are disconnected, you’ll need to tackle the garbage disposal and drain assembly next. Place a bucket under the trap to catch residual water. Loosen the slip nuts connecting the P-trap to both the disposal and the wall drain pipe, then slide the trap off and empty it into the bucket.
If your sink has a garbage disposal, unplug it or shut off its breaker first. Twist the mounting ring counterclockwise to release the disposal from the sink flange, then set it aside. This is also a good time to plan for disposal replacement if yours is worn out. Disconnect the dishwasher drain hose from the disposal’s inlet if applicable.
With the disposal removed, loosen remaining slip nuts holding the tailpiece to the sink strainer. Keep all washers and nuts organized in a labeled bag, since proper pipe reinstallation later depends on reassembling these parts correctly.
Break the Seal and Loosen the Sink Clips
After disconnecting the plumbing, crawl under the sink and locate the mounting clips or clamps holding it to the countertop. Use a screwdriver or wrench for clip loosening, turning each one counterclockwise until it releases its grip. Don’t remove them completely yet—just loosen them enough to free the sink’s edges from the countertop’s pressure.
Next comes seal removal. Most sinks sit on a bead of caulk or plumber’s putty that creates a watertight bond with the counter. Grab a utility knife and run the blade along the sink’s perimeter to break this seal.
Follow these steps for a clean release:
- Score the caulk line on all four sides.
- Insert a putty knife into the cut seam.
- Gently pry upward to loosen stubborn spots.
- Check that all clips are fully disengaged.
Once the seal’s broken and clips are loose, the sink should shift slightly when nudged.
Lift Out the Old Sink and Clean the Countertop
With the clips loose and the seal broken, grab the sink from underneath and lift it straight up, enlisting a helper if it’s cast iron or heavy enamel. Angle it slightly to clear the countertop edges and set it down carefully to avoid chipping the basin or scratching nearby surfaces.
Once the sink’s out, scrape away old caulk and adhesive residue with a plastic putty knife, working gently to protect countertop materials like laminate, granite, or quartz from scratches. Wipe the area with mineral spirits or an adhesive remover to dissolve stubborn silicone, then follow with soapy water to clear any chemical residue.
Inspect the countertop for cracks, water damage, or warping before moving forward. These issues need repair before a new sink installation can proceed. A clean, dry, level surface ensures proper sealing and support for your new sink, so take the time to get this step right rather than rushing toward reinstallation.
Frequently Asked Questions
How Long Does It Typically Take to Remove a Kitchen Sink?
Removing a kitchen sink typically takes about 1 to 2 hours if you’re working alone and have basic tools ready. The exact time depends on your sink mounting type—drop-in sinks are usually quicker, while undermount styles take more effort to detach.
Plumbing disassembly adds time too, especially if connections are old or corroded. You’ll want to work carefully rather than rush, since forcing stuck parts can cause damage or unexpected delays.
Can I Remove a Sink Without Turning off the Main Water Supply?
You’re asking for trouble if you skip this step! Technically, you could attempt it, but you’ll invite an indoor water park into your kitchen. Before any pipe disconnection, you really should locate your main water shutoff and turn it off.
Skipping this “optional” step isn’t brave. It’s a recipe for a soggy disaster. Trust us, shutting off the water first keeps your project dry, safe, and stress-free.
What Should I Do With the Old Sink After Removal?
You’ve got a few solid options for your old sink. If it’s metal, you can take it to recycling centers, since many accept stainless steel or cast iron for scrap value.
If it’s damaged or made of materials like porcelain, check local disposal methods through your municipality’s bulk waste pickup. You could also donate it to a salvage yard or home improvement reuse store if it’s still in decent, usable condition.
Do I Need a Plumber, or Can I DIY This Project?
Why hire a plumber when your own two hands hold the power? You can absolutely DIY plumbing for a sink removal. It’s more straightforward than people assume.
You’ll just need the right tool essentials: an adjustable wrench, slip-joint pliers, a bucket, and a flashlight. If you’re comfortable shutting off water valves and disconnecting pipes, you’ve got this.
Save the money, skip the appointment, and tackle it yourself with confidence.
How Much Does It Cost to Replace a Kitchen Sink?
You’ll typically spend $200 to $500 for cost estimation purposes, though this varies based on materials and labor. If you’re handling replacement options yourself, you’ll mainly pay for the sink and basic supplies, keeping costs lower.
Hiring a plumber adds $100 to $300 for installation. Higher-end materials like granite composite or farmhouse-style sinks increase your budget considerably. Always compare replacement options before buying—you’ll find prices ranging widely depending on quality and style.
Conclusion
You’ve just completed your own little kitchen renovation odyssey, and like any hero’s journey, it ended with a victory. Step back and admire that empty countertop—you’ve earned it.
With the old sink gone, you’re ready for your next chapter: installing a shiny new fixture. Grab a towel, wipe away the grime, and get ready to turn this blank canvas into the kitchen centerpiece you’ve always wanted. After learning how to remove a kitchen sink, you’re ready to enjoy the results and move on to your next project.