How to Remove a Kitchen Faucet in 7 Steps
Removing a kitchen faucet can feel cramped, messy, and more complicated than expected. You’re not alone—many people struggle with stuck mounting nuts, tight supply lines, and limited cabinet space.
To remove a kitchen faucet in seven steps, clear the cabinet and gather a wrench, basin wrench, pliers, screwdriver, bucket, and towels.
Shut off both supply valves and open the faucet to release pressure.
Disconnect the hot and cold lines, then detach the sprayer or pull-down hose.
Loosen and remove the mounting nuts.
Lift out the faucet, then clean and inspect the sink opening and plumbing.
The detailed steps below will help you finish safely.
Key Takeaways
- Clear the cabinet, protect surfaces, gather tools, and photograph existing connections before starting.
- Shut off hot and cold water valves, open the faucet, and confirm pressure is fully released.
- Disconnect supply lines and any attached sprayer or pull-down hose, catching residual water in a bucket.
- Loosen mounting nuts, washers, and brackets underneath the sink using a basin or adjustable wrench.
- Lift out the old faucet, remove leftover sealant, and clean and inspect the sink opening for damage.
Prepare for Kitchen Faucet Removal

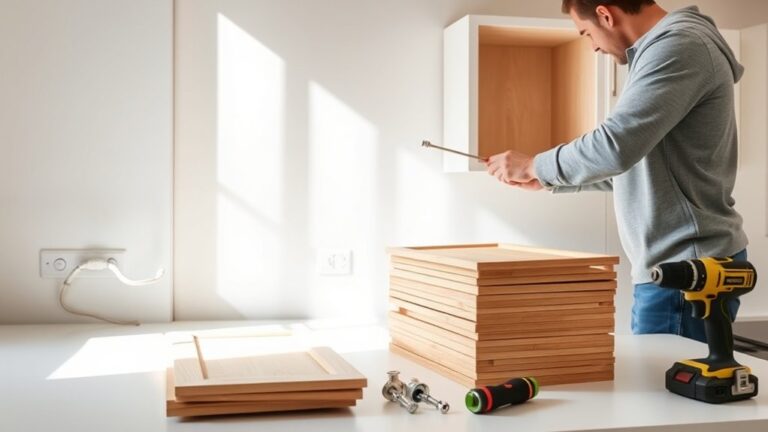
Before removing the kitchen faucet, clear out the cabinet beneath the sink and place a bucket or towels under the supply lines. Remove cleaning products, drawers, and stored items so you can reach the mounting hardware comfortably.
Clear the cabinet beneath the sink, protect it from drips, and make room to access the faucet mounting hardware safely.
Gather an adjustable wrench, basin wrench, pliers, a screwdriver, penetrating oil, and a flashlight. Photograph the existing connections before you disconnect anything; the image can guide reassembly or help you identify replacement parts.
Check the faucet’s mounting style and count the holes in your sink. This information confirms sink compatibility and helps you choose a replacement during your faucet installation.
Inspect the connections and mounting nuts for corrosion. Apply penetrating oil to stubborn hardware, then let it work according to the label.
Wear safety glasses, especially when working overhead, and keep a small container nearby for loose nuts, washers, and clips. Read the faucet manufacturer’s instructions so you understand the assembly before you begin.
Shut Off the Water Supply

Turn off both shutoff valves beneath the sink by turning each handle clockwise until it stops. If a handle resists, don’t force it; gently loosen it or seek professional help. Place a dry towel beneath the valves to catch minor drips, then open the faucet briefly.
This releases pressure and confirms that the water has stopped. Check both the hot and cold sides, since either line can still supply water if one valve remains open.
If water continues flowing, close the home’s main shutoff valve before proceeding. Keep a bucket and towels nearby, and avoid disturbing the valves unnecessarily.
Taking these precautions supports water conservation by preventing avoidable spills and makes faucet maintenance safer. Never rely on the faucet’s handles alone to stop water; the supply valves must be fully closed.
Once you’ve confirmed that no water emerges, leave the faucet open. You’re now ready for the next removal step without pressurized water behind the fixture.
Disconnect the Water Supply Lines
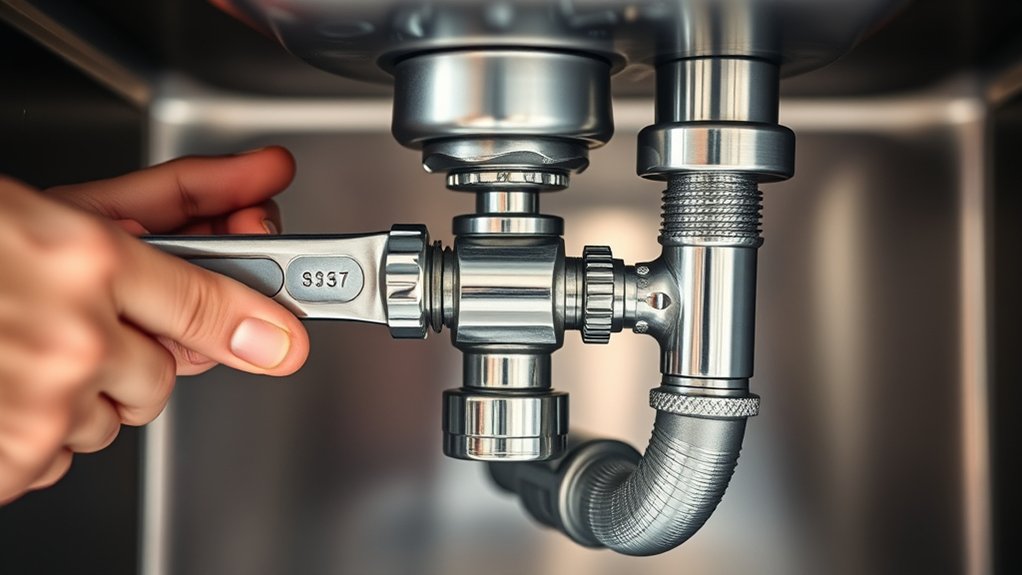
With the faucet open and the shutoff valves closed, place a bucket beneath the connections and loosen the hot- and cold-water supply lines with an adjustable wrench. Keep the faucet open briefly so remaining Water pressure can escape. Turn each nut counterclockwise, supporting the shutoff valve with your other hand to avoid twisting the plumbing.
- Loosen the hot line first, then the cold line.
- Catch drips in the bucket as you disconnect each line.
- Inspect nuts and threads for corrosion or damage.
- Cover exposed valve openings with clean caps or cloth.
- Label lines if their routing isn’t obvious.
If a connection resists, apply penetrating oil and wait several minutes rather than forcing it. Don’t use excessive torque, especially on older valves or delicate Faucet materials, because you could crack a fitting or bend a supply tube.
Once both lines are free, wipe away moisture and check the cabinet for leaks. Leave the detached lines positioned safely in the bucket until you’re ready to remove the faucet mounting hardware.
Disconnect the Sprayer or Pull-Down Hose
Before you disconnect the sprayer or pull-down hose, shut off the water supply. Then, locate the hose connection beneath the sink and place a towel underneath to catch any residual water. Carefully detach the connection, and pull the hose free from the faucet.
Shut Off Water Supply
Shut off the hot and cold-water supply valves beneath the sink, then open the faucet to release any remaining pressure. This step reduces Water pressure before you handle the sprayer or pull-down hose. Keep a towel and small container nearby to catch residual water.
- Turn each valve clockwise until it stops.
- Confirm that water no longer flows from the faucet.
- Leave the handles open while pressure drains.
- Check beneath the sink for drips or dampness.
- Use a flashlight to inspect the work area.
If a valve won’t turn, don’t force it; shut off the home’s main supply instead. Confirming the supply is off protects you from unexpected sprays and helps prevent cabinet damage.
Before disconnecting anything, note how the hose routes and check faucet compatibility with replacement parts. Wear eye protection if mineral buildup or corrosion surrounds the valves.
Once the lines remain dry, you’re ready for the next removal step.
Detach Hose Connection
Locate the hose connection beneath the sink, then place a towel or container underneath to catch trapped water. Identify the coupling where the sprayer or pull-down hose joins the faucet supply line.
Depending on your model, squeeze the quick-connect tabs, press the release collar, or loosen the threaded nut with adjustable pliers. Hold the faucet-side fitting steady so you don’t twist the supply line.
Pull the hose downward and let any remaining water drain into the container. If the connector won’t release, check for a retaining clip or mineral buildup rather than forcing it.
Keep the removed hose and fittings for reference during Hose replacement. Inspect seals for cracks and note connection troubleshooting issues, such as leaks or damaged threads.
Cap the open line temporarily to keep debris out.
Remove the Mounting Nuts
With the water lines disconnected, reach beneath the sink and loosen the mounting nuts securing the faucet. Use an adjustable wrench or basin wrench, depending on the available space. Turn each nut counterclockwise, supporting the faucet shank above the sink so the mounting hardware doesn’t twist.
If corrosion makes nut removal difficult, spray penetrating oil on the threads and wait several minutes. Protect your eyes from drips, and avoid forcing the wrench against fragile supply lines or the sink basin.
- Position a flashlight to see the connections clearly.
- Place a towel beneath the work area to catch debris.
- Grip stubborn nuts with locking pliers for extra control.
- Remove washers and plates in their installation order.
- Keep small parts together in a labeled container.
Once the nuts come free, set them aside if you’re replacing the faucet but need to identify compatible parts. Inspect the underside for additional brackets, clamps, or screws that still hold the assembly.
Don’t pull on the faucet yet. First, confirm every fastener has been released.
Lift Out the Old Kitchen Faucet
Disconnect the supply lines, and keep a towel nearby to catch any water that remains. Then remove the mounting hardware and lift the old faucet out of the sink.
Disconnect Supply Lines
How do you disconnect the supply lines without making a mess? Shut off both water valves beneath the sink, then open the faucet to release pressure. Place a bucket and towel under each connection before you loosen anything. Use an adjustable wrench to turn each supply-line nut counterclockwise, supporting the valve with your other hand. Let remaining water drain into the bucket.
- Label hot and cold lines before removal.
- Keep the bucket centered beneath each fitting.
- Loosen stubborn nuts with penetrating oil.
- Inspect hoses for cracks or corrosion.
- Cap open valves temporarily to prevent drips.
Don’t pull or twist the valves, since you could damage their connections. Set the disconnected lines aside for disposal or possible reuse.
Check replacement hose length and thread type during faucet installation. Verify brand compatibility before buying new supply lines.
Avoid removing mounting hardware until all water lines are completely detached.
Remove Mounting Hardware
Once the supply lines are detached, remove the mounting hardware securing the faucet beneath the sink. Slide beneath the cabinet and locate the nuts, washers, brackets, or threaded collars holding the faucet to the countertop.
Support the hardware with one hand while you loosen each nut with a basin wrench, adjustable wrench, or the appropriate installation tools. Turn stubborn nuts counterclockwise, applying penetrating oil if mineral buildup or corrosion makes them difficult to move.
Keep a flashlight nearby so you can see connections clearly in the cramped space. Place removed nuts and washers in a small container to prevent losing them.
If the faucet has multiple mounting points, loosen each one evenly rather than removing a single fastener completely first. Check that every securing piece is detached before proceeding.
Lift Faucet Free
After confirming all mounting hardware and connected hoses are removed, grasp the faucet from above and lift it straight out of the sink or countertop. If it sticks, don’t force it; gently rock the fixture side to side to break the seal.
Watch for hidden plumber’s putty, caulk, or mineral buildup around the base. Use a plastic scraper to loosen stubborn residue without scratching the surface.
As you lift, guide the supply lines through the opening, then place the old faucet on a towel.
- Inspect the opening for damage or corrosion.
- Remove leftover putty and clean the surface.
- Check hoses for cracks before disposal.
- Photograph connections for future reference.
- Store useful parts for faucet installation.
Cleaning now simplifies faucet maintenance later and helps the replacement sit evenly. Wear gloves, and keep a bucket nearby for trapped water.
Clean the Sink Opening and Inspect the Plumbing
With the faucet removed, scrub away old plumber’s putty, mineral deposits, and grime around the sink opening using a plastic scraper and mild cleaner. Wipe the area dry, then check the opening for chips, cracks, or corrosion that could prevent the replacement faucet’s gasket from sealing properly. Don’t use a metal blade, which can scratch stainless steel or damage a porcelain surface.
Clean and inspect the sink opening carefully to ensure the new faucet gasket forms a secure, leak-free seal.
Next, inspect the exposed supply lines and shutoff valves. Look for kinks, rust, mineral buildup, or damp connections. If you see moisture, tighten the connection slightly and replace any damaged hose or valve before installing the new faucet.
Check the faucet holes from below, too, and confirm that mounting hardware won’t interfere with the basin or cabinet.
While you’re working beneath the sink, examine sink drainage for leaks or buildup around the strainer and trap. This is an ideal time for basic drain cleaning. Flush debris away, but avoid harsh chemicals that could damage plumbing or irritate your skin.
Frequently Asked Questions
Can I Remove a Kitchen Faucet Without Turning off the Main Water Supply?
Yes, you can remove a kitchen faucet without turning off the main water supply if you close the hot- and cold-water shutoff valves beneath the sink. Turn each valve clockwise, then open the faucet to release water pressure.
Place a bucket underneath and disconnect the supply lines carefully. Use leak detection afterward to check every connection.
If valves don’t close fully, or your home lacks local shutoffs, turn off the main supply before proceeding.
What Tools Are Needed to Install a Replacement Kitchen Faucet?
You’ll need a few tools to install a replacement kitchen faucet, so gather everything before you begin. Keep a pipe wrench and basin wrench handy for loosening or tightening connections in tight spaces.
You’ll also need adjustable pliers, a screwdriver, plumber’s tape, a bucket, towels, and a flashlight. Check whether your faucet includes a mounting tool or supply lines.
Measure connections first, because an ounce of prevention beats a pound of cure.
How Long Does Kitchen Faucet Removal Typically Take?
You’ll typically remove a kitchen faucet in 30–60 minutes, depending on access, corrosion, and the connection layout. If you can reach the mounting nuts easily, you may finish sooner; tight spaces or rust can extend the job to two hours.
Set aside extra time for faucet maintenance, such as cleaning supply lines and checking valves. If you uncover damaged parts or persistent drips, plan additional time for leak repair before installing your replacement faucet securely.
When Should I Replace, Rather Than Repair, My Kitchen Faucet?
When should you replace your kitchen faucet instead of repairing it? Replace it when leaks persist, the body cracks, corrosion spreads, or replacement parts become difficult to find.
Compare the repair cost with a new faucet’s price, including labor. Consider the faucet material, too: durable brass may deserve repair, while inexpensive plastic often makes replacement smarter.
Upgrade immediately if the faucet’s age, poor performance, or outdated features frustrate you or threaten cabinet damage.
How Do I Dispose of an Old Kitchen Faucet Responsibly?
You can dispose of an old kitchen faucet responsibly by checking local recycling options first. Remove attached hoses, clean away debris, and separate recyclable metal from plastic parts if your facility requests it.
Don’t place the faucet in hazardous waste unless it contains batteries, chemical residue, or another regulated material. Consider donating a usable faucet to a reuse center.
If recycling isn’t available, contact your waste authority for approved disposal instructions before putting it in the trash.
Conclusion
With the old faucet removed, your sink has turned a page. You’ve shut off the water, released each connection, and cleared the way for something new.
Before installing a replacement, make sure the sink opening is clean and the plumbing looks sound. A little care now prevents leaks later.
As you wipe away grime and inspect the pipes, you’re not just finishing a repair. You’re creating a fresh starting point for your kitchen and preparing for a smooth kitchen faucet removal and replacement.