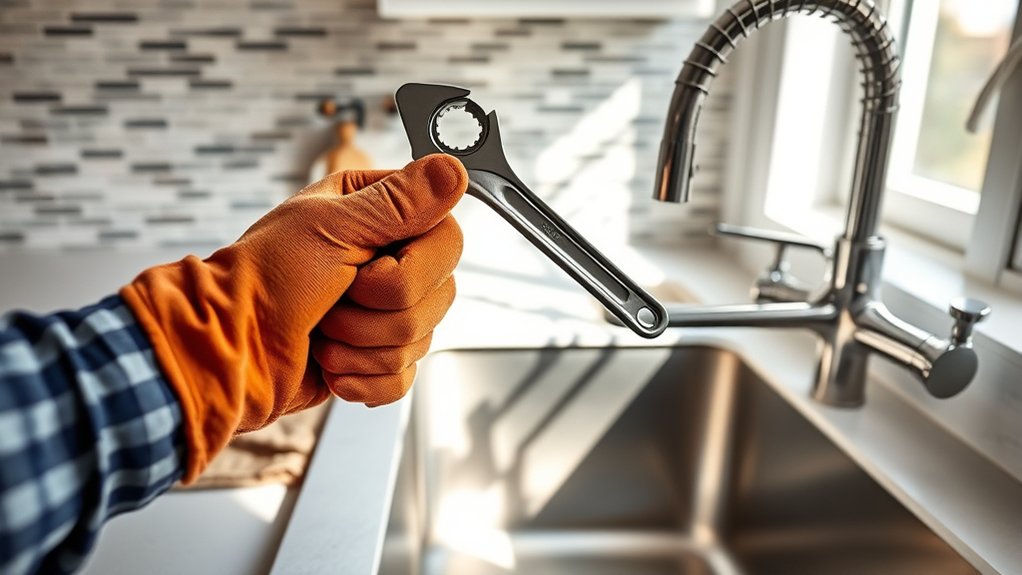
How to Replace a Kitchen Sink in 7 Steps
Replacing a kitchen sink can feel overwhelming, especially when you’re unsure which steps to tackle first. You’re not alone—many homeowners struggle with disconnecting plumbing, removing old caulk, and choosing a sink that fits properly.
This guide makes the process easier to follow.
To replace a kitchen sink in seven steps, measure the opening and confirm the new sink fits.
Shut off the water, open the faucet, and disconnect the supply lines, drain, and disposal.
Remove mounting clips and cut through old caulk to lift out the sink.
Clean and inspect the opening.
Apply silicone, set and secure the new sink, then reconnect the faucet, drain, and disposal.
Restore water, test for leaks, and seal gaps.
Follow these steps for helpful installation details.
Key Takeaways
- Measure the existing cutout, countertop thickness, cabinet clearance, and new sink dimensions before purchasing or installing.
- Turn off water supplies, disconnect plumbing and disposal components, remove mounting clips, and carefully lift out the old sink.
- Clean old sealant, inspect the countertop, and test-fit the replacement sink for level alignment and adequate clearance.
- Apply continuous kitchen-and-bath silicone beneath the rim, secure mounting clips evenly, and allow the sealant to cure fully.
- Reconnect the faucet, drain, trap, dishwasher hose, and disposal. Then slowly test for leaks and correct any faulty seals.
Measure for Your New Kitchen Sink
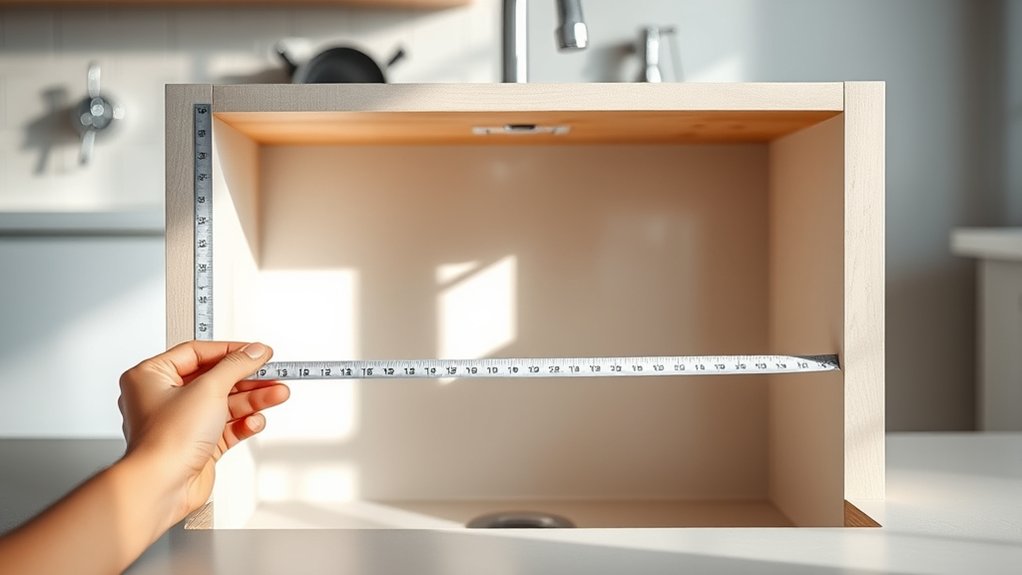
Before you buy a new kitchen sink, measure the existing cutout—not just the old sink’s basin. Clear the counter around the sink, then use measuring tools such as a tape measure, straightedge, and pencil. Record the cutout’s length and width from underneath the countertop if possible, where the opening’s edges are easiest to see.
Measure the countertop thickness, cabinet width, and available space beneath the opening. Check for drawers, support rails, and other obstructions that could limit your new sink’s depth. For an undermount or flush-mount model, note the countertop material and edge condition, since the installation method affects the required opening.
Write down the sink dimensions, including overall length, width, depth, bowl configuration, and minimum cabinet size. Compare those measurements with the manufacturer’s template and installation specifications, not assumptions based on your current sink. If you’re replacing a top-mount model, confirm that the new rim will cover the existing cutout completely.
Shut Off Water and Disconnect Plumbing
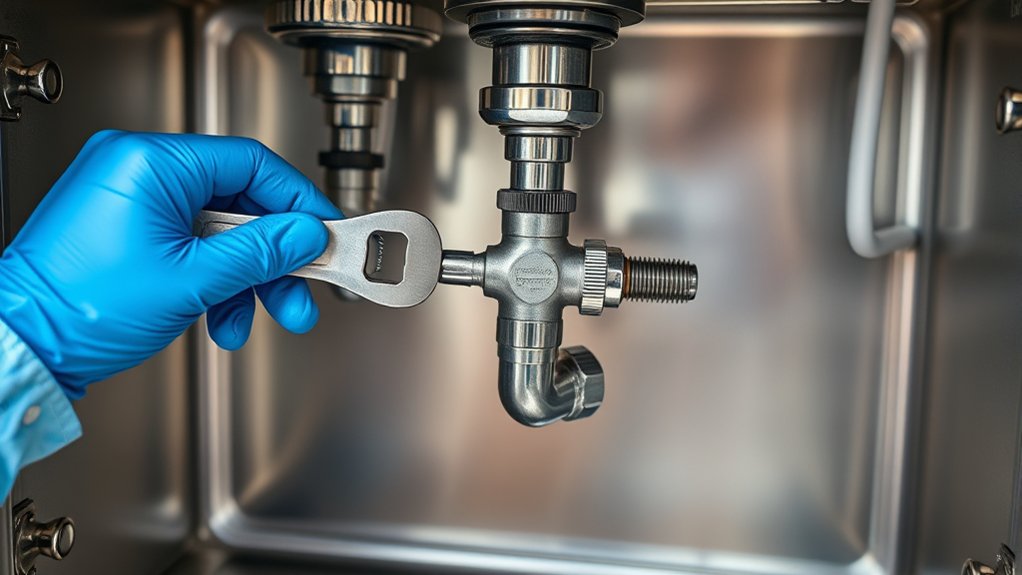
Once you’ve confirmed the new sink will fit, clear out the cabinet and shut off the hot- and cold-water supply valves beneath it. Turn each valve clockwise until it stops. Open the faucet to release remaining pressure, and keep a bucket and towels nearby to catch water.
Confirm the sink fits, clear the cabinet, shut off both supply valves, open the faucet, and keep a bucket and towels ready.
For water safety, wear gloves and eye protection, especially when working in a cramped cabinet. Don’t force a stuck valve; shut off the home’s main supply instead, if necessary. Test the faucet again before disconnecting anything.
Place the bucket beneath the supply connections. Use adjustable wrenches to loosen the nuts connecting the flexible supply lines to the faucet tails, then let the lines drain.
Next, loosen the slip nut joining the drain trap to the sink’s drain assembly. Support the trap as you remove it, and empty its contents into the bucket.
Keep removed washers and nuts together, and label connections if that helps you remember their locations. Gather your plumbing tools before proceeding, and check for drips once every connection is loose.
Remove the Old Kitchen Sink
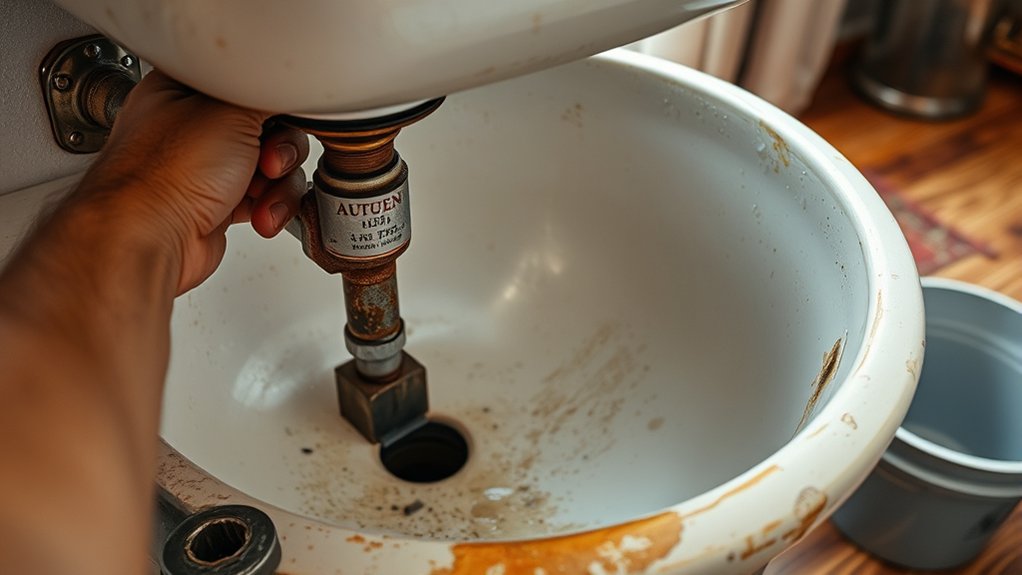
With the plumbing disconnected, remove the clips or mounting brackets securing the sink beneath the countertop. Use a screwdriver, wrench, or the replacement tools recommended for your sink’s design. Keep a bowl nearby to catch any trapped water, and wear gloves to protect your hands from sharp edges and grime.
Cut through the old caulk around the rim with a utility knife, working carefully to avoid scratching the countertop. If the sink has adhesive or mounting rails, loosen them gradually rather than forcing the basin upward.
Ask someone to support heavy sinks as you lift them from below. Porcelain, cast iron, stainless steel, and composite are common sink materials, and each can vary considerably in weight.
Once the seal breaks, lift the sink straight up and guide the faucet and drain openings clear. Set the removed sink on cardboard or a padded surface, then dispose of hardware responsibly.
Keep reusable parts separate from scrap, and avoid damaging nearby cabinetry or plumbing connections.
Clean and Check the Countertop Opening
Clean the countertop opening by scraping away any old caulk and residue. Inspect the edges for chips, cracks, or uneven spots that could affect the installation. Then, test-fit the new sink to make sure it sits properly in the opening before applying fresh sealant.
Remove Old Caulk
After removing the old sink, scrape away the remaining caulk from the countertop opening with a putty knife or razor scraper, keeping the blade nearly flat to avoid gouging the surface. Work slowly, and use short strokes around corners where buildup may resist removal.
For effective caulk removal:
- Soften stubborn residue with a manufacturer-approved caulk remover, following the label’s safety directions.
- Lift softened material with a plastic scraper, then wipe the surface with a damp, lint-free cloth.
- Dry the opening completely so leftover moisture or cleaner won’t interfere with future sealing techniques.
Avoid metal tools that can scratch laminate, stone, or solid-surface counters. Don’t use harsh solvents unless the countertop manufacturer confirms they’re safe.
Keep removed caulk and debris out of the drain area, and leave the opening clean for the next step.
Inspect Opening Edges
Inspect the countertop opening for chips, cracks, raised edges, or gaps that could keep the new sink from sitting level. Begin your edge inspection by scraping away leftover caulk, adhesive, and grime with a plastic scraper. Don’t use excessive force, which could damage laminate, stone, or wood surfaces.
Wipe the opening and surrounding area with a damp cloth, then dry it completely. Run your fingers around every edge to detect rough spots or slight height changes you might not see. Check the underside as well, looking for swelling, loose material, or water damage.
Mark damaged areas with painter’s tape so you can address them before installation. Complete this opening assessment carefully, because a clean, sound perimeter helps the sink seal properly and prevents future leaks.
Verify Sink Fit
With the opening edges sound and free of debris, set the new sink into the countertop opening to verify its fit. Lower it gently without sealant, then check that the rim rests evenly on every side.
Confirm the cabinet below provides enough clearance for the basin, drain, and plumbing connections.
- Measure the reveal around the rim. A consistent gap indicates proper alignment; a tight or uneven edge may require careful countertop adjustment.
- Check the sink material for chips, warping, or scratches that could worsen during installation. Inspect mounting clips and confirm they’re included.
- Compare the sink color with the countertop and faucet before you commit. Reposition the sink until it sits square with the cabinet and backsplash.
Lift it out after checking and place it on a padded surface. Clean dust from the opening and wipe the sink’s underside before applying sealant.
Install the New Kitchen Sink
Carefully position the new sink in the countertop opening, making sure it sits level and flush with the surface. Secure it to the mounting hardware, then connect the plumbing. Before moving on, check each connection to make sure it’s snug and secure.
Position the New Sink
Lower the new sink into the countertop opening, keeping the front edge aligned with the cabinet and the bowl centered over the base. Check that the rim sits evenly on every side and doesn’t rock when you press gently around its perimeter.
Use the cabinet doors and counter edges as visual references, then adjust the sink before the sealant sets.
- Measure the reveal along the front and sides to confirm consistent spacing.
- Look beneath the counter to ensure the basin clears the cabinet walls, shelves, and disposal area.
- Wipe away dust, then keep the sink steady while you inspect its overall placement.
Consider aesthetic details, such as how the rim lines up with nearby backsplash tiles. Leave decorative accessories aside until the sink’s position looks balanced and centered.
Don’t apply pressure that could shift it.
Secure Sink Connections
Once the sink is centered and stable, secure it according to the manufacturer’s instructions using the supplied clips or mounting brackets. Tighten each fastener gradually, alternating sides to distribute pressure evenly.
Don’t overtighten, because excessive force can crack the sink or damage the counter. Check that the basin remains level as you tighten the mounting hardware, and wipe away any squeezed-out sealant.
If your sink requires a separate rim seal, apply a continuous bead of kitchen-and-bath silicone beneath the edge before fastening it. This sealant application prevents water from seeping into the cabinet or countertop.
Let the silicone cure for the time listed on its label before connecting plumbing or using the sink. Finally, inspect every connection and confirm that the sink feels firmly attached without movement.
Reconnect the Faucet, Drain, and Disposal
How do you reconnect everything without causing leaks? Work methodically, keeping each connection aligned and hand-tight before using a wrench. Don’t overtighten plastic fittings, which can crack or distort their seals.
1. Reconnect the faucet: Feed the supply lines through the sink opening, then tighten the mounting hardware beneath the basin. Attach hot and cold lines to the matching shutoff valves, using new washers or plumber’s tape where the fitting requires it.
Good faucet maintenance starts with clean threads and properly seated gaskets.
2. Reconnect the drain: Place the flange and gasket in the drain opening, then secure the strainer from below. Attach the tailpiece and trap, positioning slip nuts and washers in their correct order.
Keep the trap aligned so it connects without stress.
3. Reconnect the disposal: Mount the disposal to the sink flange, reconnect the discharge tube, and attach the dishwasher hose if applicable. Restore the electrical connection according to the manufacturer’s instructions.
For disposal troubleshooting, check that the reset button, drain path, and mounting ring are properly positioned.
Test for Leaks and Seal the Sink
Turn on the shutoff valves slowly and run water through the faucet while inspecting every connection beneath the sink. Use a flashlight for leak detection, and dry each joint first so fresh drips stand out.
Fill both basins, drain them, and run the disposal briefly if installed. Check the strainer, trap, supply lines, and disposal flange.
| Area | Warning sign | Action |
|---|---|---|
| Supply lines | Droplets | Tighten connection |
| Drain joints | Dampness | Reseat washer |
| Sink rim | Water seepage | Reapply sealant |
If water reaches the cabinet, close the valves, loosen the faulty connection, and replace its washer or gasket. Don’t overtighten plastic fittings. Hand-tighten, then add a quarter turn with pliers.
For a rim leak, dry the countertop completely, cut away loose caulk, and complete sealant application with kitchen-and-bath silicone. Smooth the bead with a damp finger, then remove excess.
Keep the sink dry for the manufacturer’s curing time before using it. Recheck every connection afterward.
Frequently Asked Questions
How Long Does It Typically Take to Replace a Kitchen Sink?
You’ll typically need four to six hours to replace a kitchen sink, though the timeline varies with your setup. A straightforward swap may take two to three hours, while modifications to countertops, cabinets, or plumbing can extend the project to a full day.
Allow extra time for drain installation, faucet connections, testing, and sink sealing. If you’re hiring a professional, ask for a detailed estimate after they inspect your existing sink and plumbing.
What Tools and Materials Are Needed to Replace a Kitchen Sink?
You’ll need a mountain of tools and materials: an adjustable wrench, basin wrench, screwdrivers, pliers, utility knife, bucket, towels, measuring tape, and a level. Gather the new sink, faucet, drain assembly, supply lines, plumber’s putty or sink sealant, mounting clips, and a compatible garbage-disposal flange if needed. You’ll also want silicone caulk, a flashlight, and safety glasses. Shut off water, protect the cabinet, and follow the manufacturer’s instructions carefully.
Can I Replace a Kitchen Sink Without Professional Plumbing Experience?
Yes, you can replace a kitchen sink without professional plumbing experience if you’re comfortable with basic DIY plumbing. You’ll need to shut off the water, disconnect the supply lines and drain, remove the old sink, install the new basin, and reconnect everything carefully.
Follow the manufacturer’s instructions, use plumber’s putty or silicone where required, and test for leaks. If connections look corroded or complicated, hire a professional before beginning sink installation.
How Much Does Professional Kitchen Sink Replacement Usually Cost?
Professional kitchen sink replacement usually costs $300–$1,000, depending on the sink, countertop adjustments, plumbing complexity, and your location. You’ll typically pay $150–$400 for labor, while materials may add $150–$600.
For a clear Cost comparison, DIY vs professional work can save you labor costs, but mistakes may cause leaks or cabinet damage. You’ll spend more for premium sinks, faucet installation, garbage-disposal connections, or difficult access.
Get several written quotes before choosing a contractor.
Should I Replace the Faucet When Installing a New Kitchen Sink?
Yes, you should consider replacing the faucet when installing a new kitchen sink, especially if your existing fixture shows leaks, corrosion, or wear. Check faucet compatibility first, since the new sink may have different mounting holes or spacing.
Inspect the water supply connections and replace worn flexible lines or shutoff valves while everything remains accessible. If your faucet works well and matches the sink, you can usually keep it and save money.
Conclusion
With your new kitchen sink in place, you’re ready to enjoy a cleaner, more functional space. Before you finish, confirm every connection is tight, run water through each fixture, and watch for drips beneath the cabinet.
If you spot a leak, shut off the supply and reseal the connection promptly. A careful final check prevents future problems and protects your cabinets.
Now, clean up your tools, admire your work, and enjoy your sturdy, spotless kitchen sink.