How to Pack a Kitchen for Moving in 3 Steps
Packing a kitchen for moving can feel overwhelming, especially when fragile dishes and everyday essentials all need attention. You’re not alone—many people struggle to keep everything organized while protecting their belongings. These practical kitchen packing tips can help make moving day easier.
Packing a kitchen for moving comes down to three simple steps. First, declutter: sort items into keep, donate, and toss piles, and ditch expired goods.
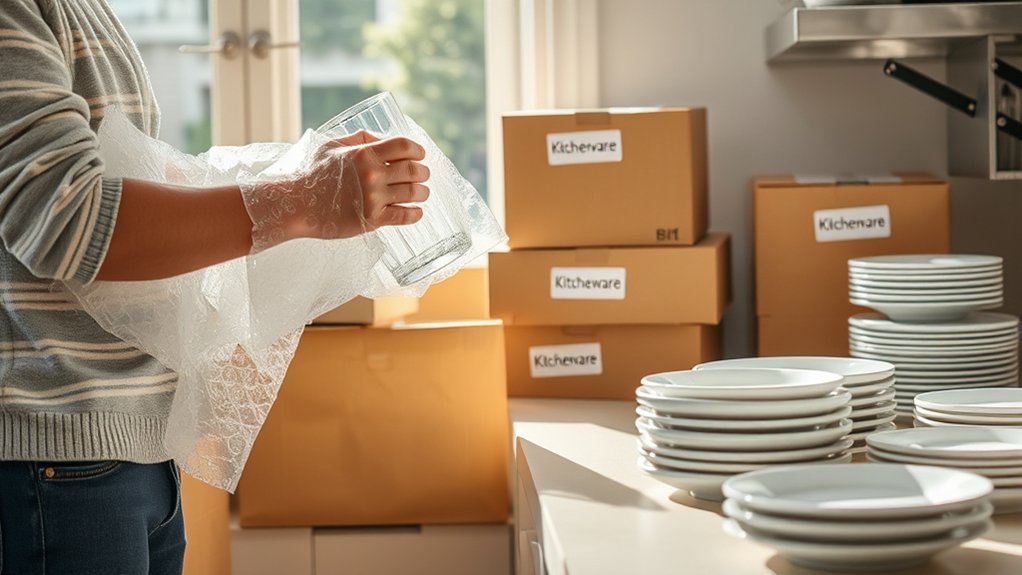
Second, wrap fragile items properly using packing paper or bubble wrap, stacking plates vertically and padding glasses inside and out.
Third, label boxes with specific contents and color coding instead of generic “kitchen” tags. Get these steps right, and you’ll set yourself up for a much smoother unpacking day.
Key Takeaways
- Declutter first: sort cabinets into keep, donate, and toss piles, discarding expired pantry items.
- Wrap fragile items individually with packing paper or bubble wrap, padding handles, rims, and gaps.
- Pack plates, glasses, and bowls vertically for better pressure distribution and reduced breakage risk.
- Fill empty box spaces with towels or paper to prevent shifting during transit.
- Label boxes specifically and color-code by category to simplify unpacking at your new kitchen.
Sort and Declutter Your Kitchen Before You Pack a Single Box
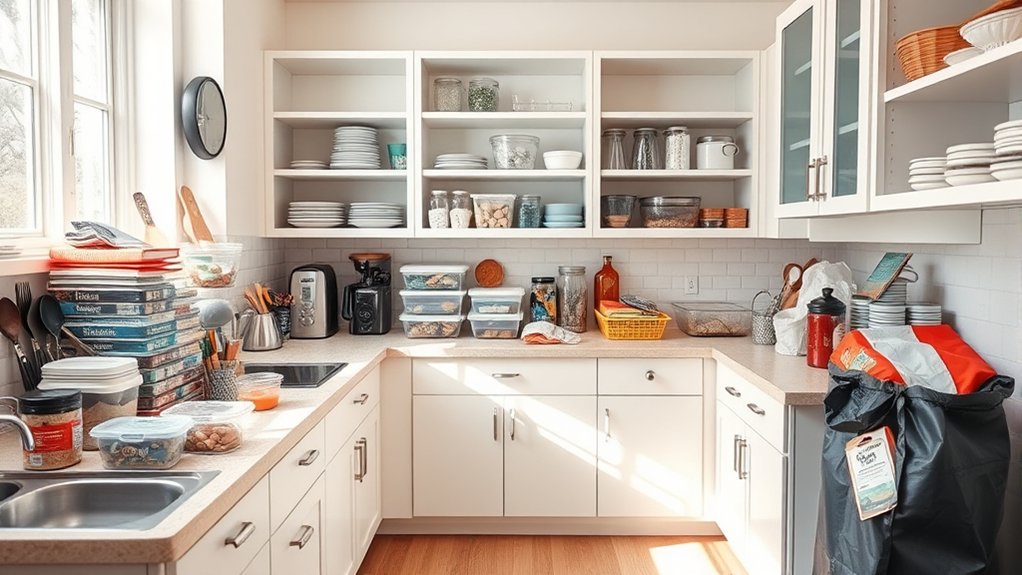
Before you grab a single box, take a hard look at what’s actually in your kitchen cabinets and drawers. Chances are you’re storing gadgets you haven’t touched in years, mismatched containers, and duplicate utensils. Pull everything out and sort it into three piles: keep, donate, and toss.
Disposing of expired items should be your first priority. Check spice jars, canned goods, and condiments for dates, and don’t pack anything you won’t actually use at your new place. Expired food just adds dead weight to your move.
While you’re at it, focus on organizing pantry essentials. Group similar items together so you know exactly what you have and what’s worth transporting. If you own three can openers, keep one and donate the rest.
This upfront effort saves you time, box space, and money on moving day.
Wrap Fragile Kitchen Items the Right Way
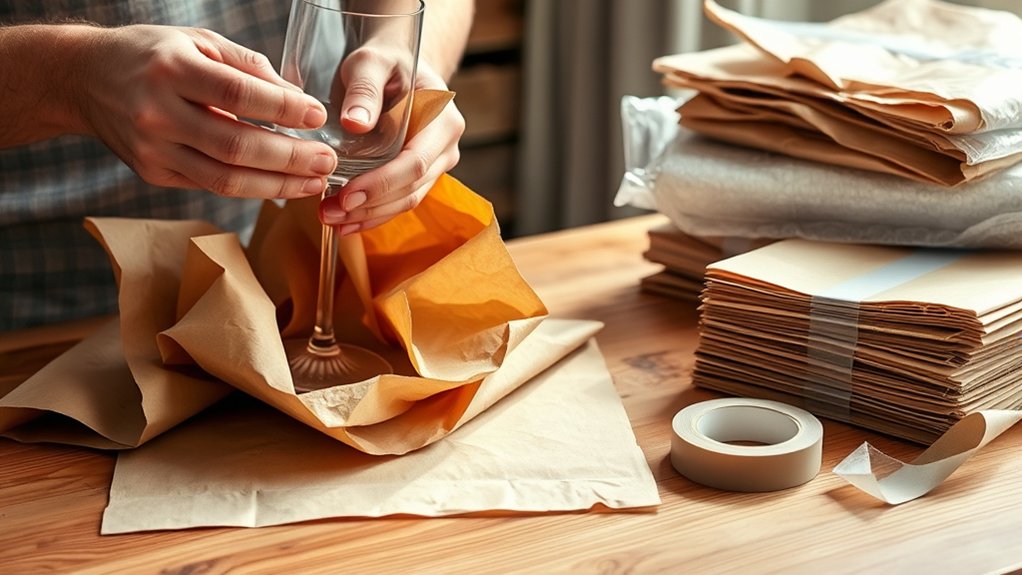
Once you’ve decluttered, your fragile items deserve real protection, not just a few sheets of newspaper tossed around them. Newspaper ink smudges, and it doesn’t cushion well. Use packing paper or bubble wrap instead for proper dish wrapping techniques.
Wrap plates individually, then stack them vertically in boxes rather than flat—vertical stacking distributes pressure evenly and reduces breakage. Glasses and mugs need wrap inside and out, with extra padding around handles and rims. Stuff bowls with crumpled paper before wrapping to prevent interior cracks.
Fragile item organization matters as much as wrapping. Group similar items together—plates with plates, glasses with glasses—so you’re not mixing weights in one box. Label boxes “Fragile” and indicate which side faces up.
Use dish-pack boxes with reinforced walls when possible, and never leave empty space inside a box. Fill gaps with towels or packing paper so nothing shifts during transport.
Label Your Kitchen Boxes So Unpacking Takes Minutes
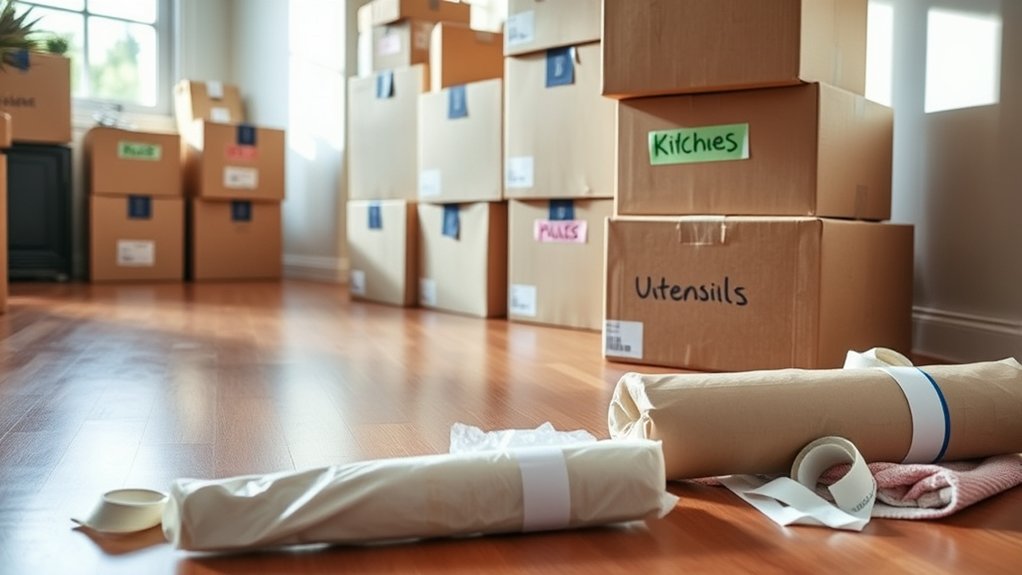
Since you’ve wrapped everything carefully, don’t let vague labels undo that effort. Smart labeling strategies turn chaotic unpacking into a quick, organized process.
Skip generic labels like “Kitchen” and get specific: “Coffee Mugs,” “Baking Sheets,” or “Pantry Spices.” This precision helps you locate items immediately instead of digging through ten identical boxes.
Color coding techniques add another layer of efficiency. Assign a color to each room or category, say, green for everyday dishes, blue for glassware, and red for fragile items. Mark boxes with matching tape or stickers.
This visual system lets movers and helpers sort boxes at a glance, without reading every label.
Always note which boxes are fragile and which side should face up. Write on at least two sides of each box, since labels on top often get buried.
List contents briefly, but include enough detail to know if you need that box opened first. Clear labeling saves time, protects your items, and makes settling into your new kitchen far less stressful.
Frequently Asked Questions
How Early Should I Start Packing My Kitchen Before Moving Day?
Start packing your kitchen about one to two weeks before moving day. You’ll want plenty of time to pack fragile items like glasses, dishes, and china without rushing.
Begin with things you rarely use, then move to everyday essentials closer to the date. Grouping similar kitchen supplies as you go makes unpacking much easier.
Don’t leave it until the last minute. You’ll thank yourself later!
What’s the Best Order to Pack Kitchen Items for Loading?
Start with items you rarely use, like holiday dishes or extra appliances, then work toward everyday essentials. Pack fragile items—glasses, plates, and china—individually with plenty of padding, placing them in smaller boxes you can manage easily.
Save pots, pans, and utensils you’ll use until moving day for last. Finish by labeling essentials clearly so you can find them immediately after loading. This order keeps your kitchen functional longer while protecting breakables for a smoother move.
Should I Pack the Kitchen Last or First?
Pack your kitchen last, since you’ll need it until moving day. Start with items you rarely use, then move toward everyday essentials. Focus on packing fragile dishes and glassware first with plenty of cushioning, since they’re trickiest to protect.
Save appliance organization for the final stretch: unplug, clean, and box up your coffee maker, blender, and toaster right before loading. This approach keeps your kitchen functional longer while ensuring breakables get careful treatment early in the process.
How Do I Pack a Kitchen if I’m Moving Long-Distance?
You’ll want to pack like you’re preparing for a trip to the moon—every item needs a bulletproof plan! Start with solid kitchen organization: group similar items together and label boxes by category.
Invest in sturdy packing materials like double-walled boxes, dish dividers, and plenty of bubble wrap. Wrap fragile items individually, fill empty spaces with packing paper, and don’t overload boxes.
Long-distance moves demand extra cushioning, so don’t skimp on protection.
What Kitchen Items Should I Transport Myself Instead of Packing?
Transport your most fragile items yourself—think cherished china, crystal glassware, or that antique teapot you can’t risk losing to a moving truck. You’ll also want to keep essential tools close at hand, like your favorite knife, a cutting board, and basic cookware for meals during the shift.
Pack these in a clearly labeled box or bag you carry personally, ensuring they stay safe and you’re not left searching for them on your first night.
Conclusion
Packing your kitchen doesn’t have to feel like an uphill battle. Once you’ve decluttered, wrapped your fragile items with care, and labeled every box clearly, you’re ready to move with confidence.
You’ll walk into your new place knowing exactly where everything is, which means you can skip the chaos and start settling in right away. A little prep now saves you major headaches later, so use these tips for packing a kitchen for moving and get started!