How to Clean Grease From Kitchen Cabinets
Grease on kitchen cabinets can be stubborn, especially when it builds up around handles, hinges, and corners. You’re not alone—many people struggle to remove it without damaging the finish. The right cleaner can make the job easier.
To clean grease from kitchen cabinets, mix warm water with dish soap, or try a vinegar-and-water solution for extra cutting power. Wipe surfaces with a microfiber cloth, using a toothbrush for hinges and corners.
For stubborn spots, apply a baking soda paste and let it sit before scrubbing gently. Always rinse and dry thoroughly to protect your cabinet’s finish.
Stick around to learn which methods work best for your specific cabinet material.
Key Takeaways
- Mix warm water with dish soap, wipe in small sections, then rinse and dry thoroughly.
- Use a vinegar-water solution or baking soda paste to break down tough, stubborn grease stains.
- Clean details with an old toothbrush, targeting corners, hinges, and handles effectively.
- Match cleaning method to cabinet material: mild soap for wood, vinegar mix for laminate.
- Prevent future buildup by using exhaust fans, covering pans, and improving kitchen ventilation.
What Causes Grease Buildup on Kitchen Cabinets?
What Causes Grease Buildup on Kitchen Cabinets?
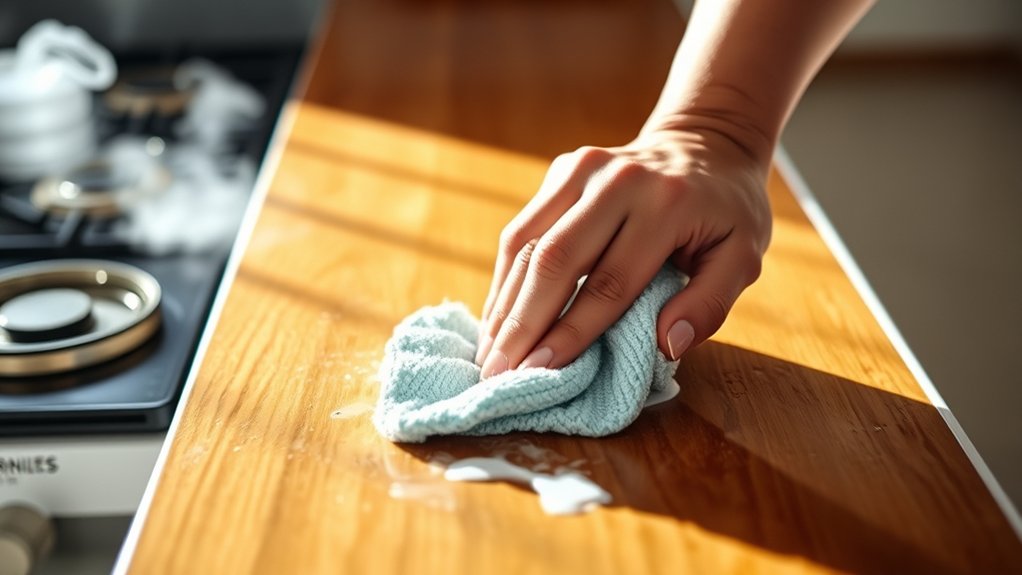
Because cooking releases airborne oil particles, your kitchen cabinets gradually collect a sticky film every time you fry, sauté, or roast food. These oil molecules rise with heat and steam, then settle on nearby surfaces, including cabinet doors, handles, and frames. The closer your cabinets sit to the stove, the faster this residue accumulates.
Every fry, sauté, or roast sends oil particles airborne, leaving cabinets near the stove coated fastest in sticky residue.
Your kitchen ventilation plays a major role in how quickly grease builds up. If your range hood doesn’t vent properly or you skip using it altogether, airborne grease has nowhere to go except onto your cabinets, walls, and countertops. Poor air circulation traps oily vapor indoors, letting it settle repeatedly over time.
Your cooking habits matter just as much. Frequent frying, high-heat searing, and oil-based recipes release more grease than boiling or steaming. Combine that with infrequent cleaning, and you’ll notice a thicker, tackier layer forming. Dust and kitchen grime also stick to this oily surface, making buildup worse and harder to remove.
Gather These Supplies Before You Clean Greasy Cabinets
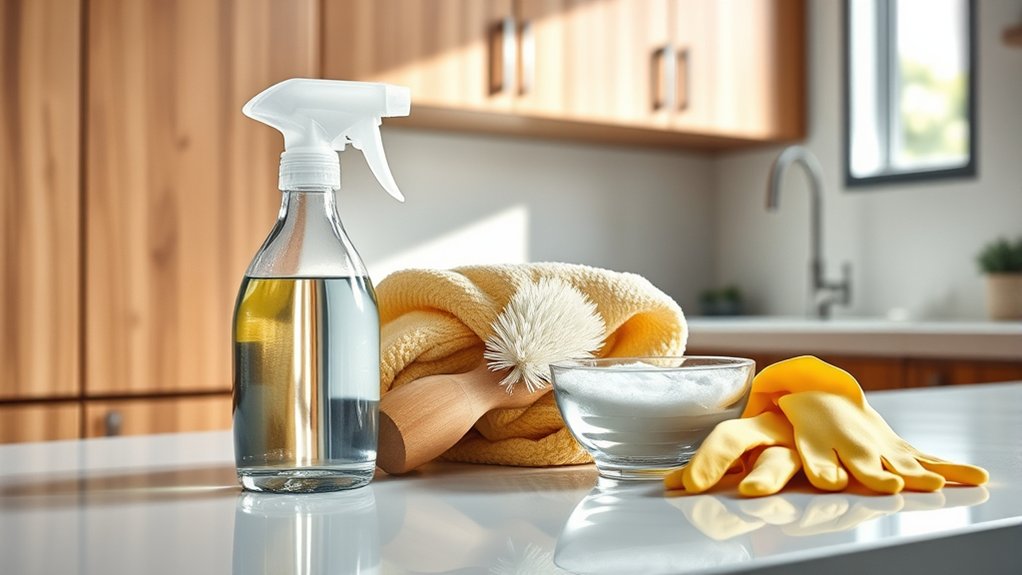
Before tackling greasy cabinets, gather a few basic tools: microfiber cloths, an old toothbrush for getting into corners, and a spray bottle. You’ll also want natural degreasers, such as white vinegar, baking soda, and dish soap. With everything close at hand, you won’t have to stop mid-scrub to rummage through the pantry.
Basic Cleaning Tools Needed
Once you gather the right tools, tackling greasy kitchen cabinets becomes a much quicker job. Start with microfiber cloths—they lift grease without scratching surfaces. Grab a soft-bristle brush for detailed work around hinges and handles, where grime tends to build up.
Keep a spray bottle on hand for applying your cleaning solution evenly across cabinet doors and frames. You’ll also want rubber gloves to protect your hands from harsh degreasers.
A bucket makes rinsing cloths easier and keeps your workspace tidy. Don’t forget a step stool if your kitchen storage includes high cabinets you can’t reach comfortably.
While you clean, consider your cabinet organization, too. Removing items from shelves gives you full access to grease buildup and lets you reorganize as you go.
Natural Degreasing Ingredients List
With your tools ready, it’s time to stock up on natural ingredients that cut through grease without harsh chemicals. White vinegar tops the list—its acidity breaks down grease on contact. Baking soda works as a gentle abrasive for stubborn buildup without scratching wood finishes.
Dish soap, especially a grease-fighting formula, boosts your cleaning solution’s power. Lemon juice adds extra cutting strength and leaves a fresh scent behind. Olive oil helps condition wood after cleaning, preventing dryness.
Castile soap offers another eco friendly solution for tough grime. Keep these natural ingredients on hand, and you’ll handle any cabinet mess without exposing your kitchen to toxic fumes. These simple staples deliver real results while keeping your home safer and greener.
Make Your Own Grease-Cutting Cleaning Solution
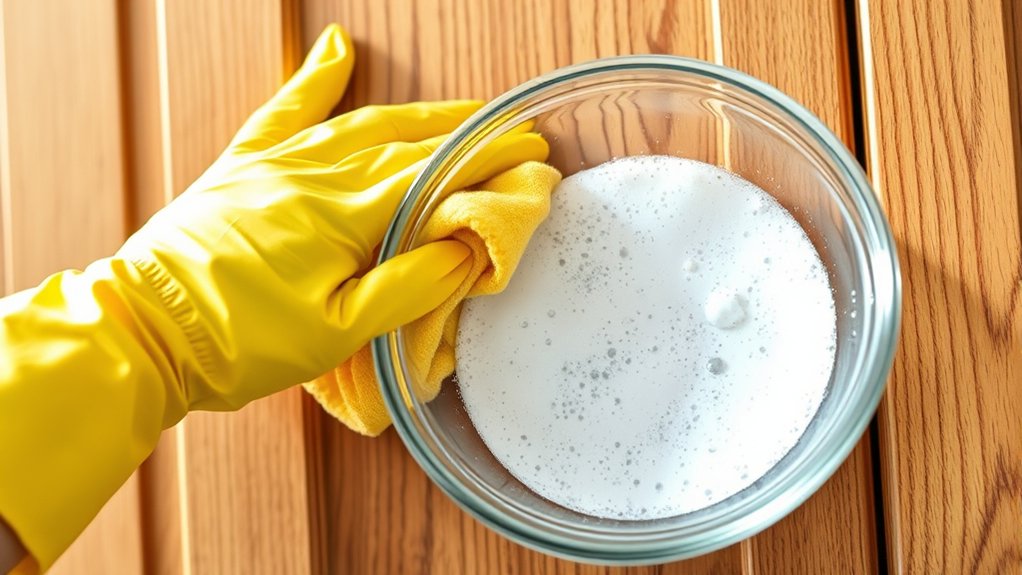
For an all-purpose grease cutter, mix equal parts vinegar and warm water, then add a squirt of dish soap for extra cleaning power. For stubborn, caked-on grime, try a baking soda paste: just stir baking soda and a little water until it’s spreadable. Both recipes use ingredients you probably already have on hand, so they’re quick to whip up—no trip to the store needed.
Vinegar And Dish Soap
Because vinegar’s acidity breaks down grease while dish soap lifts it away, combining the two gives you a powerful, budget-friendly cleaner. You probably already have both ingredients at home, making this solution easy to whip up whenever grease builds up on your cabinets.
To mix and use it, follow these steps:
- Combine equal parts white vinegar and warm water in a spray bottle.
- Add a few drops of dish soap and shake gently.
- Spray the solution directly onto greasy surfaces.
- Wipe clean with a microfiber cloth, then dry.
Adding this mixture to your regular cleaning schedule keeps cabinets spotless and supports better kitchen organization. You’ll notice grease has a harder time building up when you stay consistent.
Baking Soda Paste
Why does baking soda work so well on stubborn grease? Its mild abrasiveness lifts grime without scratching wood or laminate, while its alkaline nature breaks down fatty residue. These baking soda benefits make it a reliable choice for cabinets that vinegar alone can’t fully tackle.
Mix three parts baking soda with one part water to create a thick paste. Apply it directly to greasy spots and let it sit for 10-15 minutes before scrubbing gently with a damp cloth or soft-bristled brush.
You’ll appreciate the paste versatility here. Use it on cabinet doors, handles, or even stovetop splatters. Once you’re done, wipe away residue with a clean, damp cloth and dry the surface thoroughly.
Warm Water Ratio
Once you’ve got your baking soda paste handled, you’ll want a liquid solution for larger surfaces like cabinet fronts and backsplashes. Mix warm water with dish soap and white vinegar to cut through grease without damaging your cabinet finish.
Getting the ratio right makes all the difference:
- 2 cups warm water – hot enough to dissolve grease, not scalding
- 1 tablespoon dish soap – choose a grease-cutting formula
- 1/4 cup white vinegar – breaks down sticky buildup
- Spray bottle – for even, controlled application
Apply this solution while tackling other cooking tips, since greasy buildup often signals it’s time for cabinet organization too. Wipe cabinets down, let the solution sit briefly, then rinse with a clean, damp cloth for a streak-free finish.
Clean Grease From Kitchen Cabinets Step by Step
Before you tackle grease buildup, gather your supplies: warm water, a grease-cutting dish soap or degreaser, white vinegar, baking soda, microfiber cloths, and an old toothbrush for tight corners.
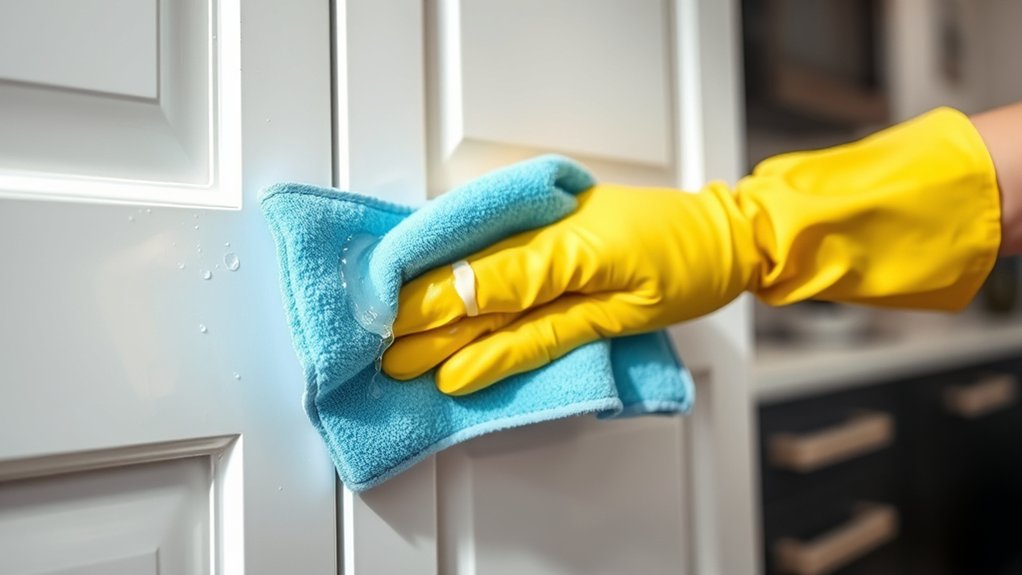
Start by mixing warm water with a few drops of dish soap in a bucket. Dip your cloth into the solution and wipe down cabinet surfaces, working in small sections.
A simple soapy solution, worked in small sections, lifts everyday grime before it ever gets the chance to settle in.
For stubborn grease, apply a paste of baking soda and water directly to the spot, let it sit for five minutes, then scrub gently.
Use the toothbrush to clean handles, hinges, and corners where grease hides. Rinse with a clean, damp cloth to remove residue, then dry thoroughly to prevent streaking.
Once your cabinets are spotless, think about kitchen organization. Store oils and sprays away from cabinet surfaces to help prevent grease buildup.
Keeping a clear workspace reduces splatter and makes future cleanups faster and easier.
Adjust Your Method by Cabinet Material
Not all cabinet surfaces respond to cleaning the same way, so it helps to tailor your approach to the material. Wood and laminate need gentler care to prevent damage, while painted and metal surfaces can often handle slightly stronger solutions. By matching your cleaning method to the surface, you can keep your cabinets looking their best without risking scratches, discoloration, or warping.
Wood and Laminate Cabinets
Because wood and laminate react differently to moisture and chemicals, you’ll want to tailor your cleaning approach to each surface. Wood cabinets have a protective cabinet finishing that can dull or strip if you use harsh degreasers or soak the surface too long. Laminate is more water-resistant but can peel at the edges if you’re not careful.
- For wood, use a mild soap-and-water solution, working with the wood grain to avoid streaking.
- Dry wood cabinets immediately with a soft cloth to prevent warping.
- For laminate, a vinegar-water mix cuts grease without damaging the surface.
- Avoid abrasive scrubbers on both materials. They’ll scratch finishes and dull laminate shine.
Match your cleaner to the material, and you’ll protect your cabinets long-term.
Painted and Metal Surfaces
Since painted and metal cabinets scratch and corrode more easily than wood or laminate, you’ll need a gentler touch when tackling grease buildup. Skip abrasive powders and scouring pads. They’ll strip cabinet paint and dull metal finishes fast.
Instead, mix warm water with a few drops of dish soap and apply it with a soft microfiber cloth. For stubborn grease, let the solution sit for a minute before wiping.
Always wipe in the direction of the grain or finish pattern, never in circles, to avoid visible swirl marks on metal surfaces. Rinse with a clean, damp cloth and dry immediately to prevent water spots or rust on hinges and handles.
If you spot chipped paint, clean around it carefully rather than scrubbing directly over the damaged area.
Tackle Stubborn, Years-Old Grease Stains
When grease has had years to bond with your cabinet surfaces, basic dish soap won’t cut it anymore. You’ll need stronger methods and a bit more patience to break through those layers.
Years of bonded grease demand more than dish soap—stronger methods and patience are what finally break through.
- Make a baking soda paste. Mix three parts baking soda with one part water, then spread it over the stain and let it sit for 15 minutes.
- Scrub with a soft brush. Work in circular motions to lift the grease without scratching the finish.
- Apply undiluted white vinegar. Spray it directly on tough spots and let it break down residue before wiping clean.
- Use a degreaser as a last resort. Choose one safe for your cabinet material and follow label instructions closely.
Going forward, improve kitchen ventilation by running your exhaust fan while cooking. It’s one of the simplest grease prevention habits you can adopt to avoid repeating this process.
Don’t Forget Cabinet Hardware and Hinges
As grease drips down cabinet faces, it pools in knobs, pulls, and hinges, the spots you’re most likely to overlook. Cabinet hardware traps grime in its grooves, crevices, and screw heads, turning sticky fast if you skip it during cleanup.
Start by removing knobs and pulls when possible. Soak them in warm water mixed with dish soap for 15 minutes, then scrub with an old toothbrush to reach tight corners. Rinse thoroughly and dry before reattaching.
For hinges, don’t submerge them because moisture causes rust. Instead, dip a cotton swab or small brush in a degreaser solution and work it into the joints. Wipe away residue with a dry cloth, then apply a drop of lubricating oil to keep them moving smoothly.
This hinge maintenance step prevents squeaky doors and buildup that’s harder to remove later. Skipping hardware leaves grease behind, even when your cabinet surfaces look spotless.
Avoid These Common Grease-Cleaning Mistakes
Because grease responds poorly to harsh shortcuts, a few careless habits can actually make your cabinets worse. Avoid these mistakes to protect your finish while you clean:
- Skipping the test spot. Always try a new cleaner on a hidden corner first to prevent discoloration.
- Scrubbing too hard. Abrasive pads strip finishes and create scratches that trap future grease.
- Using excess water. Soggy cloths seep into seams and warp wood over time, so wring them out well.
- Ignoring prevention. Without good storage solutions, oils and sauces end up splattering directly onto cabinet doors.
Simple cooking tips, like covering pans and using your range hood, cut down on airborne grease before it settles. Pair that with organized storage solutions so bottles and jars don’t tip or leak. These small adjustments mean less scrubbing later and cabinets that stay cleaner, longer, without the risk of damage.
Protect Your Cabinets From Future Grease Buildup
Once you’ve tackled the mess at hand, it’s smart to keep new grease from taking hold in the first place. Grease prevention starts with your cooking habits: run your range hood or crack a window whenever you fry or sauté, since airborne oil particles are what settle on cabinet surfaces over time.
Wipe down cabinet faces weekly with a mild degreaser, even if you don’t see visible buildup yet. This stops thin films from thickening into stubborn residue.
If your cabinet paint is older or worn, consider applying a fresh coat with a satin or semi-gloss finish. These finishes resist grease penetration better than matte paint, making cleanup faster down the road.
Finally, add a strip of adhesive shelf liner or clear protective film near the stove area. It catches splatters directly and you can replace it easily, sparing your cabinets from direct contact with grease altogether.
When to Call In a Professional Cleaner
When grease has seeped into wood grain or crept behind hinges and hardware, you’re often past the point where DIY methods can help. Professional maintenance uses deep cleaning techniques and equipment that restore cabinets without damaging finishes.
Knowing when to call for help saves you time and prevents costly mistakes.
Call a professional if you notice:
- Discoloration that won’t lift even after multiple cleaning attempts
- Sticky residue in crevices you can’t reach with a cloth or brush
- Peeling or bubbling finish that suggests grease has damaged the protective coating
- Persistent odors that linger despite thorough cleaning
Professionals assess your cabinet material first, then choose solutions that won’t strip paint or warp wood. They also spot early signs of water damage or mold hiding beneath grease layers.
If your cabinets look worse after cleaning or you’re unsure what products are safe, skip the guesswork and bring in an expert.
Frequently Asked Questions
Can I Use Vinegar and Baking Soda Together on Cabinet Grease?
Yes, you can combine them for tougher grease spots! Make a paste with baking soda and a splash of vinegar. This homemade solution fizzes slightly and helps lift grime.
Apply it to the greasy areas, let it sit for a few minutes, then wipe with a soft cloth. Keep your cleaning tools handy: a sponge for scrubbing and a microfiber cloth for polishing.
Always rinse well afterward so no residue dulls your cabinet’s finish.
How Often Should I Deep Clean My Kitchen Cabinets?
You should deep clean your kitchen cabinets every three to six months to keep grease buildup under control. If you cook often or fry foods regularly, tighten your cabinet cleaning schedule to once a month near the stove area.
For the best deep cleaning tips, wipe handles and edges weekly since they collect grime fastest. Staying consistent prevents grease from hardening, making each session quicker and your cabinets look fresh longer.
Is It Safe to Use a Magic Eraser on Painted Cabinets?
You’ll want to tread lightly here, since magic eraser safety isn’t guaranteed on painted cabinets. These handy sponges are actually mild abrasives, so they can dull or strip paint with too much pressure. If you’re set on using one, test an inconspicuous spot first, use light strokes, and avoid scrubbing repeatedly in one area. For regular painted cabinets cleaning, you’re usually better off with a soft cloth and gentle soap instead.
Will Grease Stains Eventually Damage My Cabinet Finish Permanently?
Yes, if you let grease sit too long, it can damage your cabinet finish permanently. Over time, grease seeps into pores and seams, breaking down protective coatings depending on your cabinet material—wood, laminate, or painted surfaces all react differently.
You’ll notice dullness, discoloration, or even warping if buildup goes unchecked for months. That’s why stain prevention matters so much. Wipe spills promptly, clean weekly, and you’ll keep your cabinets looking fresh instead of dealing with costly refinishing down the road.
Can I Use a Steam Cleaner on Kitchen Cabinets Safely?
Steam: it’s a double-edged sword for your cabinets. Yes, you can use a steam cleaner, but you’ll want caution first. Steam cleaning benefits include cutting through grease without harsh chemicals, which is great news for grimy surfaces. However, cabinet material considerations matter immensely: wood cabinets can warp, swell, or lose their finish from excess moisture. If you’ve got laminate or sealed surfaces, you’re safer. Always test a hidden spot and keep steam exposure brief.
Conclusion
Picture your cabinets gleaming again, with the wood grain glowing and the hardware sparkling like it’s fresh out of the box. No more sticky film clouding the surface.
With the right supplies, a little elbow grease, and consistent upkeep, you’ll keep grease from building up again. When your cabinets look bright and feel smooth to the touch, you’ll know you’ve successfully cleaned grease from kitchen cabinets.