Can You Paint Kitchen Cabinets?
Worn or outdated cabinets can make an entire kitchen feel tired, but replacing them can be expensive. If you’re wondering, “Can you paint kitchen cabinets?” you’re not alone—many homeowners want a budget-friendly way to refresh their space.
Yes, you can paint kitchen cabinets, as long as you consider material and condition first. Solid wood and MDF take paint well, while laminate or thermofoil need a bonding primer to stick properly.
Check for swollen wood, deep gouges, or peeling finishes. These may need repair before you start.
With thorough cleaning, sanding, priming, and quality paint, you’ll get a durable, refreshed look.
Keep going to find out exactly how to do it right.
Key Takeaways
- Yes, solid wood and MDF cabinets paint well, but laminate or thermofoil need a bonding primer first.
- Inspect cabinets for swollen wood, deep gouges, or peeling finishes, as structural damage may require repair instead.
- Proper prep, including cleaning, sanding, and priming, is essential to prevent peeling and ensure lasting results.
- Use enamel paint in a satin to semi-gloss finish for durability. Avoid flat finishes, which stain easily.
- With quality materials and technique, painted cabinets can last 8-10 years before needing touch-ups.
What Determines Whether Your Cabinets Can Be Painted?
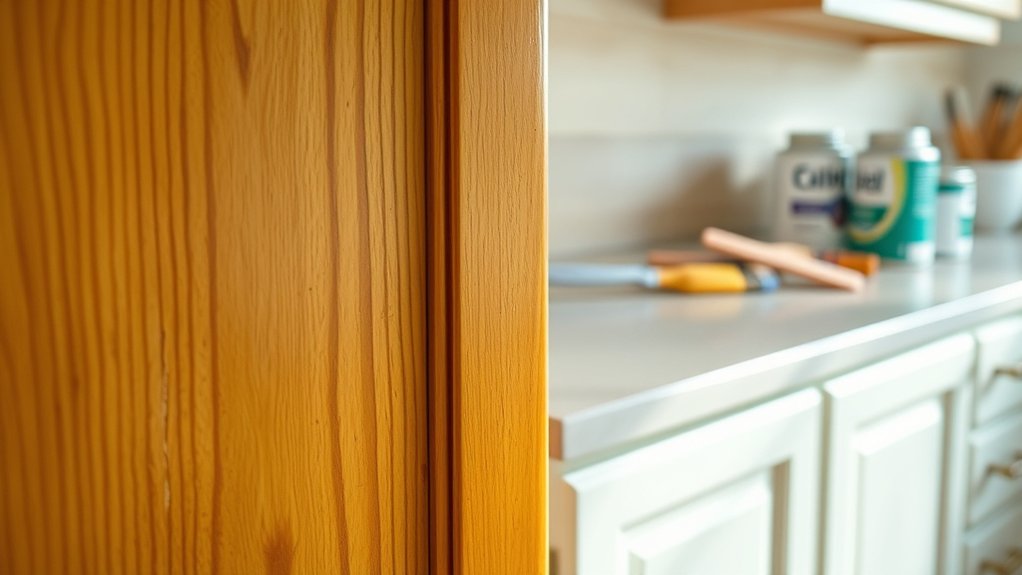
Before you grab a brush, you’ll need to assess what you’re actually working with. Material matters most. Solid wood and MDF both take paint well, provided you prep them correctly. Laminate and thermofoil surfaces are trickier—paint can peel off unless you use a bonding primer designed for slick surfaces.
Solid wood and MDF take paint beautifully—laminate and thermofoil need a bonding primer or the paint simply won’t stick.
Next, check the condition of your cabinets. Swollen wood, deep gouges, or peeling existing finish will show through any paint job unless you repair them first. Minor wear won’t disqualify you from painting, but structural damage might mean repair or replacement instead.
Your cabinet hardware also plays a role. Outdated knobs and pulls can clash with fresh paint, so factor in whether you’ll replace or reuse them when planning your project.
Finally, consider current color trends. Choosing a shade that feels timeless rather than trendy ensures your newly painted cabinets stay stylish for years.
Signs Your Cabinets Are Good Candidates for Painting
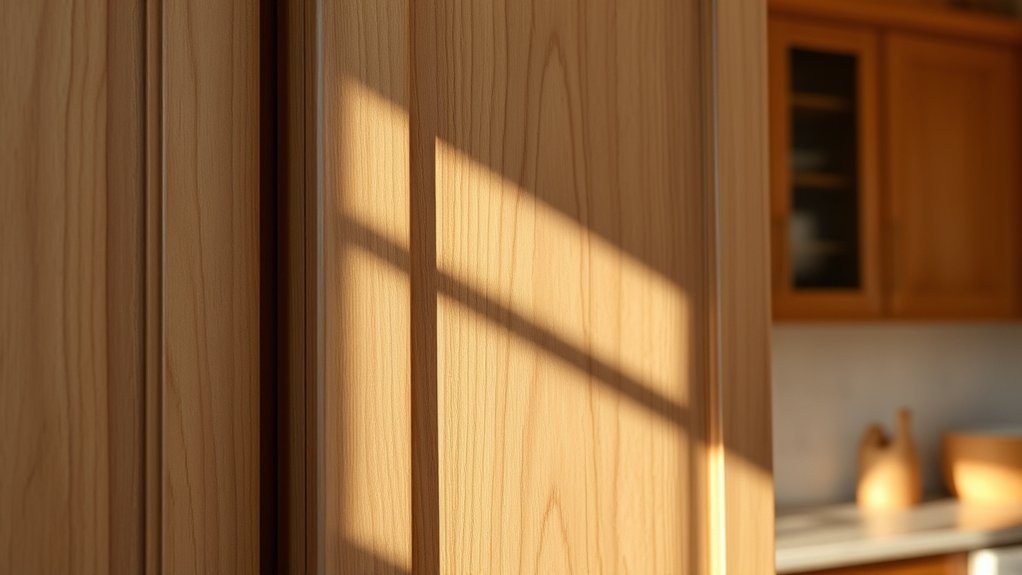
If your cabinets are made of solid wood, they’re a great candidate for painting. The material holds primer and paint well, helping the finish last.
A few dents, scratches, or worn spots are usually no problem, either. You can repair minor surface damage before painting, and if the cabinets are structurally sound, a fresh coat of paint can give them a new look without the cost of replacement.
Solid Wood Construction
Since solid wood holds paint far better than laminate or thermofoil, checking your cabinet material should be your first step. Remove a cabinet door and inspect the edges or back panel, where you can often see the wood grain clearly through the finish.
Solid wood accepts primer and paint evenly, giving you a smooth, lasting result without peeling or bubbling.
While you’re at it, take a close look at your cabinet hinges. Loose or rusted hardware doesn’t mean you can’t paint, but it’s worth addressing before you start. Solid wood also holds screws securely, so hinges stay firmly attached after repeated opening and closing.
If your cabinets pass this test, you’re working with a material built to handle a fresh coat of paint.
Minor Surface Damage Only
A few scratches, small dents, or faded spots don’t disqualify your cabinets from a paint makeover. In fact, minor surface damage often disappears entirely once you fill, sand, and prime correctly. Paint acts as both color selection tool and camouflage for imperfections that have accumulated over years of use.
Check your cabinets against these criteria before starting:
- Shallow scratches that don’t penetrate the wood’s surface
- Small dents less than a quarter-inch deep
- Faded or discolored finish without structural issues
- Minor chips at edges or corners
If your cabinets meet these conditions, you’re a strong candidate for painting. You can even use decorative techniques like distressing or glazing to improve texture, turning cosmetic flaws into intentional design features rather than problems to hide.
Can You Paint Laminate or Veneer Cabinets?
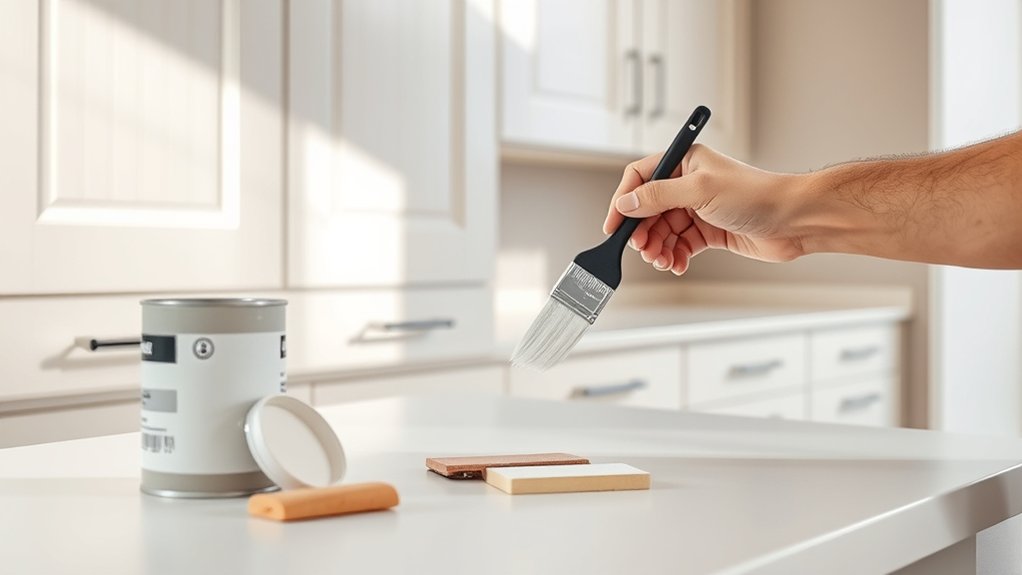
Yes, you can paint laminate or veneer cabinets—but good prep makes all the difference. These slick surfaces need light sanding or a deglosser so the paint has something to grip. Then apply a bonding primer and a durable cabinet paint to help the finish stand up to everyday wear and resist chipping.
Prepping Laminate Surfaces Properly
Because laminate and veneer surfaces resist paint adhesion, you’ll need to prep them more carefully than solid wood cabinets. Skipping proper prep leads to peeling, chipping, and wasted effort. Follow these steps for lasting results:
- Clean thoroughly – Remove grease and grime with a degreaser; residue blocks adhesion.
- Sand lightly – Scuff the glossy surface with 220-grit sandpaper to create texture paint can grip.
- Apply a bonding primer – Use a primer designed for slick surfaces like laminate; this step is non-negotiable.
- Remove cabinet hardware – Take off handles and knobs for clean lines and easier painting.
Once you’ve prepped properly, consider color coordination with your kitchen’s existing palette before applying your topcoat. Proper prep guarantees durability and a professional finish.
Choosing The Right Primer
Oil-based bonding primers work exceptionally well on laminate, gripping tightly even without heavy sanding. Shellac-based primers offer another strong option, drying fast and sealing stains or odors that linger in older cabinets.
Don’t skip surface preparation before priming, though. Clean, deglossed surfaces help primer adhere even better, creating a stable base for your topcoat. Apply primer in thin, even coats, and let it cure fully before painting for lasting results.
Best Paint For Durability
Once primer cures, your choice of topcoat determines how well the paint survives daily kitchen wear. You need a formula built for grease, moisture, and constant handling. Consider these options:
- Hybrid alkyd enamel – levels smoothly and resists chipping better than latex.
- Acrylic urethane – dries hard and shrugs off scratches from daily use.
- Cabinet-grade semi-gloss – wipes clean easily and holds up to splatters.
- Factory-style conversion varnish – offers the toughest finish, though it requires professional spraying.
Color trends currently favor deep greens and warm whites, but durability matters more than shade. Pair your paint with proper painting techniques—thin coats, light sanding between layers, and adequate dry time—to get a finish that looks good and lasts for years.
Gather the Right Tools and Materials Before You Start
Before you crack open a single can of paint, take inventory of what you’ll actually need, since a half-finished project due to missing supplies wastes more time than the prep work itself. Grab a screwdriver for removing hardware, sandpaper or a sanding sponge, a tack cloth, and painter’s tape to protect surrounding surfaces. You’ll also need a degreasing cleaner, since kitchen cabinets collect grime that paint won’t stick to properly.
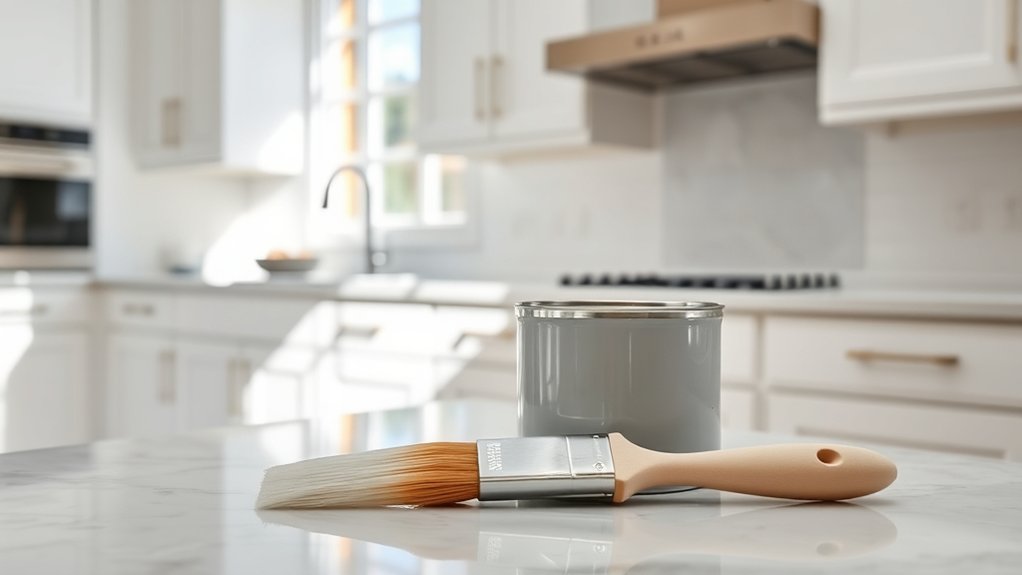
For application, pick a high-quality brush for corners and a foam roller for flat panels. This combo works well across different cabinet styles, from shaker to flat-slab doors. Don’t skip primer; it helps with color matching when you’re switching from a dark stain to a lighter hue.
Finally, line up drop cloths, disposable gloves, and a well-ventilated space. Having everything within reach before you start keeps momentum going and prevents rushed, sloppy shortcuts once the paint’s already drying.
Clean, Sand, and Prep Your Cabinets the Right Way
Since paint won’t bond to grease and grime, start by wiping down every door, drawer front, and frame with a degreasing cleaner. Kitchen grease builds up fast, especially near the stove, so don’t skip this step or your finish will fail within months.
Once surfaces are clean and dry, follow this process:
- Remove all hardware, doors, and drawers, labeling them for easy reassembly
- Sand every surface with 120-grit sandpaper to scuff the finish and help primer adhere
- Wipe away dust with a tack cloth before moving forward
- Fill any dents or gouges with wood filler, then sand smooth once dry
This prep work matters more than your color options or painting techniques. Cabinets with a poorly prepped surface will chip and peel regardless of paint quality. Take your time here, since rushing this stage undermines every step that follows.
Choose the Best Paint Type for Kitchen Cabinets
Once your cabinets are clean and sanded, it’s time to choose a paint that will help your hard work last. Oil-based paint dries to a hard, durable finish, but it takes longer to dry and requires mineral spirits for cleanup. Latex paint dries faster and cleans up with water, so it’s a more convenient option. Either way, consider the finish, too: satin or semi-gloss stands up well to everyday wear, grease, and moisture in the kitchen.
Oil-Based vs. Latex Paint
When you’re choosing paint for your kitchen cabinets, the oil-based versus latex debate matters more than you’d think. Oil-based paint creates a hard, durable finish that resists kitchen grease and daily wear, but it yellows over time and requires mineral spirits for cleanup. Latex paint dries faster, cleans up with soap and water, and holds color true longer, which supports your color psychology choices for the space.
Consider these factors before deciding:
- Durability: Oil-based paint withstands heavy use better long-term.
- Dry time: Latex cures faster between coats.
- Odor: Oil-based paint releases stronger fumes during application.
- Paint sheen: Both options offer satin to semi-gloss finishes, though latex retains sheen longer without yellowing.
Your kitchen’s traffic and ventilation should guide your final choice.
Best Finish for Durability
Beyond the oil versus latex choice, the finish you pick determines how well your cabinets hold up to daily abuse. Skip flat or matte finishes—they absorb grease and stains, making cleanup nearly impossible. Instead, choose satin, semi-gloss, or high-gloss sheens, which resist moisture, fingerprints, and scrubbing without wearing thin.
Semi-gloss hits the sweet spot for most kitchens: it’s durable, easy to wipe down, and forgiving enough to hide minor surface imperfections. High-gloss looks stunning but highlights every brushstroke and dent, so it demands flawless paint techniques and smooth surface prep.
Your color selection also affects durability perception. Darker, glossier finishes show dust and smudges more readily than lighter satin options. Match your finish to your household’s habits, and your cabinets will stay functional and attractive for years.
Prime Your Cabinets for a Smooth, Lasting Finish
After your cabinets are clean, dry, and lightly sanded, a quality primer becomes your best ally for a professional-looking finish. Primer blocks stains, seals wood grain, and gives your topcoat something to grip.
Skip this step, and even the best paint will peel or show blotches within months.
Choose the right primer based on your cabinet material and goals:
- Stain-blocking primer – Ideal for wood with tannins or old stains bleeding through.
- Bonding primer – Works best on laminate or glossy surfaces where adhesion is tricky.
- Oil-based primer – Offers maximum durability but requires longer dry times and ventilation.
- Water-based primer – Dries fast, cleans up easily, and suits most kitchen environments.
Apply primer with a brush for corners and a foam roller for flat panels, keeping your painting techniques consistent throughout.
Once primed, you’ll have a uniform base ready for any color options you choose, ensuring your final coat looks smooth and lasts for years.
Paint Your Cabinets Like a Pro
Once your primer’s fully cured, you’re ready for the fun part: applying color that transforms your kitchen’s entire look. Choose a high-quality enamel paint formulated for cabinets—it resists chips, moisture, and daily wear far better than standard wall paint.
Color options range from crisp whites to bold navy and sage green, so pick a shade that suits your kitchen’s personality, whether you’re drawn to historical styles like Colonial cream or Victorian deep green, or prefer something modern.
Apply thin, even coats with a high-density foam roller for doors and a quality brush for edges and details. Two to three coats typically give you solid coverage without drips or brush marks.
Let each coat dry fully before adding the next, and lightly sand between coats for ultra-smooth results.
Reinstall hardware only after your final coat cures completely, usually within a week, to avoid denting the fresh finish.
The Most Common Cabinet Painting Mistakes (and How to Avoid Them)
Even with the best technique, a few missteps can undo all your hard work. Knowing the common pitfalls helps you sidestep costly do-overs and get a finish that actually lasts.
- Skipping prep work. Sanding and cleaning aren’t optional—skip them, and paint peels within months.
- Ignoring color matching. If you’re only painting some cabinets or pairing with existing trim, test samples under your kitchen’s lighting before committing.
- Rushing dry times. Touching surfaces too soon smudges paint and ruins sheen consistency.
- Forgetting cabinet hardware. Painting over hinges and pulls instead of removing them creates messy lines and sticky mechanisms later.
Other frequent errors include using the wrong paint sheen for high-traffic kitchens or applying coats too thick, which causes drips and uneven texture. Slow down, follow each step deliberately, and you’ll avoid the rework that frustrates so many first-time painters.
How Long Will Painted Cabinets Really Last?
Because you followed proper prep and application steps, your painted cabinets should hold up for 8-10 years before needing a touch-up or repaint. That lifespan depends on how well you prepped the surface, the quality of paint you chose, and how much daily wear your kitchen sees.
High-traffic areas like handles and edges near the sink show wear first. You can extend your cabinets’ life by wiping up spills quickly and avoiding harsh cleaners that strip the finish.
Your color combinations also play a role in how long cabinets look fresh. Darker shades hide scuffs better than whites, while glossy finishes resist stains but reveal brush marks over time.
Don’t overlook cabinet hardware when planning for longevity. Swapping out worn or outdated pulls and hinges instantly refreshes your cabinets’ appearance without requiring a full repaint, buying you extra years between major projects.
Frequently Asked Questions
How Much Does It Typically Cost to Paint Kitchen Cabinets Professionally?
You’ll typically spend $1,500 to $6,000+ when hiring pros for cabinet refinishing, depending on your kitchen’s size and cabinet condition. Labor costs vary widely because proper paint preparation takes serious time—pros must clean, sand, fill imperfections, and prime every surface before applying finish coats. You’ll pay more for detailed cabinetry with lots of doors and drawers, while simpler layouts cost less. Always get multiple quotes to compare pricing accurately.
Can I Paint Cabinets Without Removing the Doors First?
Sure, you can leave the doors on—if you enjoy painting drips, missed hinges, and that “did a toddler do this?” look. You’ll fight gravity, awkward angles, and crusty edges the whole time.
Skipping cabinet cleaning and proper paint preparation just to save twenty minutes isn’t ambition, it’s sabotage. Take the doors off, clean every surface thoroughly, sand and prep correctly, and you’ll actually get the smooth, professional finish you’re picturing.
Do I Need to Paint the Inside of Cabinet Boxes Too?
No, you don’t need to paint the inside of cabinet boxes. Focus your effort where it’s visible instead. You’ll get the best results by prioritizing cabinet cleaning and paint prep on the exterior surfaces, frames, and doors.
If you want a fully finished look, you can paint the interiors too, but it’s not necessary. Just make sure you clean them thoroughly if you’re skipping paint, since grease buildup affects how fresh everything feels.
How Long Should Cabinets Sit Before Rehanging Doors?
Wondering if you’re being too impatient? You should wait at least 24-48 hours before rehanging doors, though full curing can take up to two weeks depending on cabinet types and painting techniques you’ve used. Oil-based paints typically need longer than water-based options.
Rushing this step risks tackiness, smudges, or doors sticking shut. Give your cabinets proper time to harden fully. You’ll safeguard your hard work and ensure a smooth, durable finish that lasts.
Can I Paint Over Cabinet Hardware Instead of Replacing It?
You can, but it’s not ideal. Painted cabinet hardware tends to chip quickly since it gets touched constantly, and the finish won’t hold up like it does on cabinet doors.
If you want a truly updated look that lasts, hardware replacement is your best bet. New knobs and pulls are inexpensive and instantly modernize your kitchen. If you’re set on painting, use a spray-on metal primer and durable enamel for better results.
Conclusion
a quality cabinet paint job can last 8-10 years when you prep properly, but studies show over 60% of DIY cabinet painting failures come from skipping the sanding and priming steps. You don’t need to be a professional to get lasting results. You just need patience.
Take your time with prep work, choose the right products, and you can paint kitchen cabinets that look freshly installed for years to come.