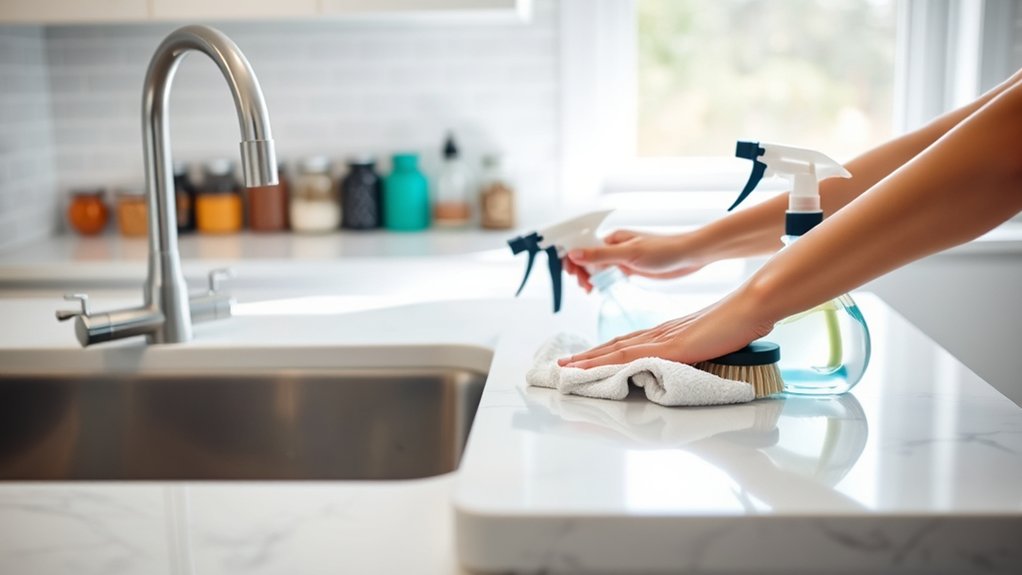
How to Clean Your Kitchen in 7 Steps
A messy kitchen can quickly feel overwhelming, especially when dishes pile up, counters get sticky, and floors need attention. You’re not alone—many people struggle to keep this busy space clean.
This guide to how to clean your kitchen in 7 steps makes the process feel simple and manageable.
Start by clearing clutter and emptying your trash, then gather and wash all your dirty dishes.
Next, wipe down countertops and appliances before giving your sink a good scrub until it shines.
Degrease your stove and oven, then finish by sweeping and mopping your floors.
Keep things fresh daily with small habits like quick wipe-downs.
Stick around, and you’ll pick up handy tips for each step ahead.
Key Takeaways
- Declutter and clear all surfaces, relocating misplaced items and organizing the pantry before deep cleaning begins.
- Gather, sort, and wash all dishes with hot soapy water, then dry thoroughly for storage.
- Wipe down counters and appliances using surface-appropriate cleaners, tackling stains with baking soda or vinegar.
- Degrease the stove, clean the oven, and scrub the sink basin with baking soda for freshness.
- Sweep thoroughly, then mop the floor in sections, letting it dry completely before walking on it.
Clear the Clutter and Empty the Trash
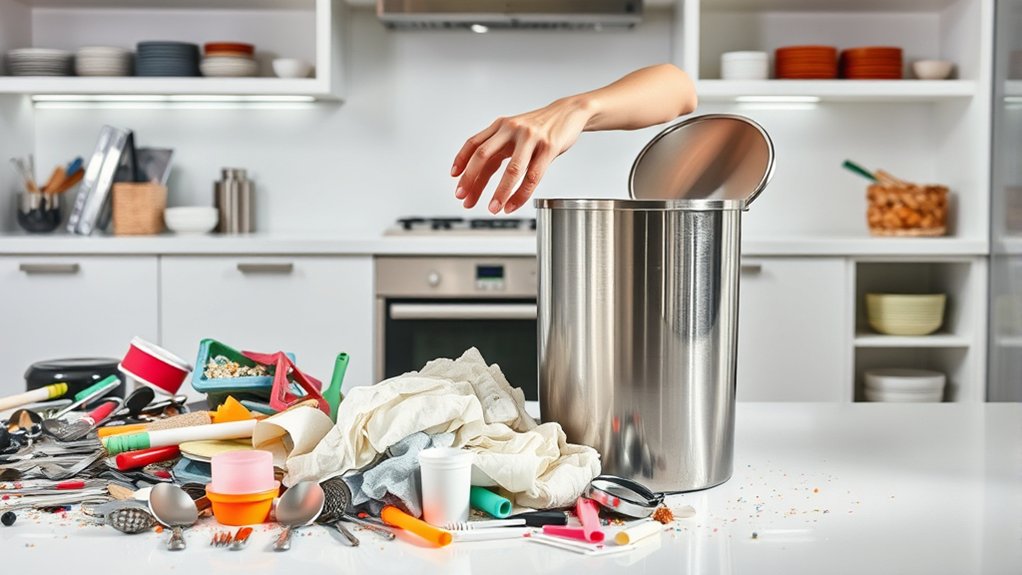
Why does clutter make a clean kitchen feel impossible? Stacks of mail, random gadgets, and overflowing trash create visual noise that makes even a spotless counter look messy. Start by clearing every surface, including counters, the table, and the island. Pick up each item and decide: does it belong here, or somewhere else?
Next, tackle your pantry. Organizing pantry shelves means grouping similar items together, such as canned goods, snacks, and baking supplies. This helps you see what you have, toss expired products, and prevent future clutter from piling up.
Don’t forget the trash and recycling bins. Empty them completely, even if they’re not full, since lingering odors and residue work against your cleaning efforts. Follow basic recycling tips: rinse containers, separate materials correctly, and break down cardboard boxes to save space.
With surfaces clear and bins empty, you’ve built a solid foundation for the deeper cleaning ahead.
Gather and Wash the Dirty Dishes
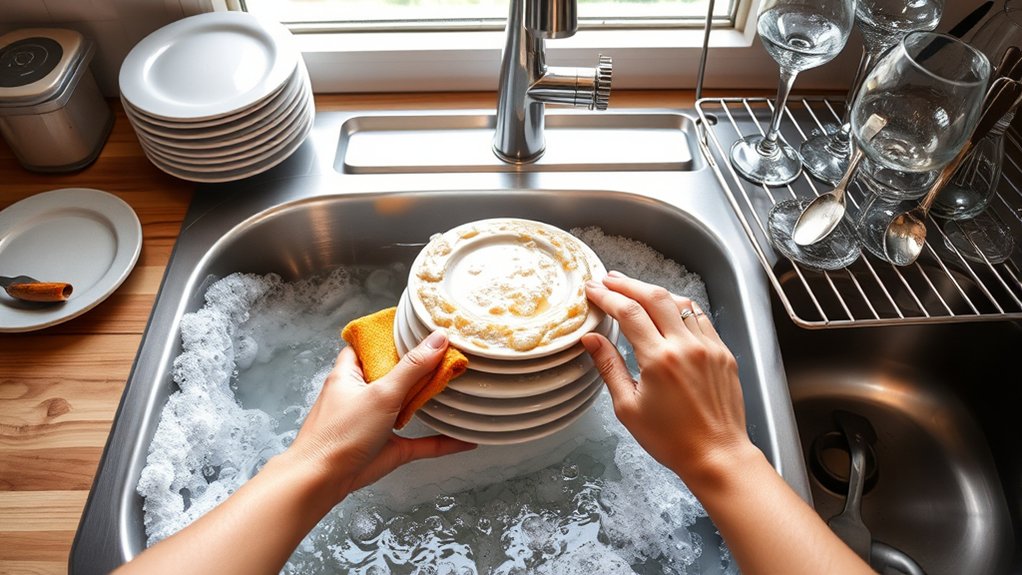
With the clutter gone, gather every dirty dish from around the kitchen—coffee mugs on the counter, plates from last night’s dinner, and that bowl you left by the sink. Sort everything by type, then give greasy or crusty items a quick pre-rinse to loosen stuck-on food before placing them in the sink or dishwasher.
Wash each item thoroughly and rinse away any soap residue. Finally, dry the dishes so they’re ready to put away.
Collect Scattered Dirty Dishes
Before you tackle anything else, round up every dirty dish hiding in your kitchen. Check the counters, stovetop, and table first, then peek into the living room or office where stray mugs and plates tend to drift. Don’t forget the sink—it’s often the main offender, stacked with bowls and pans you’ve been avoiding.
As you collect everything, start organizing utensils into one pile so they’re easy to wash together. Separate glasses, plates, and cookware into groups to streamline the process later. While you’re at it, take a moment for sorting recyclables. Toss cans, bottles, and cardboard into their proper bin instead of leaving them cluttering your workspace.
Gathering everything in one place saves time and keeps your cleaning session focused and efficient.
Sort and Pre-Rinse Items
Once you’ve gathered the dishes, give each item a quick rinse to knock off loose food and grime before it dries on and gets stubborn. Food sorting matters here: separate greasy pans from delicate glassware, and group similar items together so you can wash efficiently.
This simple step saves time and keeps your sink organized.
Good pre rinse techniques make a big difference. Use warm water and a quick scrape or swipe with your hand or a brush to loosen debris.
Don’t let items sit soaking in dirty water. Rinse and set aside instead.
| Item Type | Rinse Tip |
|---|---|
| Greasy pans | Hot water, scrape first |
| Glassware | Gentle warm rinse |
| Utensils | Quick swish, set aside |
This prep makes washing faster and more effective.
Wash and Dry Dishes
Why start with the dirtiest dishes first? Tackling grease and grime early keeps your sink organized and prevents cross-contamination with cleaner items. Whether you’re hand-washing or loading a dishwasher, a systematic approach saves time and effort.
- Scrape off food debris before washing to avoid clogging drains.
- Wash glassware first, then utensils, plates, and pots, from cleanest to dirtiest.
- Use hot, soapy water for hand-washing, or run a dishwasher cycle designed for your load size.
- Air-dry or towel-dry items on a rack, using proper drying techniques to prevent water spots.
Don’t forget dishwasher maintenance. Clean the filter and check the spray arms regularly to keep your appliance running efficiently and your dishes spotless every time.
Wipe Down Countertops and Appliances
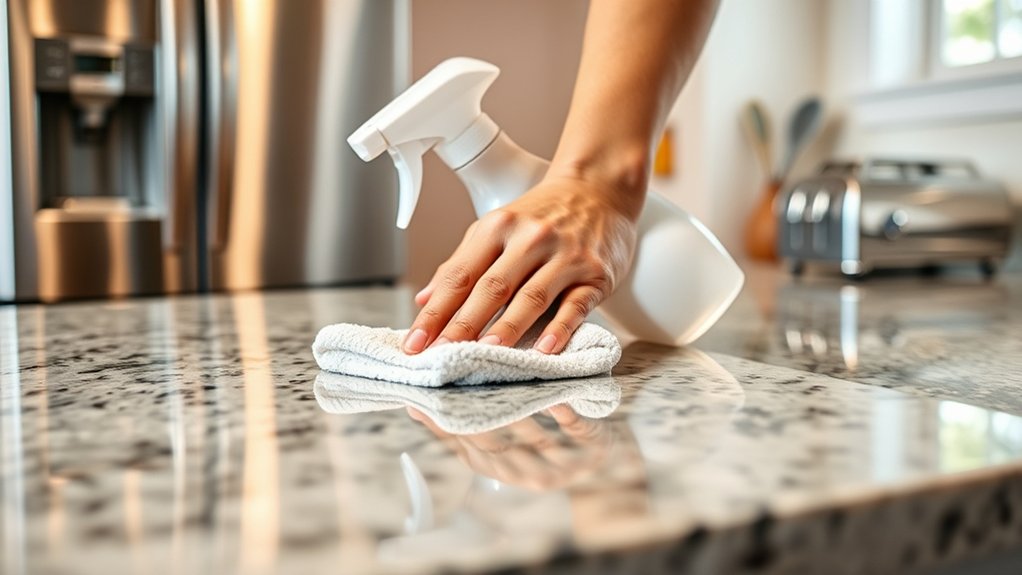
With the dishes out of the way, turn your attention to the countertops and appliances. Use a cleaner that’s safe for each surface, since granite, laminate, and stainless steel can all react differently to harsh chemicals. If you’re dealing with stuck-on grease or stains, let the cleaner sit for a few minutes before scrubbing. This helps loosen the mess without damaging the surface.
Choose The Right Cleaner
Before you grab the nearest spray bottle, think about what surface you’re actually cleaning. Not every cleaner works for every material, and the wrong choice can damage finishes or leave residue behind.
Chemical safety matters too. Mixing products like bleach and ammonia creates toxic fumes, so always check labels first.
If you’re after eco friendly options, look for plant-based formulas that skip harsh chemicals but still cut through grease.
Match your cleaner to the job:
- Granite or marble: Use a pH-neutral stone cleaner.
- Stainless steel: Try a vinegar-water solution for streak-free shine.
- Wood surfaces: Stick to mild soap and water.
- Glass stovetops: Use a non-abrasive ceramic cleaner.
The right product makes cleaning faster and safer for your kitchen.
Tackle Tough Stains
Once you’ve picked the right cleaner, it’s time to attack the grime that’s been building up on your counters and appliances. Stain removal often requires a bit more patience than regular wiping.
For dried-on food or grease, let your cleaning solutions sit for a few minutes before scrubbing. This gives the ingredients time to break down stubborn residue.
For stainless steel appliances, wipe in the direction of the grain to avoid streaks. On countertops, baking soda mixed with water works wonders on tough spots.
Just apply it, let it sit, then scrub gently with a non-abrasive sponge. Rinse thoroughly and dry with a clean cloth.
Tackling stains right away keeps your kitchen looking fresh and prevents buildup from becoming a bigger problem later.
Scrub the Kitchen Sink Until It Shines
Since the sink collects grime from every dish you wash, it deserves more than a quick rinse. Give it the attention it needs, and you’ll notice the difference immediately.
- Clear the basin: Remove dishes, sponges, and sink accessories so you can reach every corner.
- Sprinkle baking soda: Coat the surface generously and let it sit for five minutes to loosen residue.
- Scrub thoroughly: Use a non-abrasive brush or sponge to work the baking soda into stains, drains, and corners.
- Polish the faucet: Wipe down your kitchen faucet with a vinegar-soaked cloth to dissolve hard water spots and restore its shine.
Once you’ve scrubbed every inch, rinse the basin completely and dry it with a clean towel to prevent water spots. Don’t forget the drain cover and handles, since they trap bacteria just as easily as the basin itself.
A shining sink instantly makes your whole kitchen look cleaner.
Degrease the Stove and Oven
Because cooked-on grease builds up fast, your stove and oven need a deeper clean than a quick wipe-down. Start with the stovetop: remove the grates and knobs, then soak them in warm, soapy water while you tackle the surface. For tough grease removal, sprinkle baking soda over the stains, spray with vinegar, and let it fizz for a few minutes before scrubbing with a non-abrasive pad.
Move to the oven next. If yours has a self-cleaning function, run it according to the manufacturer’s instructions, then wipe out the ash once it cools. For manual oven cleaning, spread a baking soda paste across the interior, avoiding heating elements, and let it sit overnight.
Wipe it out the next day with a damp cloth, and finish with a vinegar spray to cut any remaining residue.
Don’t forget the oven door’s glass panel and the stovetop’s edges, where grease often hides unnoticed.
Sweep and Mop the Kitchen Floor
After tackling the stove and oven, you’re ready to finish with the floor, where crumbs, spills, and dust settle throughout the day. A clean floor completes the kitchen and keeps dirt from spreading to other surfaces. Follow these steps for the best results:
- Clear the space. Move chairs, mats, and small items out of the way.
- Sweep thoroughly. Use a broom or vacuum to remove loose debris, paying attention to corners and under cabinets.
- Choose the right mopping techniques. Use a damp (not soaked) mop with a cleaner suited to your floor type, working in sections from the back of the room toward the exit.
- Let it dry. Allow the floor to air dry before walking on it to avoid streaks or slipping.
Consistent floor maintenance prevents buildup and keeps your kitchen looking fresh. A few minutes of sweeping and mopping each week makes a noticeable difference in your kitchen’s overall cleanliness.
Keep Your Kitchen Clean With a Daily Routine
Once you’ve deep-cleaned every surface, keeping your kitchen spotless comes down to small daily habits. Wipe down counters after every meal prep session, and don’t let crumbs or spills sit—they attract pests and stain surfaces over time.
A clean kitchen isn’t a one-time event—it’s the small habits you repeat daily that keep messes from ever taking hold.
Wash dishes right away instead of letting them pile up in the sink, or load the dishwasher as you go.
Take a few minutes each evening to clear clutter from your countertops and put stray items back where they belong. Good utensil organization makes this easier; store knives, spoons, and spatulas in designated drawers or containers so everything has a home.
This prevents mess from accumulating and speeds up cooking the next day.
Sweep up crumbs after cooking, and give your sink a quick scrub before bed. Take out the trash regularly so odors don’t build up.
These small, consistent actions keep your kitchen looking freshly cleaned without requiring another deep clean anytime soon.
Frequently Asked Questions
How Often Should I Deep Clean My Kitchen Each Month?
You should deep clean your kitchen at least once a month to keep things fresh and functional. Set up a cleaning schedule that includes wiping down cabinets, scrubbing appliances, and clearing out your pantry.
This monthly habit also supports better kitchen organization, since you’re regularly removing clutter and expired items. Sticking to a consistent routine makes the task feel manageable and keeps your space looking and feeling spotless.
What Natural Cleaning Products Work Best for Kitchens?
When it comes to natural kitchen cleaners, you don’t need to reinvent the wheel. Simple homemade cleaners often outperform pricey store-bought options. You’ll love mixing white vinegar with water for countertops or using baking soda paste to scrub stubborn stains from pots and pans.
Lemon juice cuts through grease beautifully and leaves a fresh scent behind. These eco-friendly solutions won’t expose you to harsh chemicals, and they’re gentle on surfaces while still delivering powerful cleaning results you can trust.
How Do I Remove Tough Grease Stains From Cabinets?
Mix equal parts baking soda and warm water into a paste for effective cabinet cleaning. Apply it directly to tough grease stains, let it sit for five minutes, then scrub gently with a soft cloth.
For stubborn grease removal, add a few drops of dish soap or vinegar to boost cutting power. Wipe clean with a damp cloth and dry thoroughly.
You’ll notice your cabinets looking shiny and grease-free in no time!
What’s the Best Way to Deodorize a Smelly Kitchen?
Start by placing bowls of baking soda or white vinegar around your kitchen. These act as natural odor absorbers that pull smells right out of the air. You’ll also want to take out the trash regularly and wipe down surfaces where food residue lingers.
For a quick refresh, spritz a light air freshener near problem areas, but don’t rely on it alone. Combine it with proper ventilation, and you’ll keep your kitchen smelling fresh daily.
How Can I Prevent Pests From Entering My Kitchen?
Seal entry points around windows, doors, and pipes using caulk or weather stripping. Pests often sneak in through tiny cracks you might overlook.
Store food in pest-proof storage containers instead of leaving bags or boxes open. This removes tempting food sources.
Keep counters crumb-free, take out the trash regularly, and fix leaky faucets. Pests need water too.
These simple habits make your kitchen far less inviting to unwanted visitors.
Conclusion
Think of your kitchen as the heart of your home. When it’s clean, everything else seems to beat a little smoother.
You’ve cleared the clutter, scrubbed the sink, and banished the grease, and now your kitchen shines like a freshly polished gem.
Keep that daily rhythm going, and you’ll never have to face a mountain of chaos again. A clean kitchen isn’t just a space; it’s a reflection of a life in order.
Following these steps for how to clean your kitchen helps keep your space fresh, organized, and welcoming every day.