How to Fix a Dripping Kitchen Faucet in 3 Steps
A dripping kitchen faucet can waste water, make an annoying noise, and leave you wondering where to start. You’re not alone—many people struggle to track down the cause. This guide to how to fix a dripping kitchen faucet walks you through the repair in three simple steps.
First, turn off the water supply and examine your faucet to diagnose the leak’s source—check the spout, base, or handle for drips.
Next, remove the handle and replace the worn cartridge or washer, matching the new part to the old one at your hardware store.
Finally, reassemble everything, turn the water back on, and test for drips. Keep going for the details that’ll make this fix stick.
Key Takeaways
- Turn off the water supply and identify the leak’s source: spout, base, or handle.
- Determine your faucet type—compression, ball, cartridge, or ceramic disk—to guide repairs.
- Remove the handle and replace the worn cartridge, washer, or O-ring causing the drip.
- Reassemble the faucet, restore water supply, and test for smooth handle operation.
- Check for persistent leaks, tightening parts or realigning O-rings if dripping continues.
Diagnose the Source of the Leak
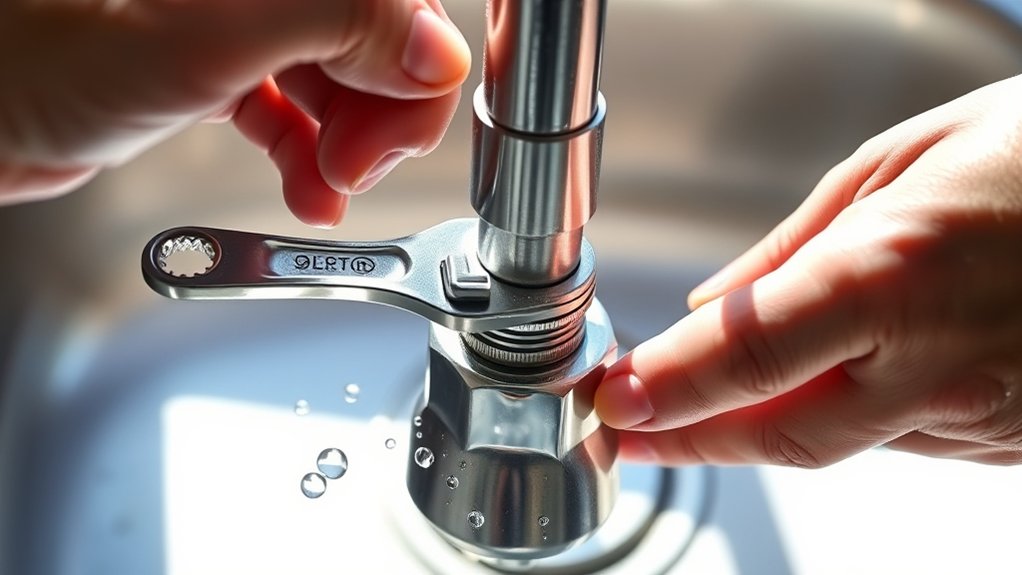
Before you grab a wrench, take a moment to figure out exactly what’s causing that annoying drip. Turn off the water supply under the sink, then examine the faucet closely. Check where the leak originates: the spout, base, or handle. A drip from the spout often points to a worn-out washer or O-ring. Water pooling at the base usually signals a faulty cartridge or seal. If you notice leaking around the handle, the stem packing might be loose or deteriorated.
Identifying your faucet type—compression, ball, cartridge, or ceramic disk—helps you target the right fix. Each design has different internal parts prone to wear.
Good leak prevention starts with understanding these mechanisms before attempting repairs. Taking time to diagnose correctly saves you from replacing parts that aren’t actually broken. Following basic maintenance tips, like inspecting your faucet every few months, catches small issues early and keeps your kitchen running smoothly.
Replace the Faulty Cartridge or Washer
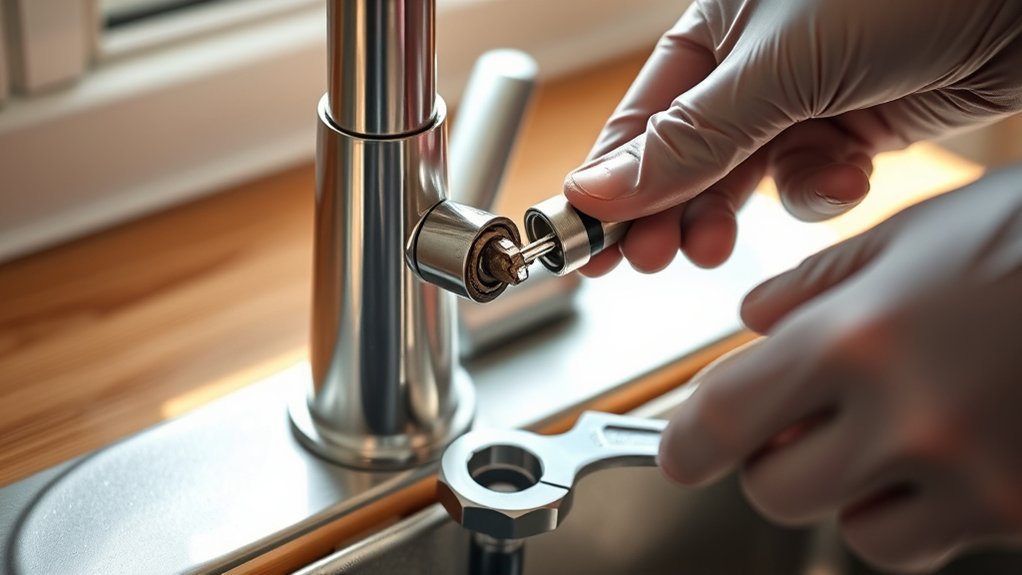
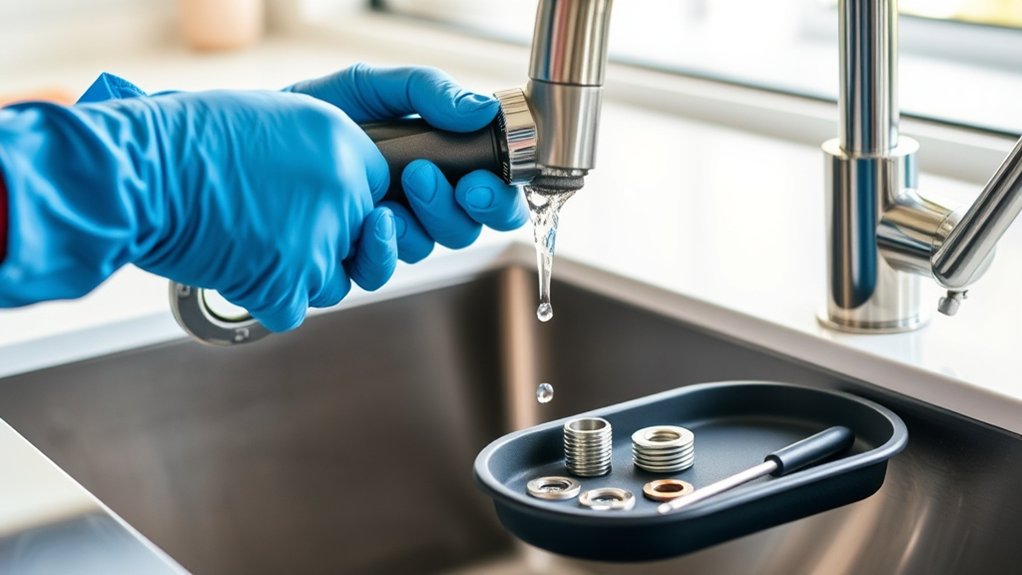
Once you’ve pinpointed the culprit, it’s time to swap out the worn part. Turn off the water supply and remove the faucet handle using a screwdriver or Allen wrench. With the handle off, you’ll expose the cartridge or washer assembly underneath.
Turn off the water, remove the handle, and expose the cartridge or washer assembly waiting underneath.
Use basic plumbing tools—pliers, a wrench, and a utility knife—to loosen and extract the old cartridge or washer. Pay attention to how it’s positioned before removing it; this makes reinstallation straightforward. Take the old part to a hardware store to find an exact match, since faucet materials and designs vary by brand and model.
Insert the new cartridge or washer into place, making sure it’s seated correctly. Reattach any retaining clips or screws, then reassemble the handle. Turn the water supply back on and test the faucet for smooth operation and leak-free performance.
If the drip persists, double-check the fit or consider replacing the O-rings too.
Reassemble the Faucet and Check for Drips
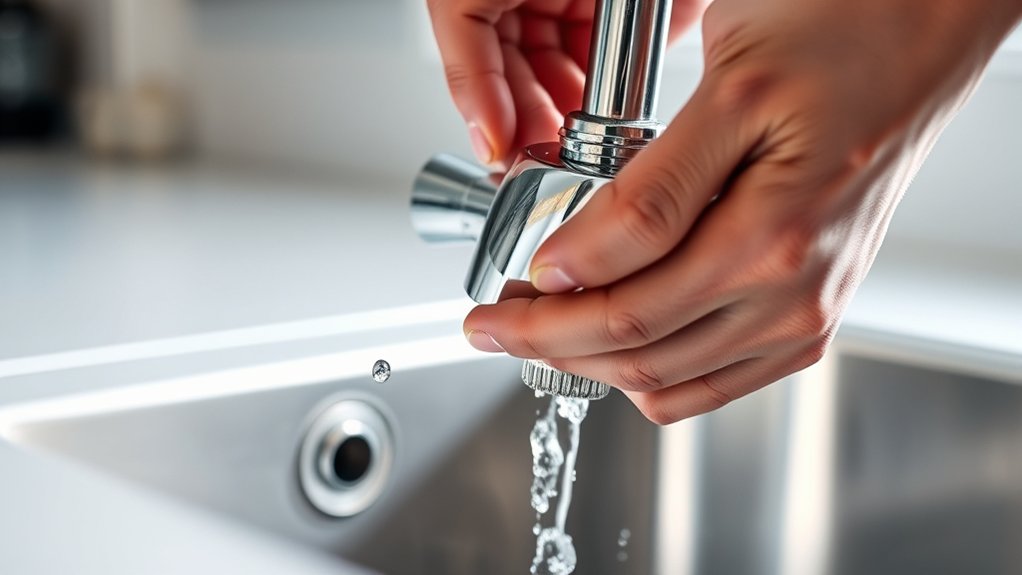
With the new cartridge or washer locked into place, you’re ready to put the faucet back together. Reverse your earlier steps: replace the retaining nut or screw, slide the faucet handle back on, and secure it tightly. Reattach any decorative caps you removed earlier.
Before celebrating, turn the water supply valves back on slowly. Sudden water pressure can shift parts that aren’t fully seated. Test the faucet handle by turning it through its full range—hot, cold, and off—checking for smooth operation.
Here’s a quick troubleshooting guide if issues pop up:
| Symptom | Likely Cause | Fix |
|---|---|---|
| Drip continues | Loose cartridge | Retighten retaining nut |
| Handle feels stiff | Over-tightened parts | Loosen slightly |
| Low water pressure | Debris in aerator | Clean or replace aerator |
| Leak at base | O-ring misaligned | Reposition O-ring |
Run the faucet for several minutes, watching the base and handle closely. No drips mean you’ve solved the problem.
Frequently Asked Questions
Do I Need to Shut off the Main Water Supply First?
No, you don’t have to shut off the main valve. Just turn off the shutoff valves under your sink. They’re usually located on the supply lines leading to your faucet. Turning them clockwise will cut water pressure to that specific fixture, letting you work safely without affecting water service elsewhere in your home.
You’ll only need the main valve if your sink lacks individual shutoffs or they’re not functioning properly.
What Tools Are Required to Fix a Dripping Faucet?
Picture yourself as a medieval blacksmith, hammer in hand, ready to conquer that stubborn drip! You’ll need an adjustable wrench, a Phillips screwdriver, and pliers to get started. Don’t forget plumber’s tape for sealing threads, plus a replacement cartridge or O-rings depending on your faucet type. Grab a small brush to clean the faucet aerator, since mineral buildup there often affects water pressure and causes annoying drips you’re trying to eliminate.
How Much Does a Professional Plumber Charge for This Repair?
You’ll typically pay between $100 and $250 for a professional plumber to fix your dripping faucet, depending on the issue’s complexity and your location. Always ask for a cost estimate upfront before agreeing to the repair—this helps you avoid surprise charges. It’s also smart to choose a plumber who offers a service warranty, so you’re covered if the same leak reappears shortly after the fix.
Can I Use Any Brand of Replacement Cartridge or Washer?
Not all roads lead to Rome, so don’t assume one cartridge fits every faucet. Brand compatibility matters here; mixing and matching can leave you right back where you started, dripping and frustrated.
Check your faucet’s manufacturer first. Moen, Delta, and Kohler all use proprietary designs, so you’ll need the exact match or a verified universal replacement. The same goes for washer types: rubber, neoprene, and silicone washers aren’t interchangeable. Bring your old part to the store for comparison.
How Often Should Kitchen Faucets Be Inspected for Leaks?
You should inspect your kitchen faucet every three to six months for leak detection purposes. This inspection frequency helps you catch small drips before they turn into bigger plumbing issues.
Check under the sink for moisture, look at connections for corrosion, and test the handle for smooth operation. If you notice mineral buildup or reduced water pressure, don’t wait for the next scheduled check. Inspect it right away to prevent water damage.
Conclusion
You’ve silenced that annoying drip for good! By diagnosing the problem, replacing the worn cartridge or washer, and reassembling everything with care, you’ve given your faucet a new lease on life.
Now, turn the water back on and check for leaks. With a little patience and the right tools, you can fix a dripping kitchen faucet, keep your kitchen quiet, and help lower your water bill.