3 Steps to Paint Kitchen Countertops
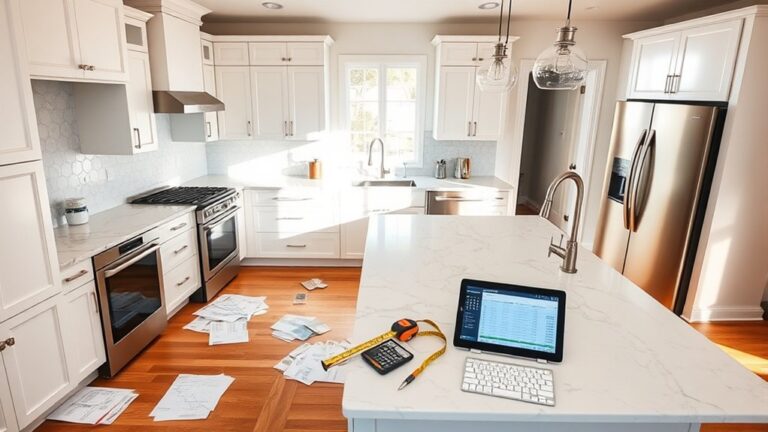
Worn or outdated countertops can make your whole kitchen feel tired, but replacing them can be expensive. You’re not alone—many people want a fresh look without the cost of a full renovation. These tips for painting kitchen countertops can help you find the right products and get a finish that lasts.
To paint your kitchen countertops, start by choosing paint made for heavy-use surfaces like epoxy or acrylic and gather quality brushes, rollers, and painter’s tape. Next, clean thoroughly, sand lightly, and repair any cracks to create a smooth surface.
Finally, apply thin, even coats of paint with steady strokes, let each layer dry, then seal with a durable clear coat to protect your finish. Keep going to uncover expert tips for a professional, lasting look.
Key Takeaways
- Clean countertops thoroughly and sand lightly to ensure paint adhesion.
- Repair any cracks or chips with filler and remove dust before painting.
- Apply 2-3 thin, even coats of durable, countertop-specific paint with smooth strokes.
- Seal painted surface with a clear, protective sealer to guard against stains and scratches.
- Allow proper drying and curing time between coats and after sealing for lasting durability.
Choose the Right Paint and Tools for Countertops
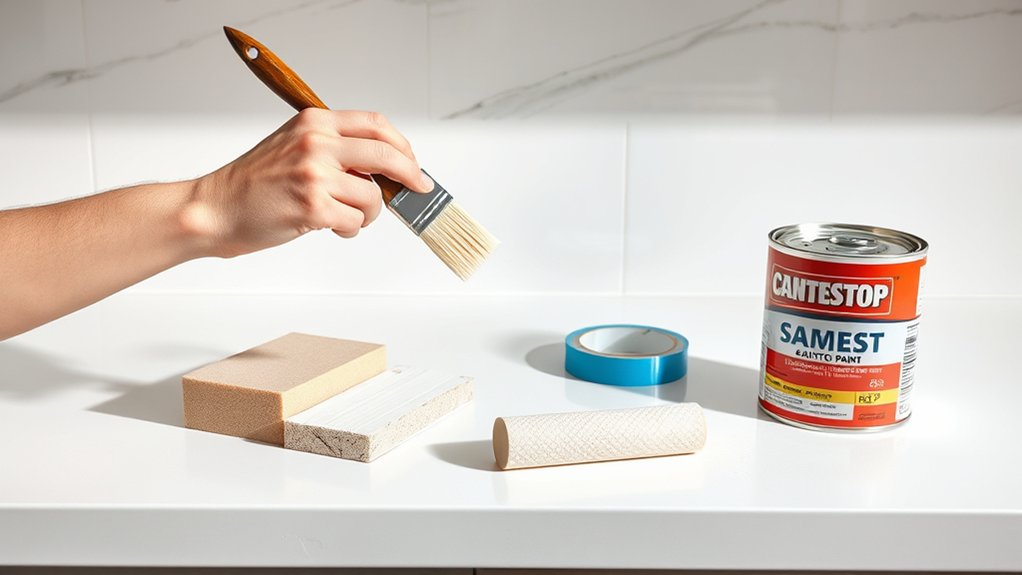
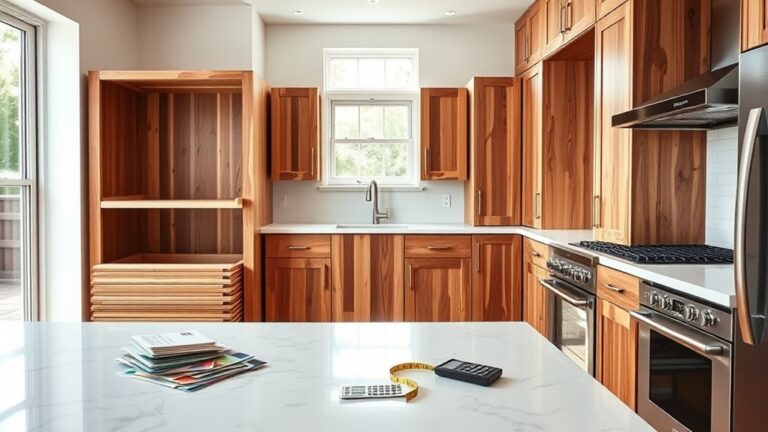
Before you begin painting, make sure you pick the right paint and tools to guarantee a smooth, durable finish on your countertops. Start by exploring the color options that suit your kitchen’s style—whether you want a bold statement or a subtle, neutral tone.
Choose a paint specifically formulated for countertops or surfaces that endure heavy use, like epoxy or acrylic-based paints. These provide strong adhesion and resistance to heat, stains, and scratches.
Next, decide on the paint finishes. Matte finishes hide imperfections well but can be less durable, while semi-gloss or satin finishes offer a nice balance between aesthetics and durability. High-gloss finishes are more resistant to stains and easier to clean but may highlight flaws.
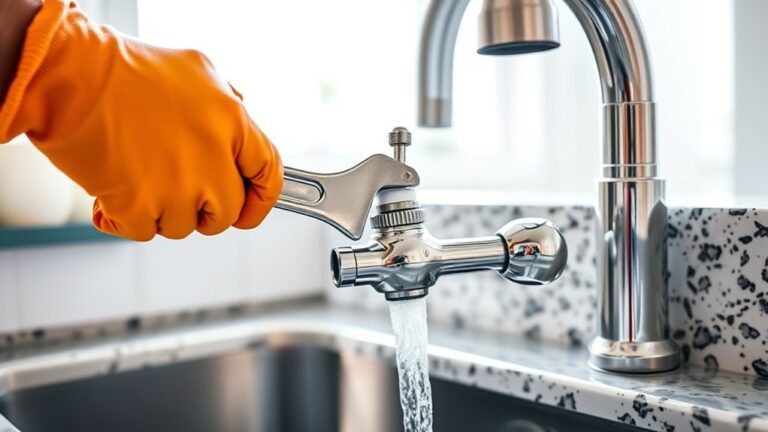
As for tools, grab quality brushes and rollers designed for smooth surfaces, along with painter’s tape to protect edges. Having the right supplies sets you up for success and a professional-looking result.
Get Your Countertops Ready to Paint

Although choosing the right paint is essential, properly preparing your countertops is the key to a lasting finish. Surface preparation ensures the paint adheres well and the color selection shines through without imperfections.
Start by thoroughly cleaning the countertops to remove grease and grime. Next, sand the surface lightly to create texture for the paint to grip. Repair any cracks or chips with a suitable filler and let it dry completely. Finally, wipe down the area to remove dust.
Begin by cleaning, sanding lightly, repairing cracks, then wiping down to ensure a smooth, paint-ready surface.
Focus on these essential steps:
- Clean the surface thoroughly using a degreaser or mild detergent.
- Sand evenly using fine-grit sandpaper to promote adhesion.
- Fill imperfections with an appropriate filler and smooth it out.
- Remove all dust and residue before painting.
How to Paint and Seal Your Countertops for Lasting Results
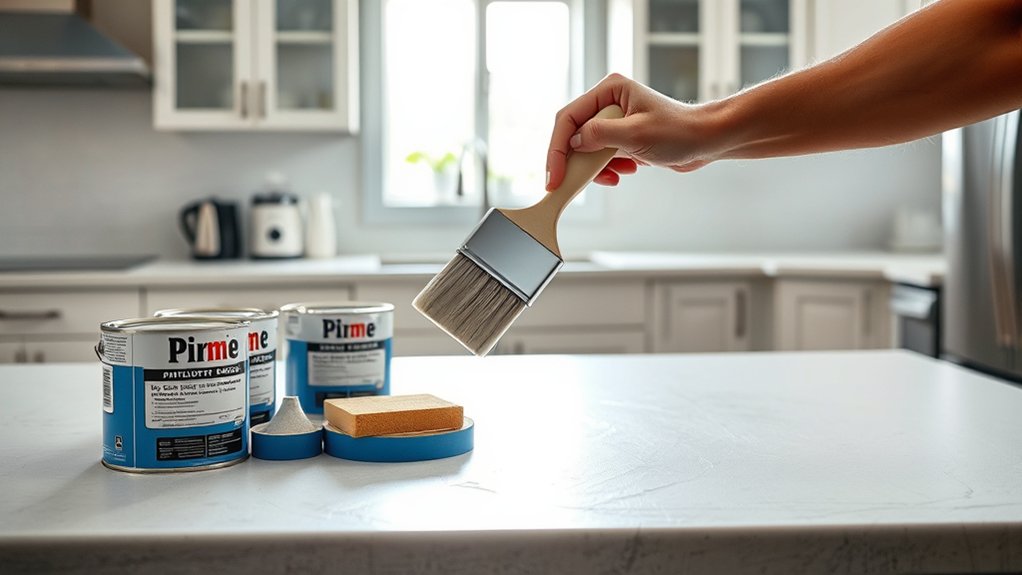
Once your countertops are clean, sanded, and repaired, you’re ready to apply paint that will stand up to daily use. Begin by selecting a paint that offers durability and excellent color matching with your kitchen’s design.
Use a high-quality brush and apply the paint in thin, even coats. Employ steady brush techniques, such as long, smooth strokes, to prevent streaks and bubbles and ensure a flawless finish. Allow each coat to dry fully before adding the next; two to three coats usually provide solid coverage.
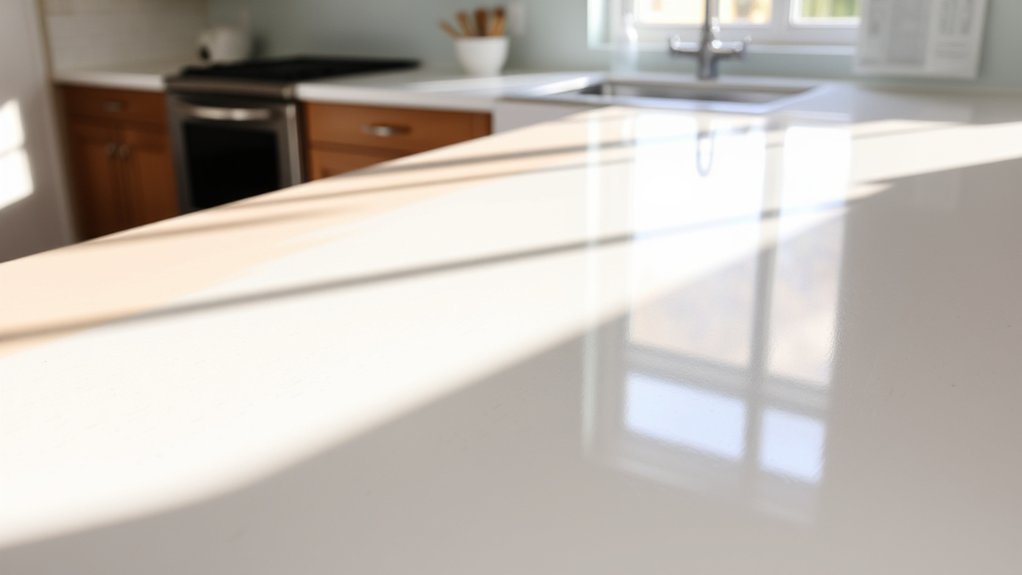
After the paint has dried completely, it’s time to seal your countertops. Choose a clear, durable sealer designed for countertops to protect against scratches, stains, and water damage.
Apply the sealer with a clean brush, using similar brush techniques to maintain an even layer. Let the sealer cure according to the manufacturer’s instructions. This process guarantees your freshly painted countertops stay beautiful and resilient for years to come.
Frequently Asked Questions
How Long Does the Paint Take to Fully Cure Before Use?
You’ll need to wait about 7 days for the paint to fully cure before using your countertops. The drying time might feel quicker—usually a few hours to touch dry—but the curing process takes longer to guarantee durability and resistance to scratches or stains.
During this week, avoid heavy use or placing hot items on the surface. Patience during curing will give you a lasting, beautiful finish that holds up well.
Can I Use Regular Household Paint Instead of Specialty Countertop Paint?
You might think household paint will do the trick, but it usually won’t hold up well on countertops. Regular household paint lacks the durability and resistance needed for constant use, moisture, and heat.
If you want a lasting finish, surface preparation becomes even more essential, but specialty countertop paint is designed for this environment. Skipping it means your paint could chip or peel quickly, so it’s best to invest in the right product.
What Maintenance Is Required to Keep Painted Countertops Looking New?
To keep your painted countertops looking new, you’ll want to follow some simple cleaning tips. Use a gentle, non-abrasive cleaner and a soft cloth to avoid scratching the surface. Avoid harsh chemicals that can damage the paint.
Also, consider your color selection carefully. Lighter colors may show stains more easily, so regular wiping is key. With consistent care, your countertops will stay vibrant and fresh for years to come.
Are Painted Countertops Resistant to Heat and Scratches?
Painted countertops aren’t naturally heat resistant, so you shouldn’t place hot pots or pans directly on them. Doing so can damage the paint and reduce scratch durability over time.
While the paint offers some protection, it’s not as tough as materials like granite or quartz. To keep your countertops looking great, always use trivets for heat and cutting boards to avoid scratches, preserving both heat resistance and scratch durability.
How Do I Remove Paint Mistakes or Drips From My Countertops?
Think of paint removal like gently erasing pencil marks—you don’t want to damage the surface underneath. For drip correction, quickly use a damp cloth or a plastic scraper to lift wet paint. If it’s dried, lightly sand the area with fine-grit sandpaper, then wipe clean. You can also use a small amount of rubbing alcohol or paint thinner on a cloth, but test a hidden spot first to avoid damaging your countertop’s finish.
Conclusion
Now that you’ve chosen the perfect paint and prepped your countertops, the real magic begins. As you apply each stroke and seal every corner, you’ll see how a simple project can transform your kitchen.
But don’t rush. Follow these steps for a durable finish, and soon you’ll have painted kitchen countertops that look brand new and stand the test of time.