How to Replace a Kitchen Sink Faucet in 3 Steps
A dripping faucet, awkward handles, or an outdated design can make your kitchen sink frustrating to use. If you’re considering replacing it, you’re not alone—many people struggle to choose a faucet that fits their sink and makes everyday tasks easier.
Replacing a kitchen sink faucet comes down to three steps. First, gather your tools and supplies, including a wrench, bucket, and plumber’s putty, then shut off the water supply.
Next, disconnect the supply lines and remove the old faucet from the sink deck.
Finally, install your new faucet, reconnect the water lines, and test for leaks.
Stick around and you’ll find the details that make each step go smoothly.
Key Takeaways
- Shut off water supply, disconnect supply lines, and remove the old faucet using a basin wrench.
- Clean and inspect the sink deck, ensuring mounting holes align with the new faucet.
- Insert the new faucet’s supply lines and shank through the deck, then secure from underneath.
- Connect hot and cold supply lines to shutoff valves, attaching washers properly.
- Turn on water slowly, check for leaks, and run the faucet to clear debris.
Gather Your Tools Before Replacing the Faucet
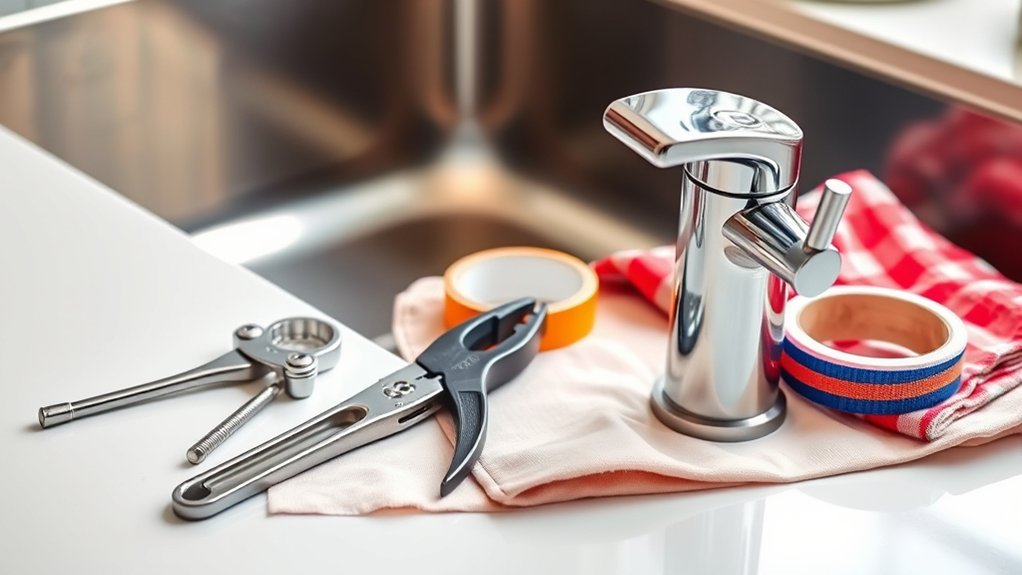
Before you start loosening a single nut, gather the tools you’ll actually need so you’re not crawling out from under the sink halfway through the job. Grab an adjustable wrench, a basin wrench (essential for reaching cramped supply nuts), slip-joint pliers, a bucket, and a flashlight.
Keep plumber’s putty or silicone sealant and plumber’s tape on hand for a watertight seal. Check your new faucet’s installation guide, since some models require specific hardware not included in the box.
Inspect your tools before you begin. Tool maintenance matters here: rusted wrenches slip and strip fittings, wasting time and risking injury. Wipe down pliers, oil moving joints, and replace worn-out basin wrenches before they fail mid-job.
Don’t overlook plumbing safety: shut off the water supply valves under the sink first, and keep a bucket ready to catch residual water. Lay down towels to protect cabinets from drips. With tools organized and safety checked, you’re ready to start the swap.
Remove the Old Kitchen Sink Faucet
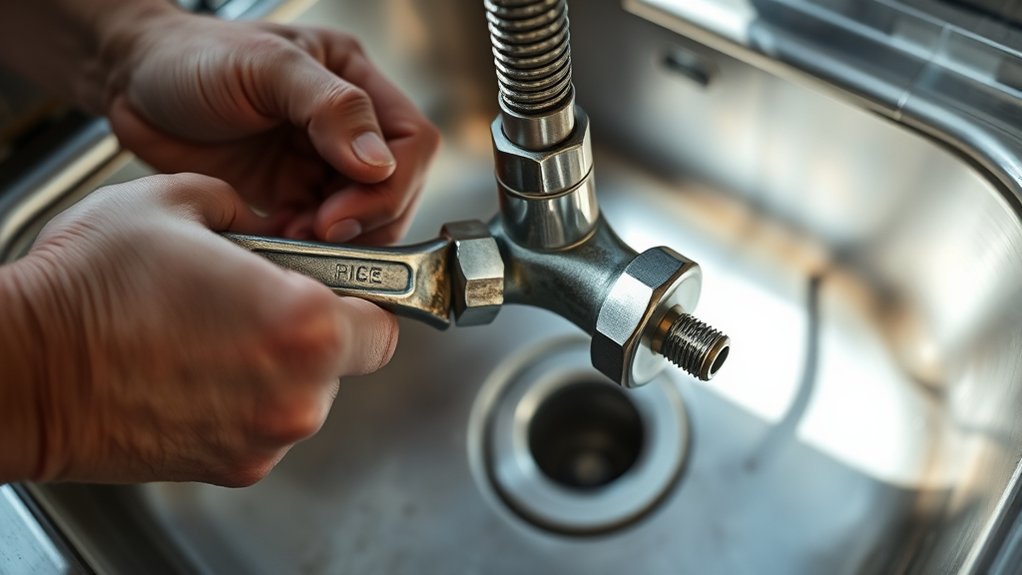
Once you’ve shut off the water and cleared the cabinet, crawl under the sink and disconnect the supply lines using your basin wrench or slip-joint pliers—turn counterclockwise and keep the bucket underneath to catch any drips.
Next, locate the mounting nuts securing the faucet to the sink deck. Depending on your faucet styles, you might find one, two, or three nuts holding the unit in place. A basin wrench makes quick work of these hard-to-reach fasteners, even in tight corners.
Once the nuts are loose, lift the old faucet out from above. If it’s been installed for years, mineral buildup or old plumber’s putty may cause resistance. Wiggle it gently or use a putty knife to break the seal.
Inspect the sink deck for grime or corrosion before moving forward. Clean residue thoroughly, since leftover debris can affect water pressure and prevent your new faucet from sealing properly.
Install and Connect Your New Kitchen Faucet
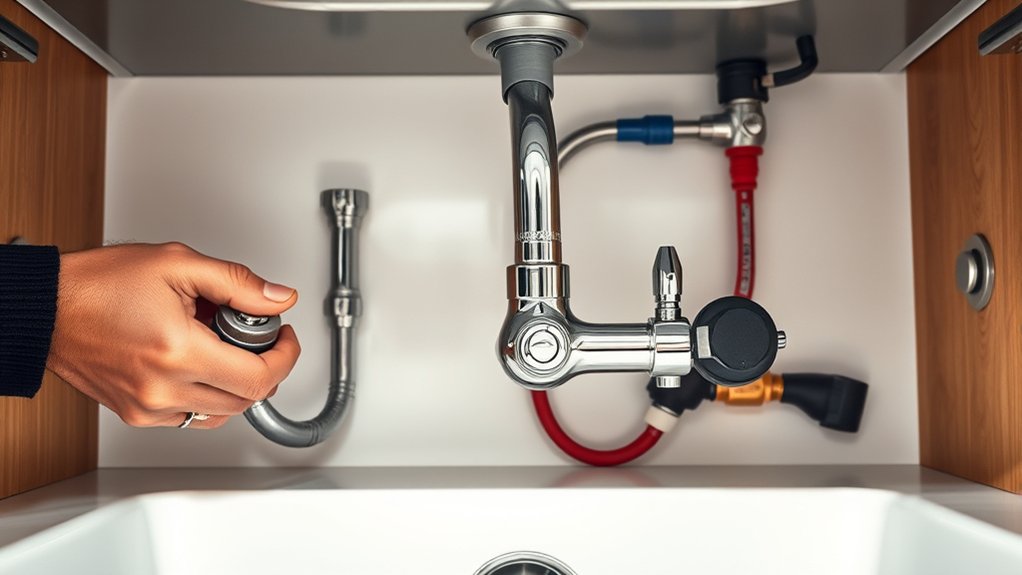
With the old faucet gone and the sink deck clean and dry, you’re ready to set the new one in place. Feed the faucet’s supply lines and mounting shank through the deck holes, then secure it from underneath using the mounting nuts or bracket provided. Tighten by hand first, then snug everything with a wrench. Don’t overtighten, or you risk cracking plastic fittings.
Next, connect the supply lines to the hot and cold shutoff valves, making sure washers sit properly to prevent leaks. Attach the sprayer hose if your model includes one, routing it through the base and clipping it to the designated hook.
Once connections are secure, turn the water supply back on slowly and check for drips at every joint. Run the faucet for a minute to clear debris and test water pressure at both the main spout and sprayer. Good installation now means easier faucet maintenance down the road, so double-check every connection before calling the job done.
Frequently Asked Questions
How Long Does Replacing a Kitchen Sink Faucet Typically Take?
You’ll typically spend 1-2 hours replacing your kitchen sink faucet, depending on your experience and setup. If you’ve gathered your installation tools beforehand—basin wrench, adjustable pliers, and plumber’s tape—you’ll move faster. Faucet materials also affect timing; brass models often install smoother than cheaper alloy options with tricky fittings.
Don’t rush it, though. Take your time checking connections, and you’ll avoid leaks that could turn a quick afternoon job into a frustrating redo.
Do I Need to Turn off the Main Water Supply?
No, you don’t need to turn off the main water supply. Just shut off the two shut-off valves under your sink. This keeps water pressure isolated to that area while you work.
Before disconnecting anything, check faucet compatibility with your existing supply lines to avoid leaks or mismatched fittings. Turning off only the local valves saves time and keeps water running elsewhere in your home during the installation.
Can I Install a New Faucet Without Hiring a Plumber?
Yes, you can absolutely install a new faucet yourself! With basic tools and a bit of patience, you’ll have it done in under an hour. Just make sure you check faucet warranties before you start, since some require professional installation to stay valid.
While you’re at it, consider choosing eco friendly fixtures that save water without sacrificing performance. You’ve got this—just follow the manufacturer’s instructions closely and double-check your connections for leaks.
What Should I Do if the New Faucet Leaks After Installation?
First, don’t panic—even seasoned plumbers once told me a dripping faucet felt like a tiny alarm clock refusing to shut off. Start your leak detection by checking connections under the sink; tighten any loose supply lines by hand. If water still seeps around the base, you’ll likely need better sealant application: remove the faucet, clean the surface, and apply fresh plumber’s putty or silicone. Reinstall carefully, and you’ll silence that persistent drip for good.
How Do I Know What Faucet Size Fits My Sink?
Check your sink’s mounting holes before buying anything. Measure the number of holes and the distance between them, since faucet compatibility depends entirely on this spacing. Most sinks have one to four holes, typically spaced 4″ or 8″ apart.
Grab a tape measure and get an accurate sink measurement from center to center of each hole. Also note your sink’s hole diameter, usually 1 3/8″ to 1 1/2″, so you don’t end up with a faucet that won’t fit.
Conclusion
And that’s it—you’ve just conquered Mount Everest of home repairs! With your tools gathered, the old faucet removed, and the new one installed and connected, you’re ready to turn on the water and watch your hard work pay off.
You didn’t need a plumber, just a little patience and these three steps. Now go enjoy your shiny new kitchen sink faucet—you’ve earned it!