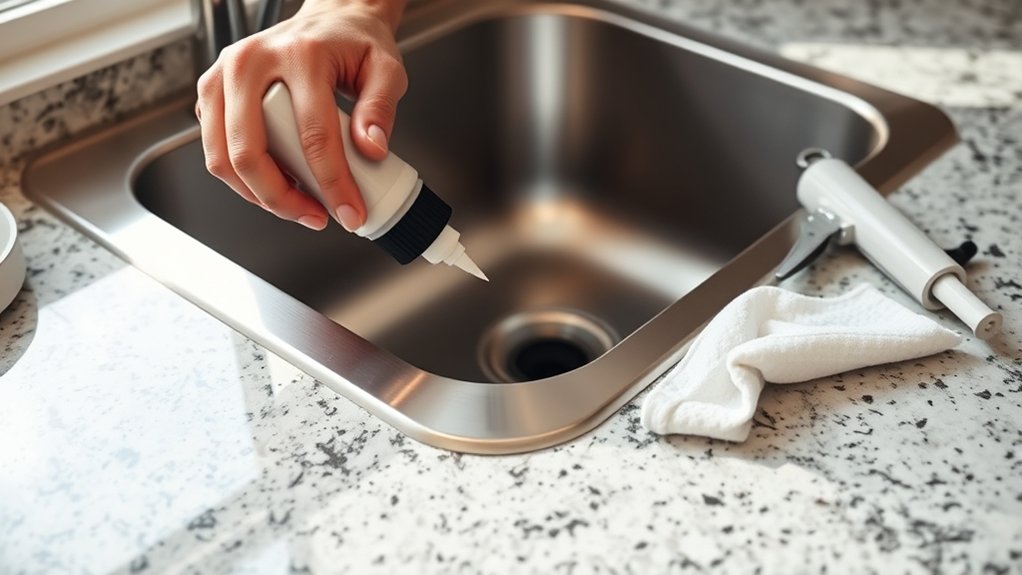
How to Seal a Kitchen Sink to the Countertop in 7 Steps
A loose or cracked seal around your kitchen sink can let water seep onto the countertop, leading to stains or damage. If you’re unsure how to seal a kitchen sink to the countertop, you’re not alone—many homeowners struggle to get a neat, lasting finish. The right tools and a few careful steps can make the job much easier.
Gather your tools and silicone caulk, then pick a color matching your countertop. Cut away old caulk with a utility knife, scrub residue with rubbing alcohol, and let the surface dry completely.
Clean with degreaser, apply painter’s tape, then lay a steady caulk bead around the sink’s edge. Smooth it with a wet finger or tool, pull tape immediately, and let it cure 24-72 hours.
Stick around for the details that make each step foolproof.
Key Takeaways
- Gather silicone sealant, a caulking gun, a utility knife, rubbing alcohol, and painter’s tape before starting the project.
- Select a caulk type and color that match your countertop material for a seamless, water-resistant finish.
- Remove old caulk completely using a utility knife, scraper, and rubbing alcohol until no residue remains.
- Clean and dry the surface thoroughly, then apply a steady, continuous bead of caulk along the gap.
- Smooth the bead, remove the tape promptly, and let the caulk cure for 24–72 hours before use.
Gather Your Sealing Materials and Tools
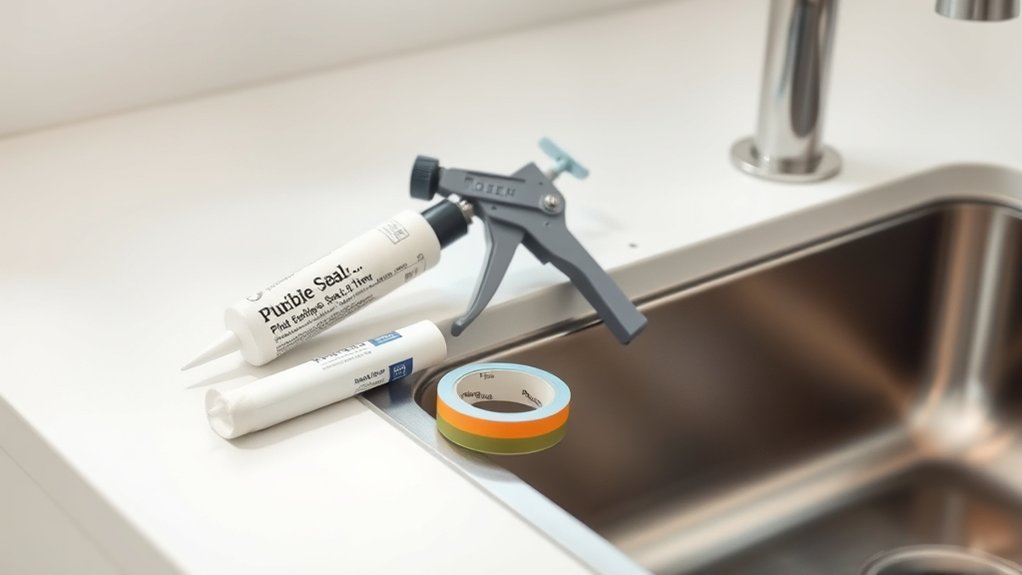
Before you crawl under the sink, gather everything you’ll need so you’re not hunting for supplies mid-project. Start with 100% silicone sealant—it resists water and won’t crack over time.
Check sealant compatibility with your sink material, whether that’s stainless steel, cast iron, or composite granite. Some sealants react poorly with certain finishes, so read the label carefully before buying.
You’ll also need a caulking gun, utility knife, rubbing alcohol, clean rags, and painter’s tape for clean lines. Grab a putty knife for removing old sealant and disposable gloves to keep your hands clean.
Think about tool ergonomics, especially if you’ll be working in a cramped cabinet space for an extended period. A caulking gun with a comfortable grip reduces hand fatigue, and a smaller flashlight or headlamp frees up your hands while you work in tight corners.
Lay everything within reach before you start.
Choose the Right Caulk for Your Sink

Before you grab just any tube, decide between silicone and latex caulk. Silicone resists water and mildew, so it’s ideal for wet areas. Latex is easier to apply and clean up, but it tends to wear out faster.
You’ll also want to match the caulk to your sink and countertop. Most brands offer colors like white, almond, and clear, so you can choose one that blends in with your kitchen’s finish.
Silicone Vs. Latex Caulk
Why does the caulk you choose matter so much? Silicone and latex caulk perform differently, and picking the wrong one leads to leaks, mold, or a messy repair job down the road. Understanding their differences helps you apply caulk correctly and get lasting results.
- Silicone caulk resists water and mildew, making it ideal for sink seals.
- Latex caulk dries faster but cracks under constant moisture exposure.
- Caulk drying time varies: silicone takes 24 hours to cure, while latex sets in a few hours.
- Caulk application techniques differ too. Silicone needs a steady hand, while latex smooths easily with a wet finger.
Choose silicone for durability, especially in high-moisture areas like your kitchen sink.
Matching Caulk Color Options
How do you pick a caulk color that won’t clash with your sink? Start by matching the caulk to your countertop, not the sink itself—seams blend better against stone or laminate than against metal. White and almond work well with light counters, while clear caulk suits patterned or dark surfaces since it disappears into the seam.
For stainless steel sinks, gray or clear caulk hides fingerprints and water spots better than white. Check color matching tips from the manufacturer’s swatch card before buying, since dried caulk often looks different from the tube.
Use this quick caulk selection guide: light counters call for white or beige, dark counters need clear or gray, and textured stone benefits from a close-toned matte finish.
Remove the Old Caulk Completely
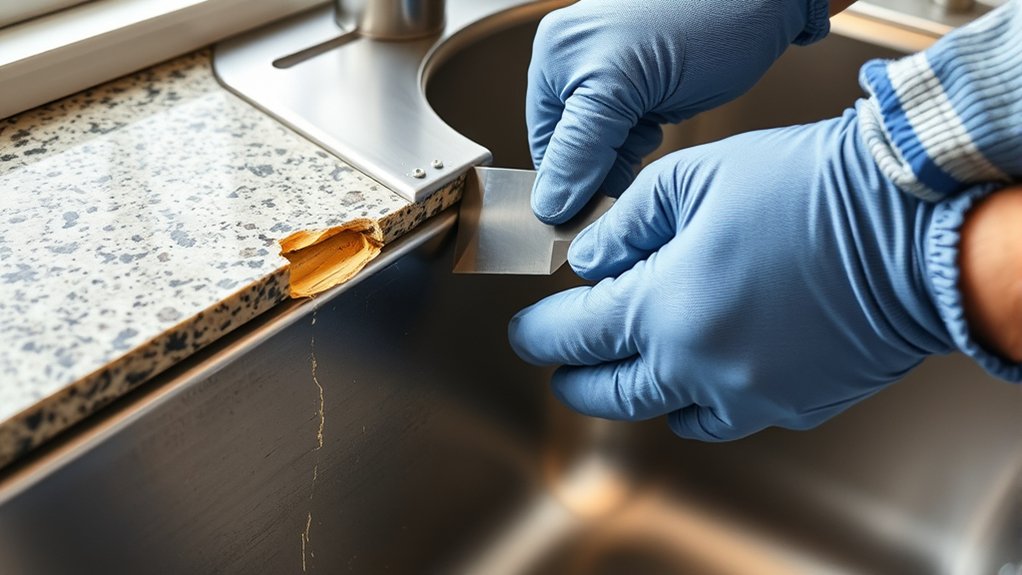
Since fresh caulk won’t bond properly to old residue, you’ll need to strip away every trace of the previous seal first. Old seal removal is the foundation of a watertight result, so skipping steps here leads to premature failure.
Follow this process for thorough caulk preparation:
- Cut the caulk line with a utility knife, slicing along both edges where it meets the sink and countertop.
- Pull away loose sections using a plastic scraper or old credit card to avoid scratching surfaces.
- Apply a caulk remover gel to any stubborn residue and let it sit for the recommended time.
- Scrub remaining film with a mixture of rubbing alcohol and a non-abrasive pad until the surface feels smooth.
Check every corner and seam carefully. Any leftover residue creates weak spots where water can seep through. Once you’ve removed all traces, wipe the area down and let it dry completely before moving forward.
Clean and Dry the Countertop Surface
Wondering why caulk fails even after careful removal? The culprit’s often hidden grease, soap scum, or moisture left behind on the countertop surface. Proper countertop cleaning isn’t optional. It’s the foundation for a watertight seal.
Start by scrubbing the area around the sink with a degreaser or dish soap and water, focusing on the gap where the sink meets the counter. Rinse thoroughly, then wipe away residue with a clean cloth.
Next, dry the area completely. Even small amounts of trapped moisture prevent caulk from bonding properly, leading to premature peeling or cracking. Use a hair dryer on low heat if you want to speed things up, or let the surface air-dry for a few hours.
Once everything’s spotless and dry, you’re ready to move on to sealant selection. Choose a product that matches your countertop material and withstands kitchen moisture and temperature changes.
Apply a Precise Caulk Bead Around the Sink
With a clean, dry surface ready, grab your caulk gun and load the cartridge, snipping the tip at a 45-degree angle for a bead about 1/8 to 1/4 inch wide—match this to the gap size around your sink. Hold the gun at a consistent 45-degree angle and apply steady, even pressure as you move along the seam. Proper caulk application techniques rely on smooth, uninterrupted motion rather than stopping and starting, which creates lumps or gaps.
Follow these steps for a clean result:
- Start in a corner and pull the gun toward you in one continuous motion.
- Apply light finger pressure or use a caulk tool to smooth the bead immediately.
- Wipe excess caulk with a damp cloth before it skins over.
- Remove painter’s tape right after tooling, while the caulk’s still wet.
Common sealing mistakes include rushing the bead, overfilling gaps, and skipping the smoothing step, all of which weaken the seal and invite leaks.
Smooth the Seal for a Clean Finish
Once you’ve laid the bead, don’t let it sit untouched—smoothing it right away makes the difference between a professional-looking seal and a messy one. Dip your finger in soapy water, or use a caulk smoothing tool, and run it along the bead in one continuous motion.
Avoid stopping halfway, as this creates uneven ridges that are hard to fix later. Keep steady pressure and a consistent angle to push the caulk into the joint while removing excess.
These sealing techniques work best when you move quickly, since caulk begins to skin over within minutes. Wipe your finger or tool clean between passes to prevent dragging dried material across the line.
Once you’ve smoothed the entire bead, check for gaps or thin spots and reapply caulk sparingly if needed.
Finishing touches matter here: remove painter’s tape immediately after smoothing for crisp, straight edges before the caulk fully sets.
Cure the Caulk Before Using the Sink
After smoothing the bead and pulling the tape, resist the urge to use the sink right away. Caulk curing time determines whether your seal holds up or fails prematurely, so patience here protects your work. Most silicone caulks need 24 hours to cure, though full cure can take up to 72 hours depending on humidity and temperature.
Patience pays off here: give silicone caulk 24 hours to cure, up to 72 for full strength and water resistance.
Follow this timeline for the best results:
- 0-2 hours: Let the caulk skin over; avoid touching it.
- 24 hours: Avoid water contact or heavy use.
- 48 hours: Light use is usually safe, but stay cautious.
- 72 hours: The caulk reaches full cure and maximum water resistance.
A sink usage delay feels inconvenient, but rushing the process risks water seeping beneath an uncured seal. Check the product label for exact timing, since formulas vary. Waiting pays off with a durable, leak-proof bond.
Frequently Asked Questions
How Often Should I Reseal My Kitchen Sink?
You should reseal your kitchen sink every 1-2 years, or sooner if you spot cracks, gaps, or water seeping underneath. Sticking to a regular maintenance schedule keeps mold and water damage at bay.
Inspect the caulk line monthly. If it looks discolored or feels loose, it’s time to redo it.
Using proper sealing techniques, like cleaning thoroughly and applying a fresh, even bead of silicone caulk, guarantees a durable, waterproof seal that lasts longer between touch-ups.
Can I Use Caulk if My Sink Is Still Slightly Wet?
No, you shouldn’t. Studies show nearly 85% of caulk failures trace back to moisture trapped beneath the bead. Even a little dampness stops adhesion and invites mold later.
Use proper cleaning techniques first: wipe the area with rubbing alcohol, then dry thoroughly with a lint-free cloth. Once truly dry, choose a sealant like silicone or polyurethane caulk for a durable, waterproof bond that’ll keep your sink secure for years.
What Causes Caulk to Turn Black or Moldy?
Caulk turns black or moldy when moisture gets trapped in damp, humid areas where mold spores thrive. You’ll notice caulk discoloration mostly around sinks that stay wet or lack proper ventilation.
For mold prevention, you should always let surfaces dry completely before caulking, choose a mold-resistant caulk, and keep the area ventilated afterward. Wiping down your sink regularly also helps stop moisture buildup that encourages mold growth over time.
Is Silicone Caulk Safe for Food Preparation Areas?
Yes, it’s safe—but here’s a stat that should grab you: nearly 40% of standard caulks aren’t rated for food contact at all. That’s why silicone safety depends entirely on choosing the right product.
You’ll want food grade caulk specifically labeled for kitchen use, since it resists bacteria growth and won’t leach chemicals near your prep surfaces. Always check the label before you seal—it’s a small step that protects your family’s health.
Can I Shower or Run Water Immediately After Caulking?
No, you shouldn’t run water right after caulking. You need to respect the drying time listed on the caulk tube, usually 24 hours, before exposing the seal to moisture. Using proper caulking tools during application helps create a clean, even bead that cures correctly. If you rush and get the area wet too soon, you’ll risk disrupting the seal, causing leaks or needing to redo the whole job.
Conclusion
You’ve gathered your materials, chosen the right caulk, removed the old residue, and cleaned every inch of the surface. You’ve applied a precise bead, smoothed it to perfection, and given it time to cure.
Now your kitchen sink is sealed tight, your countertop is protected, and your kitchen is ready for whatever you throw at it. That’s a job well done.