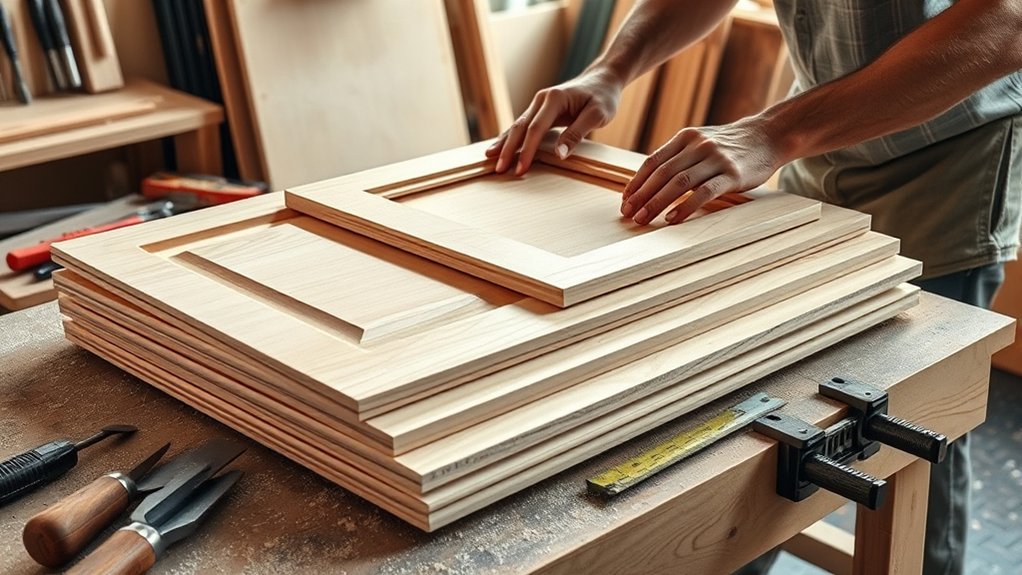
How to Make Kitchen Cabinets in 7 Steps
Building kitchen cabinets can feel overwhelming, especially when you’re trying to balance measurements, materials, tools, and installation details. You’re not alone—many people struggle to create cabinets that look polished and fit their space perfectly.
This guide breaks down how to make kitchen cabinets in seven straightforward steps, so you can plan confidently and work toward professional-looking results.
To make kitchen cabinets in seven steps, measure your space and plan the layout around appliances, doors, and walkways. Choose durable materials, gather tools, and inspect plywood before cutting.
Cut labeled cabinet parts, shelves, and panels accurately.
Assemble each box with glue and screws, then check that it’s square. Build, finish, and adjust the doors. Sand and apply paint or protective clear coat.
Finally, install, level, shim, and align the cabinets carefully for professional results. More guidance follows.
Key Takeaways
- Measure the kitchen carefully, plan cabinet locations, and choose durable materials such as three-quarter-inch plywood for cabinet boxes.
- Cut, label, and sand cabinet components accurately, using proper supports and tools to prevent splintering and dimensional errors.
- Assemble each cabinet with glue, clamps, or screws, then check diagonals and corners to ensure square, stable boxes.
- Build, finish, and install doors and drawers, adjusting hinges and hardware for consistent gaps and smooth operation.
- Install cabinets level and plumb, secure them to wall studs, add fillers and toe-kicks, and apply protective finishing touches.
Measure Your Kitchen and Plan the Layout

Before building anything, measure your kitchen’s walls, ceiling height, windows, doors, appliances, and existing plumbing. Record every dimension in a notebook, including corners, soffits, outlets, vents, and trim.
Measure every kitchen feature carefully, recording walls, openings, utilities, and obstructions before beginning construction.
Measure each wall at floor, counter, and ceiling levels because uneven surfaces can affect cabinet placement.
Next, sketch your kitchen layout on graph paper or use design software. Mark fixed features first, then position the sink, refrigerator, range, and dishwasher for a practical work triangle.
Keep doors and drawers from colliding, and leave comfortable walkways between cabinets and appliances. Check that windows still open and that doors won’t block work areas.
Plan cabinet widths around your measurements, allowing space for fillers where walls aren’t square. Use vertical space carefully, but keep frequently used storage within easy reach.
Consider space optimization by combining drawers, corner storage, and specialized compartments. Review your plan from several angles, verify clearances, and label every measurement before cutting or assembling anything.
This preparation helps you avoid costly revisions later.
Choose Cabinet Materials and Prepare Tools
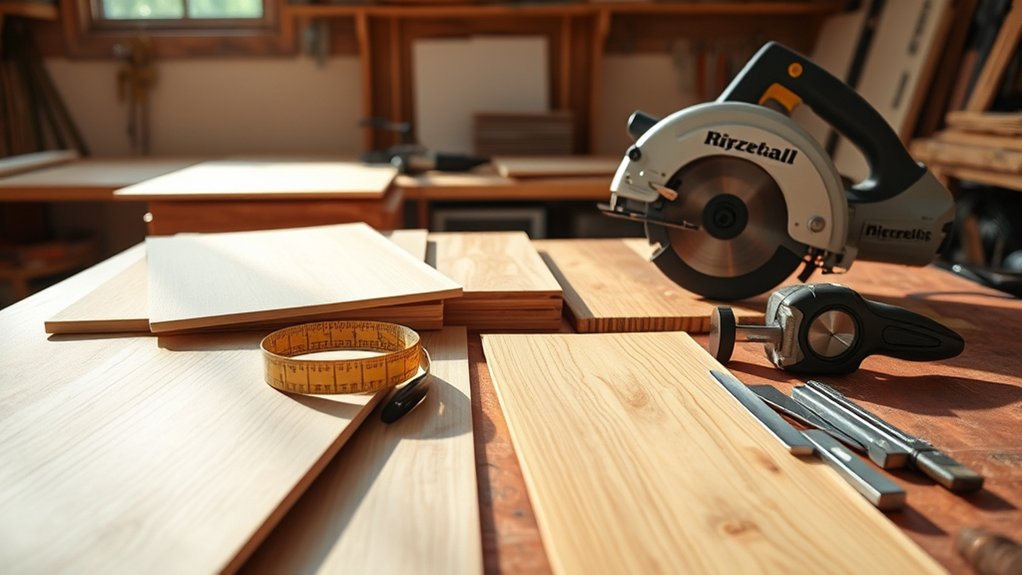
Choose durable, flat stock for the cabinet boxes, such as three-quarter-inch plywood. Reserve medium-density fiberboard (MDF) or solid wood for doors, drawer fronts, and trim.
Compare cabinet material options by strength, moisture resistance, cost, and finish compatibility. Plywood handles kitchen humidity well, while MDF provides a smooth surface for painted components.
Solid wood adds character but may expand and contract with seasonal changes. Select edge banding, screws, wood glue, hinges, drawer slides, and finishes that suit your design and material choices.
Check each sheet for warping, voids, dents, or water damage before buying. Then organize your workspace so you can work safely and accurately.
Your tool preparation checklist should include a tape measure, combination square, pencil, clamps, circular saw or table saw, drill, screwdriver bits, sander, level, safety glasses, hearing protection, and dust mask.
Confirm that blades are sharp, batteries are charged, cords are undamaged, and every tool operates correctly before you begin.
Cut Cabinet Boxes, Shelves, and Panels

With your materials and tools ready, measure and mark each cabinet box, shelf, and panel carefully before making any cuts. Confirm the finished dimensions, account for material thickness, and label every piece to prevent mix-ups.
Use a straightedge and a sharp pencil for accurate lines, then cut plywood or boards with a circular saw and guide, table saw, or track saw. Support large sheets fully to reduce vibration and prevent splintering.
Keep the good face upward or downward according to your saw’s cutting direction, and use a fine-tooth blade for cleaner edges. During panel cutting, check each measurement twice and make one controlled pass instead of forcing the tool.
Cut side panels, bottoms, tops, backs, doors, and drawer components separately. Drill shelf-pin holes with a jig so spacing stays consistent.
Sand exposed edges lightly, but don’t alter dimensions. Dry-check every piece before moving on to shelf installation or assembly. Store parts flat and protect finished faces from scratches.
Assemble and Square the Cabinet Boxes
Dry-fit the cabinet panels first to make sure everything aligns properly. Once the fit looks good, apply glue to the box joints, secure them with fasteners, and clamp the cabinet firmly.
Before the glue sets, check that the box is square by measuring both diagonals. If the measurements differ, adjust the cabinet until they match.
Dry-Fit Cabinet Panels
Before adding glue or fasteners, assemble the cabinet sides, top, bottom, and back on a flat surface to confirm that every panel fits correctly. As you dry fit panels, check that edges meet cleanly, dados align, and the back sits flush.
This temporary assembly reveals problems before you commit to permanent connections. Use clamps lightly, then measure diagonals to test whether the box is square.
| Check | What to verify |
|---|---|
| Side panels | Edges face outward |
| Top and bottom | Seats fully |
| Back panel | Fits without gaps |
| Diagonals | Match closely |
Adjust misplaced parts, sand tight edges, or correct measurements as needed. Mark each panel’s orientation and location with pencil.
Keep the box supported on a level surface while you inspect it from every angle. Once the fit looks accurate and the cabinet sits square, disassemble it carefully and keep components organized for the next step.
Secure Box Joints
Once the dry fit checks out, apply glue to the joints, reinstall the panels in the marked order, and secure them with clamps or screws. Spread an even coat inside each dado joint, then press the mating panel fully into place.
If you’re using dovetail joints, brush glue across the tails and sockets before tapping the connection together with a scrap block. Keep the cabinet face down on a flat work surface while you assemble it.
Drive screws through predrilled holes, or position clamps across the top, bottom, and sides to maintain steady pressure. Wipe away squeeze-out immediately with a damp cloth, especially inside corners.
Add the back panel while the glue remains workable, fastening it according to your design. Let the assembly cure for the manufacturer’s recommended time before removing the clamps.
Check for Square
With the cabinet box clamped and the glue still workable, check that every corner forms a true 90-degree angle. Push the sides gently until the corner alignment looks even.
Take a diagonal measurement from one inside corner to the opposite corner. Measure the other diagonal the same way. If both numbers match, your box is square.
If they differ, adjust the clamps and nudge the longer diagonal’s corners inward until the measurements agree. Recheck each corner with a framing square before the glue sets.
| Check | What to do | Correct result |
|---|---|---|
| Corners | Test with a square | 90 degrees |
| Diagonals | Compare measurements | Equal lengths |
| Clamps | Adjust gently | Box stays square |
Wipe away squeezed-out glue, confirm the joints remain fully seated, and let the assembly cure on a flat surface.
Build, Hang, and Adjust Cabinet Doors
Build each cabinet door carefully, making sure the frame and panel fit squarely. Then hang the doors with suitable hinges and adjust them until the gaps are even.
Take your time with these steps. Your finished cabinets will open smoothly and look polished.
Build Cabinet Doors
Now that the cabinet boxes are complete, you can build doors that fit neatly and complement your kitchen’s style. Measure each opening, then subtract your planned reveal before cutting door panels. Choose solid wood, plywood, or a framed design, and check every piece for straight edges.
Sand progressively, ease sharp corners, and apply paint, stain, or clear finish before attaching hardware.
| Door style | Best material | Key preparation |
|---|---|---|
| Slab | Plywood | Seal all edges |
| Shaker | Hardwood | Glue square frames |
| Raised-panel | Hardwood | Rout matching profiles |
Mark hinge installation locations consistently, but don’t mount or adjust hinges until the doors are ready to hang.
Plan door handle placement with a template so every pull aligns across the kitchen. Label each finished door to match its cabinet, and let the finish cure fully before handling.
Hang and Adjust Doors
Start by positioning each finished door against its labeled cabinet opening and checking the reveal on all sides. Mark hinge placement on the door and cabinet, keeping the locations consistent across matching doors.
Bore concealed-hinge cups with a Forstner bit, or attach surface hinges according to the manufacturer’s template. Secure each hinge, then support the door while you fasten it to the cabinet.
Don’t fully tighten the screws until you’ve checked the door alignment. Close the door and adjust the hinge screws to correct its height, side gap, and depth.
Aim for even reveals between neighboring doors and drawers. If a door rubs, loosen the mounting screws, reposition it, and retighten them.
Open and close every door several times, checking smooth movement and confirming that each latch engages securely.
Sand and Finish Your Kitchen Cabinets
Once your cabinets are assembled, sand every surface smooth, working from medium-grit sandpaper to fine grit and removing dust between passes. Follow the grain pattern on visible wood to prevent scratches, and ease sharp edges slightly so they won’t splinter.
Sand cabinets progressively, follow the wood grain, ease sharp edges, and remove dust thoroughly before applying any finish.
Use a sanding block on flat panels and hand-sand profiles, corners, and routed details carefully. Inspect the surfaces under bright light; filler, glue residue, and uneven spots will show before they disappear beneath finish.
Wipe everything with a vacuum and a clean, lint-free cloth, but don’t soak the wood.
Choose finishing techniques that suit your material and kitchen’s style. Apply stain with a cloth or brush, let it penetrate, then wipe away excess evenly.
If you prefer paint, use a compatible primer first, followed by thin, smooth coats. Allow each coat to dry fully, lightly sand between coats, and remove dust before continuing.
Finish with a durable clear topcoat, protecting the cabinets from moisture, heat, and daily handling. Respect the manufacturer’s drying and curing times before use.
Install and Align Your Kitchen Cabinets
After the finish has cured, install the cabinets from a level reference line, securing each unit to wall studs and checking for plumb, level, and consistent spacing as you go. Begin with the corner cabinet, shim it wherever the wall or floor dips, and drive screws through the mounting rails. Don’t fully tighten them until you’ve confirmed alignment.
Clamp neighboring cabinets together, then fasten their face frames with screws designed for cabinet assembly. Use a level across the fronts and tops, adjusting shims until the faces sit flush. Check that doors and drawers will open freely, especially near corners and appliances.
Mark stud locations beforehand, and avoid relying on drywall anchors for upper cabinets.
Once every box is secure, trim exposed shims and install fillers or toe-kick panels. Add cabinet hardware only after confirming door gaps and drawer movement.
Apply careful finishing techniques to conceal fasteners, touch up edges, and protect the newly finished surfaces during final installation.
Frequently Asked Questions
How Much Money Can I Save by Making My Own Kitchen Cabinets?
You can typically save 30% to 50% by making your own kitchen cabinets, potentially thousands of dollars on a full remodel. Your savings depend on cabinet size, design complexity, tools, and labor rates.
Use cost-effective planning to avoid waste, and compare material options carefully, since plywood, hardwood, and hardware prices vary widely. You’ll spend more time and effort, but careful measuring, efficient construction, and smart purchasing can substantially reduce your total project cost.
What Safety Precautions Should I Follow While Building Kitchen Cabinets?
Wear safety gear, including safety glasses, hearing protection, a dust mask, and sturdy footwear. Keep your workspace clean, bright, and well ventilated.
Read each tool’s manual, inspect cords and blades, and unplug power tools before changing accessories or making adjustments.
Secure lumber with clamps, keep your hands away from blades, and use push sticks when appropriate.
Maintain stable footing, avoid loose clothing, and never work when you’re tired or distracted.
How Long Does It Typically Take to Build Kitchen Cabinets?
You’ll typically need two to six weeks to build kitchen cabinets, depending on your experience, project size, and finish quality. Simple designs using prepared Cabinet materials may take several days, while custom layouts require more time for measuring, cutting, assembly, sanding, and finishing.
Your construction techniques also affect the schedule. Allow extra time for drying between coats, correcting mistakes, installing hardware, and fitting cabinets accurately in your kitchen.
Can I Modify Existing Cabinets Instead of Building New Ones?
Yes, you can often give existing cabinets a second life instead of starting from scratch. With thoughtful custom cabinet design, you can replace doors, add trim, adjust shelving, install new hardware, or reconfigure sections to suit your kitchen.
Cabinet modification techniques work best when the boxes remain sturdy and reasonably level. However, extensive water damage, poor construction, or major layout changes may make replacement more practical.
Assess your cabinets carefully before investing time and money.
When Should I Hire a Professional Cabinetmaker?
Hire a professional cabinetmaker when your project requires precise cabinet design, complex modifications, or custom dimensions you can’t confidently achieve. You should also seek help if walls or floors aren’t level, plumbing or electrical systems complicate installation, or you need expert material selection.
A professional can prevent costly mistakes, improve durability, and coordinate fabrication and fitting. If your existing cabinets need extensive structural changes, hiring one often saves time and money.
Conclusion
Making kitchen cabinets yourself may seem overwhelming, but you don’t need a professional workshop to get started. With careful measurements, sturdy materials, accurate cuts, and patient assembly, you can create cabinets that fit your kitchen and your budget.
Take your time squaring each box, adjusting every door, and applying a durable finish. When you install and align the finished cabinets, you’ll see that your effort has transformed your kitchen into a practical, personal space you’ll enjoy every day.