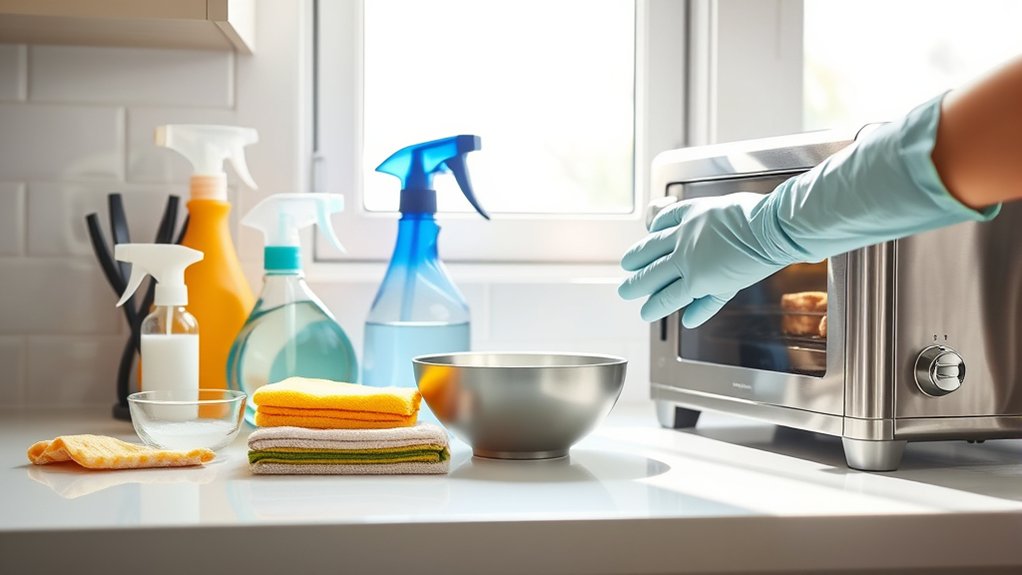
How to Clean Kitchen Appliances in 7 Easy Steps
Keeping kitchen appliances clean can feel like a never-ending chore, especially when grease, crumbs, and buildup hide in hard-to-reach places. You’re not alone—many people struggle to clean appliances thoroughly while protecting their finishes and electrical parts.
This guide to how to clean kitchen appliances in 7 easy steps makes the process simpler. You’ll learn what supplies to use, how to clean different appliance types safely, and how to keep everything fresh and working longer.
Gather mild soap, microfiber cloths, sponges, baking soda, vinegar, and towels. Unplug each appliance, let it cool, inspect cords, and check safety labels. Remove washable parts and clean them separately.
Wipe exteriors, handles, vents, and crevices. Empty and clean the refrigerator, then degrease the oven and stovetop with approved products.
Wash small appliances carefully, avoiding electrical openings. Dry every part completely before reassembling.
Follow these simple habits for safer, longer-lasting appliances and uncover helpful details below.
Key Takeaways
- Unplug appliances, let them cool, inspect cords, and review manufacturer cleaning instructions before starting.
- Remove detachable parts, then wash trays, racks, blades, baskets, and lids in warm, soapy water when permitted.
- Wipe interiors with mild dish soap and microfiber cloths, using baking soda or a soft brush for stubborn residue.
- Clean exteriors, handles, vents, hinges, and crevices with nonabrasive materials, immediately wiping away spills.
- Dry every component thoroughly, air-dry narrow openings, replace damaged seals, and reassemble appliances only when completely dry.
Gather Your Appliance Cleaning Supplies
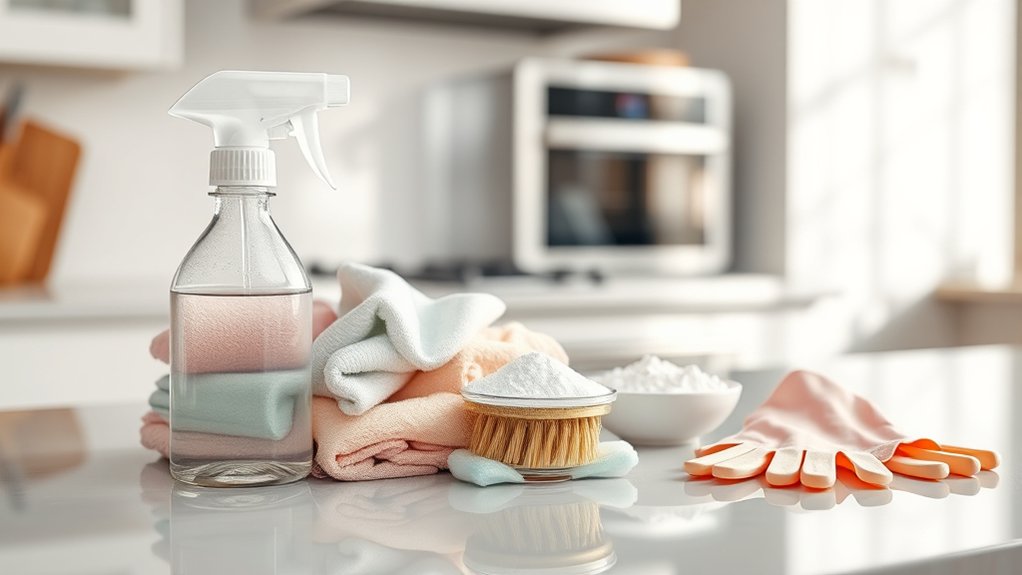
Before you begin cleaning, gather the supplies you’ll need, including microfiber cloths, a soft sponge, mild dish soap, white vinegar, baking soda, an old toothbrush, and clean towels.
Keep everything in one bucket or caddy so you won’t waste time searching for tools. Add rubber gloves if your hands are sensitive, and use a small spray bottle for diluted vinegar or soapy water.
Keep cleaning supplies together in one caddy, adding gloves and a labeled spray bottle for diluted solutions.
Choose nonabrasive materials that won’t scratch stainless steel, glass, enamel, or plastic surfaces. Label any homemade solution clearly, and never mix different cleaners.
Check each appliance’s care requirements before selecting a product, since some finishes need special treatment. Store your supplies together in a convenient spot, separate from food and cookware.
Good appliance storage keeps your tools accessible and prevents clutter. Finally, note these materials on your cleaning schedule, replacing worn cloths and empty bottles promptly.
With your kit organized, you’ll clean more efficiently and maintain a consistent routine.
Unplug Appliances and Check Safety Labels
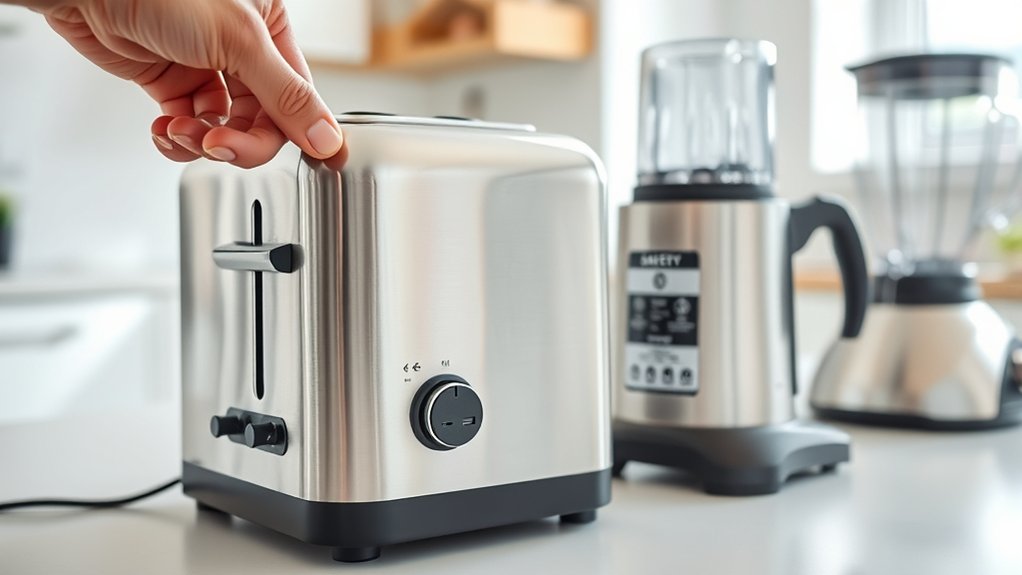
Before you start cleaning, unplug each appliance to reduce the risk of shocks or injuries. Then, check the safety label for cleaning instructions and warnings specific to that appliance. Also, inspect the cord and plug for damage. If you notice fraying or exposed wires, don’t use the appliance.
Disconnect Before Cleaning
Safety comes first, so unplug each appliance before you clean it, even if you plan to wipe only the exterior. This simple habit protects you from shocks and prevents accidental starts during cleaning.
Let hot appliances cool completely before handling them, and keep cords away from water, sinks, and damp counters. For reliable electrical safety, follow this quick routine:
- Turn the appliance off using its controls.
- Remove the plug from the wall, gripping the plug, not the cord.
- Keep the disconnected appliance stable while you clean.
- Inspect the cord and plug for fraying, cracks, or burn marks.
Don’t use an appliance with damaged wiring. Set it aside for professional repair or replacement.
Unplugging also supports good appliance maintenance by reducing strain and helping you clean carefully. Never reconnect the appliance until every surface and component is completely dry.
Read Safety Labels
Check the manufacturer’s safety labels before cleaning, since they identify parts that shouldn’t be immersed, scrubbed, or removed. Read every warning near the controls, heating elements, vents, and openings.
These instructions support Electrical safety by showing where moisture, detergents, or metal tools could create hazards. Pay attention to symbols, temperature limits, approved cleaners, and required cooling time.
Label interpretation matters when a symbol replaces written directions, so consult the appliance manual if you’re unsure what it means. Follow instructions that tell you whether to wipe, rinse, or remove a specific component.
Don’t assume similar appliances use identical cleaning methods. Keep labels visible and legible; if grease covers them, clean around the wording carefully without damaging it.
When directions conflict, follow the manufacturer’s most specific guidance before you begin.
Inspect Cords and Plugs
Unplug the appliance and inspect its cord and plug for fraying, exposed wires, bent prongs, burn marks, or loose connections before cleaning. This quick check supports cord safety and helps prevent shocks, sparks, or fires.
Don’t use an appliance with visible damage. Replace it or have a qualified technician repair it.
- Wipe the cord and plug with a slightly damp cloth, then dry them completely. Never immerse either part in water.
- Check the safety label for cleaning instructions, voltage information, and warnings specific to your appliance.
- Keep cords away from hot surfaces, sharp edges, sinks, and standing water while you clean.
- Practice plug maintenance by gripping the plug, not the cord, when disconnecting it. Store the cord loosely to prevent strain.
Reconnect the appliance only after every part is dry and secure.
Remove Parts and Wipe Exterior Surfaces

Once the appliance is unplugged and cool, remove detachable parts such as trays, racks, lids, and blades according to the manufacturer’s instructions. Set each piece aside, and check whether it’s dishwasher-safe before washing it in warm, soapy water.
Use a soft brush or sponge to loosen stuck-on food, then rinse and dry every part completely. Don’t immerse components that contain electrical connections, and never force a piece loose.
For effective appliance maintenance, wipe the exterior with a slightly damp microfiber cloth and a small amount of mild dish soap. Use gentle cleaning techniques on buttons, handles, vents, and seams, where grease and crumbs collect.
Keep moisture away from openings, controls, and power connections. For stainless steel, wipe with the grain to prevent streaks, and avoid abrasive pads or harsh chemicals that could damage the finish.
Dry the surface with a clean cloth, then reinstall the parts securely. Check that everything fits correctly before plugging the appliance back in.
Clean the Refrigerator Inside and Out
Next, empty the refrigerator and wipe each shelf clean. Then, clean the exterior, including the doors and handles. This removes spills, crumbs, and fingerprints, leaving your appliance looking and feeling fresher.
Empty and Wipe Shelves
Start by removing all food, drinks, and detachable shelves or drawers from the refrigerator. Check expiration dates, discard spoiled items, and place everything else in a cooler.
Let glass shelves warm to room temperature before washing them, since sudden temperature changes can cause cracks.
- Mix warm water with a few drops of mild dish soap.
- Wipe shelves, drawers, and interior walls with a soft cloth.
- Use a small brush to clean corners, tracks, and spills.
- Dry every surface completely before replacing the parts.
For stubborn residue, hold a damp cloth over it for several minutes, then wipe gently. Avoid abrasive cleaners and sharp tools that could damage plastic or glass.
Group similar foods as you restock to improve Kitchen organization. Regular Shelf maintenance helps prevent odors, sticky buildup, and future messes.
Clean Exterior Surfaces
Clean the refrigerator’s exterior with a soft cloth and warm, soapy water, paying special attention to the handles, doors, and edges where fingerprints and spills collect. Dry immediately to prevent streaks and water spots.
Match your method to the Appliance color and Surface textures: painted finishes need gentle wiping, while stainless steel looks best when you follow its grain. Don’t use abrasive pads, bleach, or harsh powders, which can scratch or discolor the surface.
| Area | Best method |
|---|---|
| Handles | Soapy cloth, then dry |
| Stainless steel | Wipe with the grain |
| Dispenser | Clean crevices with a soft brush |
Wipe the top and sides, too, especially if grease has built up. Clean the door gasket with mild soapy water, rinse it, and dry it thoroughly.
Check beneath the refrigerator and vacuum dust from the grille to support efficient cooling.
Degrease the Oven and Stovetop
Grease and baked-on food can make your oven and stovetop harder to use, but you can remove the buildup with a few simple steps. Let the surfaces cool completely, then remove oven racks and loose crumbs.
Open a window or turn on your exhaust fan before applying cleaner.
- Mix warm water with dish soap. Use a sponge to loosen stovetop residue, focusing on burners, knobs, and edges.
- Sprinkle baking soda over stubborn oven grime. Spray lightly with water, let the paste sit for 15 minutes, and wipe it away.
- Scrub burned spots gently with a nonabrasive pad. Don’t use steel wool on enamel, glass, or coated surfaces.
- Wipe everything with a clean, damp cloth, then dry thoroughly to prevent streaks and rust.
Avoid soaking electrical controls, heating elements, or gas openings. For a glass cooktop, use its recommended scraper and cleaner.
Replace the racks only after they’re completely dry. Regularly wipe spills after cooking to prevent grease from hardening.
Clean Small Kitchen Appliances
Small appliances such as toasters, blenders, coffee makers, and air fryers need regular cleaning to remove crumbs, residue, and odors. Before cleaning, unplug each appliance and check its care instructions.
Shake crumbs from your toaster over a sink, then brush remaining debris from the slots and empty the crumb tray. Remove your blender’s jar, blade assembly, and lid, and wash approved parts with warm, soapy water.
Wipe the motor base with a slightly damp cloth, keeping moisture away from openings. For coffee makers, wash the carafe and filter basket, then run the manufacturer-recommended descaling cycle to remove mineral buildup.
Empty your air fryer’s basket and pan, soak stuck-on food, and scrub with a nonabrasive sponge. Wipe its interior and heating element carefully, without applying cleaner directly.
Include these tasks in your Cleaning schedules to support consistent Appliance maintenance. Clean spills promptly, inspect cords for damage, and replace worn parts before using any appliance again.
Dry Everything and Prevent New Grime
Once each appliance is clean, dry every removable part and surface thoroughly before reassembling or storing it. Use a clean microfiber cloth to absorb water from lids, blades, trays, seals, and controls.
Let pieces air-dry completely on a rack, especially inside narrow openings where trapped moisture can encourage odors, mold, or corrosion. Don’t plug in or close an appliance until its interior feels dry.
For reliable moisture control and grime prevention, follow these habits:
- Wipe spills immediately instead of letting them harden.
- Leave doors, lids, and drawers slightly open while interiors finish drying.
- Clean crumbs from vents, hinges, and crevices after each use.
- Store detachable parts loosely so air can circulate around them.
Dry the countertop beneath each appliance, too. Water left underneath can damage finishes and create a sticky film.
Replace worn gaskets and cracked seals, which trap residue and leak moisture. Finally, wash or replace cloths regularly; a dirty towel can transfer grease back onto freshly cleaned surfaces.
Your appliances will stay fresher longer.
Frequently Asked Questions
Can I Use Natural Cleaners Like Vinegar and Baking Soda on Every Appliance?
No, you can’t use vinegar and baking soda on every appliance. These eco friendly methods work well on glass, stainless steel, and removable, washable parts, but vinegar’s acidity can damage stone surfaces, rubber seals, aluminum, and some appliance coatings.
Baking soda may scratch delicate finishes. Check your manufacturer’s instructions first, unplug appliances, and never mix vinegar with bleach.
Use approved chemical alternatives when natural cleaners could cause damage or void your warranty.
How Often Should Kitchen Appliances Receive a Deep Cleaning?
Deep-clean kitchen appliances monthly, but adjust your routine based on use. Include refrigerators, ovens, dishwashers, microwaves, and coffee makers in your Cleaning schedules.
Wipe high-use surfaces weekly, empty crumbs and spills promptly, and inspect filters regularly. Heavy cooking may require biweekly deep cleaning, while lightly used appliances might need it every two to three months.
Good Appliance maintenance prevents odors, buildup, and performance problems. Always follow each manufacturer’s care instructions.
What Should I Do if an Appliance Smells Burnt After Cleaning?
If your appliance smells burnt after cleaning, don’t assume residue will disappear on its own. Investigate whether moisture, cleaner, or a damaged part caused the odor.
Unplug it, let it cool, and inspect the vents, cord, and interior for scorch marks. Remove any residue, then use safe Burnt smell removal and Odor neutralizing techniques, such as ventilation and placing baking soda nearby.
Don’t operate it if you notice smoke, sparks, melting, or persistent odors. Contact a technician.
Are Appliance Cleaning Services Worth Hiring for Heavily Soiled Appliances?
Yes, you’ll often find appliance cleaning services worthwhile for heavily soiled appliances. Professionals remove grease, buildup, and odors more thoroughly while protecting delicate components.
Hire them when grime affects performance, creates safety concerns, or resists home cleaning. Ask whether they inspect electrical parts and provide Appliance repair if they find damage.
Compare service costs with Replacement options, especially for older, inefficient units. Always verify insurance, reviews, pricing, and included work before scheduling the service.
How Can I Safely Clean Appliances With Stainless Steel Finishes?
You can safely clean stainless steel appliances with warm water, mild dish soap, and a soft microfiber cloth. Follow the grain, rinse away residue, and dry immediately to prevent water spots.
For polishing, apply a small amount of stainless-steel cleaner or diluted vinegar, then buff gently along the grain. Avoid steel wool, bleach, abrasive powders, and harsh chemicals.
Don’t spray liquid directly near controls, seams, or electrical openings.
Conclusion
With these seven steps, you can clean kitchen appliances safely, quickly, and thoroughly. From wiping exteriors to tackling stubborn oven grease, each task helps your kitchen feel fresher and more inviting.
Don’t forget to dry every part completely before reassembling appliances, and make regular cleaning part of your routine. A little effort now keeps grime at bay and prevents bigger messes later.
Roll up your sleeves. Your cleaner, healthier kitchen is just around the corner, ready to shine.