How to Clean a Kitchen Drain in 7 Steps
A slow, smelly kitchen drain can make everyday cleanup frustrating, and you’re not alone—many people struggle to keep their drains fresh. The right tools can make cleaning a kitchen drain easier and help prevent buildup.
Gather baking soda, vinegar, boiling water, and a brush, then clear standing water and debris from the drain.
Pour in half a cup of baking soda, add a cup of vinegar, and let it fizz for ten minutes.
Flush with hot water, then scrub the stopper and pipe opening before rinsing and reassembling.
Keep it fresh weekly with baking soda and citrus peels.
Stick around, and you’ll pick up even more tips for lasting results.
Key Takeaways
- Gather supplies and clear the workspace before starting, keeping gloves and tools like a plunger nearby.
- Remove standing water and visible debris by hand to expose the drain opening fully.
- Pour baking soda followed by vinegar, let it fizz for ten minutes to loosen grime.
- Rinse with hot water, then scrub the stopper and pipe opening with a small brush.
- Maintain freshness weekly using baking soda rinses and ground citrus peels in the disposal.
Gather Your Household Drain-Cleaning Supplies
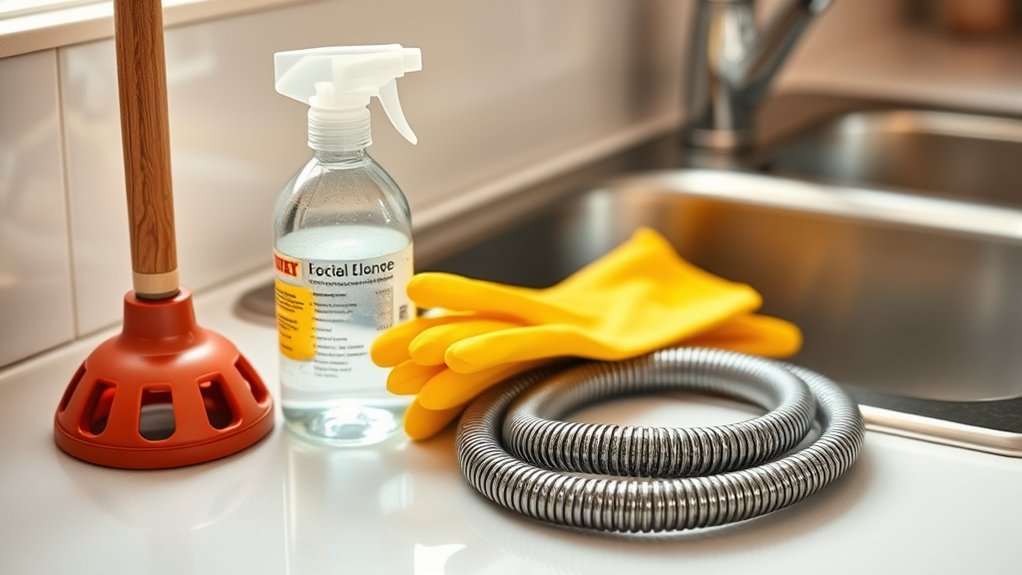
Before you tackle that clogged drain, gather a few basic items you probably already have at home: baking soda, white vinegar, a kettle of boiling water, and an old rag or towel. These simple ingredients tackle grease buildup and neutralize drain odor without harsh chemicals.
Check your cabinet for a small brush or an old toothbrush to scrub the drain opening, plus rubber gloves to protect your hands. If you own a plunger or a drain snake, keep them nearby in case the clog needs extra attention.
Before you start, consider your pipe materials. PVC pipes handle boiling water and vinegar just fine, but older metal pipes can warp or corrode under extreme heat. Adjust your water temperature accordingly.
Lay the rag under the sink to catch drips, and clear the counter so you have easy access to the drain. With everything gathered, you’re ready to start cleaning.
Clear Standing Water and Loose Debris

With your supplies in place, check the sink for standing water and scoop it out with a cup or small bowl before you do anything else. Water pooling in the basin signals a blockage, and leaving it there only gets in your way once you start treating the clog.
Use an old towel to soak up any remaining moisture around the drain opening so you can see what you’re working with.
Next, remove visible debris by hand. Put on rubber gloves and pull out any food scraps, grease clumps, or gunk sitting at the drain’s mouth. This step matters because drain clogs often start right at the surface, not deep in the pipe.
Clearing loose material first lets your cleaning solution or tools reach the actual buildup instead of getting blocked by surface debris.
Once the water’s gone and the opening is clear, you’re ready to move on to treating the clog itself.
Pour Baking Soda Down the Drain

Once the drain opening sits clear, grab your box of baking soda and pour about half a cup directly into the drain. Let it settle into the pipe for a minute or two before moving to the next step.
Baking soda works as a mild abrasive and deodorizer, breaking down grease residue while neutralizing drain odor that builds up from food particles and bacteria.
Unlike harsh chemical cleaners, baking soda won’t cause pipe corrosion, making it a safe choice for both metal and PVC plumbing. If you don’t have baking soda in powder form already measured out, a standard kitchen measuring cup makes this step quick and mess-free.
Make sure the baking soda reaches down into the pipe rather than clumping at the drain opening. Tap the sides of the drain gently if needed to help it settle. This simple step sets up the next phase of your cleaning process effectively.
Add Vinegar and Let It Fizz
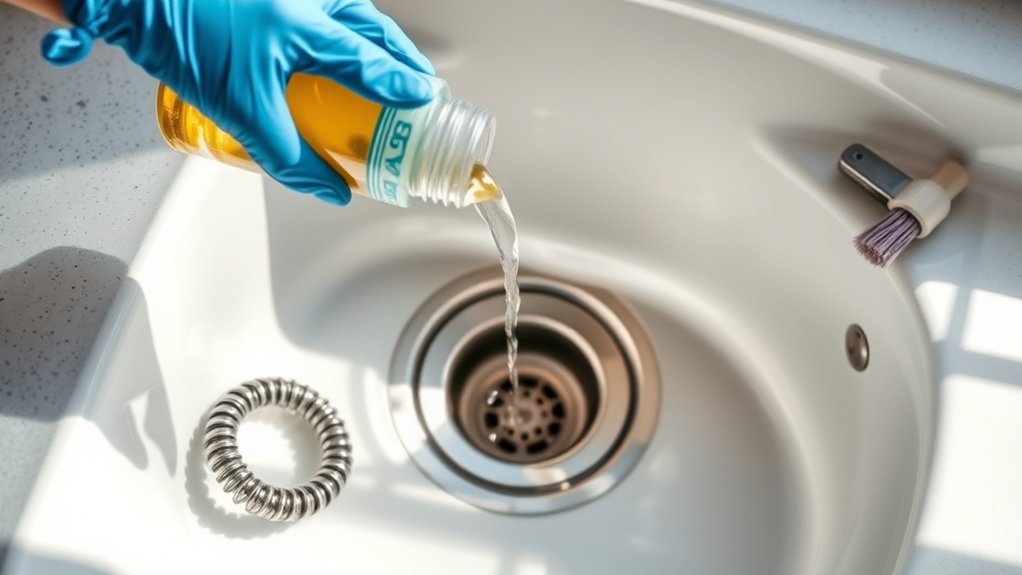
After the baking soda settles into the pipe, pour one cup of white vinegar down the drain and watch the reaction start immediately. You’ll hear bubbling and hissing as the vinegar reactions break down grease and grime clinging to the pipe walls. This chemical combination creates carbon dioxide gas, which produces the fizzing effects you see rising back up through the drain opening.
Let the mixture work for about ten minutes without disturbing it. During this time, the foaming action pushes into cracks and crevices that manual scrubbing can’t reach, loosening debris and dissolving odor-causing bacteria along the way.
Cover the drain opening with a stopper or cloth while it fizzes. This keeps the reaction contained within the pipe instead of escaping into your sink basin, directing all that cleaning power exactly where you need it most, deep inside the clogged, smelly pipe system.
Flush the Drain With Hot Water
As the fizzing dies down, remove the stopper and run hot water down the drain for about a minute. The heat washes away the loosened grime and baking soda residue left behind by the vinegar reaction.
You’ll notice the water flows faster as the clog clears, and any lingering drain odors should fade quickly.
Keep the water running at a steady, hot temperature—not boiling, since extreme heat can damage certain pipe materials like PVC. As you flush, pay attention to how the water drains.
Stick to steady hot water, not boiling—PVC pipes can’t handle extreme heat, so moderation matters while flushing.
Slow drainage might mean you’ve got a more stubborn blockage that needs extra attention.
This step also doubles as one of your regular pipe inspections. Watch for leaks under the sink or unusual gurgling sounds, both signs of deeper plumbing issues.
If everything flows smoothly and odors are gone, you’ve successfully cleared the drain and kept your kitchen plumbing running efficiently.
Scrub the Stopper and Pipe Opening
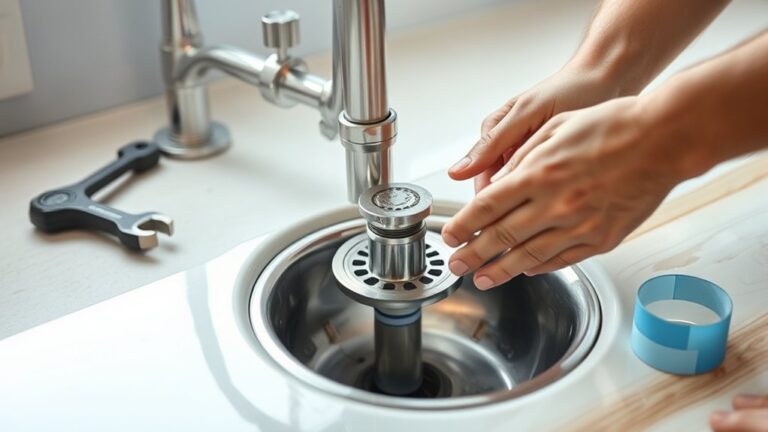
Pull out the stopper and take a close look at the grime clinging to it. Then use an old toothbrush to scrub away buildup on the stopper and around the pipe opening, paying extra attention to grooves and edges. Rinse everything thoroughly before popping the stopper back into place.
Remove the Stopper
Why start with the stopper? It traps the most grime, so removing it first gives you better access to the real problem spots. Stopper types vary by sink model—some lift straight out, others twist, and a few require releasing a pivot rod underneath the sink before they’ll budge.
Check your stopper type before you force anything. For lift-out stoppers, just grab and pull. For twist-lock types, rotate counterclockwise while lifting. If yours connects to a pivot rod, locate the nut under the sink, loosen it, and slide the rod free to release the stopper.
These removal techniques prevent damage to the mechanism and make cleaning far more effective. Once it’s out, set it aside so you can scrub both the stopper and the pipe opening separately.
Scrub Away Grime and Buildup
Once the stopper’s out, grab an old toothbrush or a small scrub brush and get to work on the grime you’ll find clinging to it. Focus on the underside and edges, where gunk tends to collect. For grime removal, dip the brush in a mix of baking soda and water, then scrub until the surface feels clean and smooth.
Next, turn your attention to the pipe opening. Shine a flashlight inside to spot any visible residue. Use the brush to reach just inside the opening, working in circular motions to loosen debris stuck to the walls. For buildup elimination, follow up with a vinegar rinse, letting it fizz and break down any remaining grease or residue.
Finish by wiping both surfaces dry with a clean cloth.
Rinse and Reinstall Stopper
After scrubbing away the grime, run the stopper and pipe opening under warm water to flush out any loosened debris and leftover baking soda residue. Check the stopper mechanism for any remaining gunk hiding in its grooves or hinges, since these spots often trap buildup that causes future clogs. Once everything looks clean, dry the parts with a cloth before reinstalling them.
- Check the seal: Make sure the stopper fits snugly to prevent leaks.
- Inspect the drain assembly: Look for loose fittings or worn gaskets that need attention.
- Test the function: Open and close the stopper a few times to confirm smooth movement.
Finish by running water through the drain to verify everything works properly.
Maintain a Fresh-Smelling Kitchen Drain
Once your drain is clean, a few simple habits can help keep it fresh. Rinse it with baking soda once a week to prevent odors from building up between deep cleans. For an extra burst of freshness, grind citrus peels in your disposal to leave your kitchen smelling clean and bright.
Weekly Baking Soda Rinse
Give your drain a quick refresh every week with a simple baking soda rinse. This small habit keeps odors from building up and stops grease from clinging to pipe walls. Baking soda benefits go beyond deodorizing: it’s mildly abrasive, non-toxic, and gentle enough for daily use without damaging your plumbing.
Here’s how to make this weekly ritual count:
- Sprinkle generously: Pour about half a cup of baking soda directly down the drain.
- Let it sit: Give it 10-15 minutes to absorb grime and neutralize smells.
- Flush with hot water: Rinse thoroughly to wash away loosened residue.
This routine supports drain odor elimination naturally, keeping your kitchen smelling clean without relying on harsh chemical cleaners.
Citrus Peel Freshener Trick
Baking soda handles grime and odor, but citrus peels add a bright, natural fragrance that leaves your drain smelling genuinely fresh instead of just clean. Save lemon, lime, or orange peels instead of tossing them, and toss a handful down the drain.
Run the garbage disposal with cold water to grind the peels, releasing citrus oils that act as a natural deodorizer throughout the pipe. The grinding action also helps scrub away lingering residue on the disposal blades.
| Citrus Peel | Scent Strength |
|---|---|
| Lemon | Strong, sharp |
| Orange | Sweet, mild |
| Lime | Fresh, tangy |
Repeat this trick weekly, and your kitchen drain will stay smelling clean between deeper cleanings.
Frequently Asked Questions
How Often Should I Deep-Clean My Kitchen Drain?
You should deep-clean your kitchen drain once a month to keep it running smoothly. Good drain maintenance prevents grease buildup, food particles, and odors from turning into bigger clogs down the road.
Set a cleaning schedule you’ll actually stick to—maybe the first Saturday of each month—and pair it with weekly flushes of hot water. If you notice slow drainage or smells between cleanings, don’t wait; tackle it right away instead of letting buildup worsen.
Can I Use This Method on Garbage Disposals Safely?
Yes, you can use most of this method on your garbage disposal, but with a few tweaks for safe maintenance. Skip harsh chemical cleaners—they can damage the blades and seals.
Instead, pour baking soda and vinegar down the drain, let it fizz, then flush with cold water while running the disposal. Avoid inserting brushes or your hands near the blades.
Always switch off power at the wall before any hands-on cleaning.
What if My Drain Is Completely Clogged, Not Slow?
roughly 80% of completely clogged drains won’t respond to baking soda and vinegar alone—that method works best on slow drains, not total blockages. You’ll need a stronger approach.
Try a plunger first, then a drain snake if that fails. If water’s still not moving, don’t wait it out. Call for professional services or emergency repairs before the clog causes backup damage or pipe stress.
Are Chemical Drain Cleaners Better Than Baking Soda and Vinegar?
Not necessarily—chemical alternatives often work faster, but they come with harsh fumes and can damage older pipes over time. Baking soda and vinegar offer eco friendly solutions that are safer for your plumbing and the environment.
If you’re dealing with minor clogs or routine maintenance, you’ll get solid results naturally. For stubborn blockages, you might need stronger chemical alternatives or a plumbing snake, but always try the gentler route first to protect your pipes.
Why Does My Drain Smell Bad Again Quickly?
Think of your drain like a gym bag you only air out once a month. The funk creeps back fast. That quick-return drain odor usually means you’ve only masked the smell, not solved it. Bacterial buildup clings to pipe walls below the surface, feeding on grease and food particles you can’t see. You’ll need to scrub the trap and use an enzyme cleaner regularly, not just rinse with water, to actually break down that bacterial buildup for good.
Conclusion
You don’t need harsh chemicals or a plumber, and you don’t need to dread your kitchen sink anymore. With baking soda, vinegar, and a little elbow grease, you’ve got everything it takes to keep your drain clear, your pipes fresh, and your kitchen smelling clean.
Stick to these seven steps for cleaning a kitchen drain regularly, and you’ll save time, save money, and help prevent future clogs.